

Being able to make your own homemade pizza is one of the best things ever! Golden brown, crispy crust topped with your favorite toppings and gooey cheese? YUM! You can make homemade pizza easily and economically — just the way you like it. This homemade pizza recipe will save you $100s of dollars.
Imagine your favorite Supreme Pizza made at home for less! With the best pizza dough recipe you can whip up in minutes and your favorite toppings, You can stop eating out. Guaranteed.

Want to save this post?
Enter your email below and get it sent straight to your inbox. Plus, I’ll send you budget recipes and money-saving tips every week!
If you’ve never made your own pizza dough, let today be the day! If it’s your second time or more and you just haven’t found an easy recipe that works, take heart. I got you!
I’ve been making this easy pizza dough recipe for over 20 years, starting when my kids were little and I made them each personal pizzas that they topped themselves with their favorite pizza toppings.
We’ve saved so much money and avoiding some very bad pizza along the way. But, the best part for you, is that I’ve learned all the tricks for getting the best results, great flavor, and delicious pizza — without buying any fancy baking stone, food processor, or pizza oven!
Why Make Your Own Pizza
Save Money. Making delicious homemade pizza is one of those things that you can make yourself to save money. If you regularly order pizza delivery, know that you will save a bundle of money making your own at home.
You can make it lots of different ways. Pizza is never boring because you can vary the pizza base or the sauce or the toppings so that it’s different every time. Once you’ve tried your hand at homemade dough, be sure to make these easy 5-Ingredient Pita Pizzas or these fun kid-friendly Pizza Bagels.
Fun fact: you don’t need much to make homemade pizza. A few baking supplies, a can of tomato something, a bit of cheese, and maybe some toppings. My daughter eats vegan pizza without any cheese, so there ya go!
Even if the cupboards look a little bare, you can still pull off a great pizza. In fact, I’d call it the king of pantry meals. The only fresh ingredient you absolutely need is mozzarella cheese.
Ingredients
Here’s what you’ll need to make this homemade pizza dough recipe:
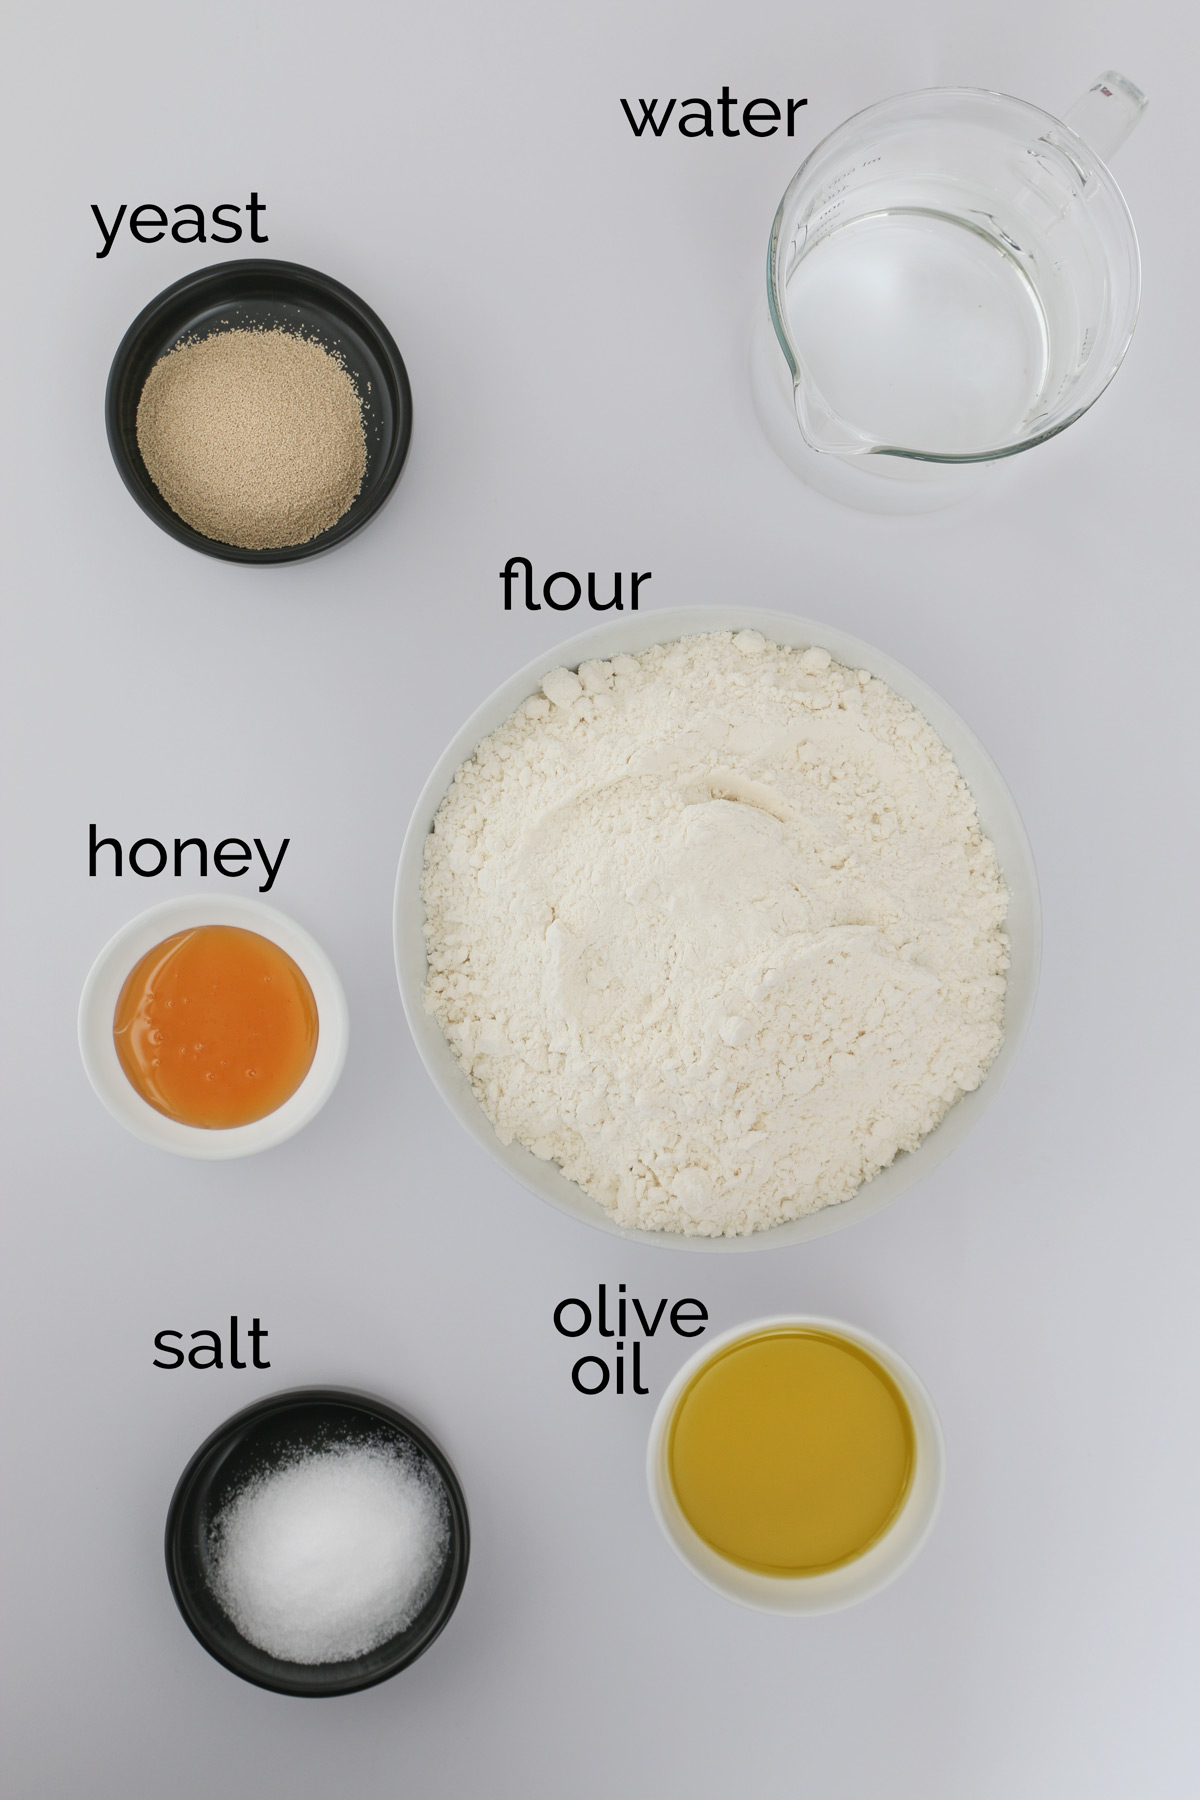
water – Warm water will help your ball of dough rise. Try to get the water between 105 and 115 degrees F if you’re using active dry yeast.
olive oil – Olive oil adds a bit of flavor, but mostly adds a nice texture to your pizza dough.
honey – A little bit of honey or sugar acts as food for the yeast as well as adds flavor to the dough.
salt – This adds both flavor and texture to the pizza crust. Don’t skip it.
yeast – Yeast adds flavor as well as helps dough rise. You can’t omit this, but you can use instant yeast which simply doesn’t need to be dissolved in water if you want to make the dough more quickly. If you prefer not to use commercial yeast at all, be sure to try your hand at growing a sourdough starter and make sourdough pizza crust.
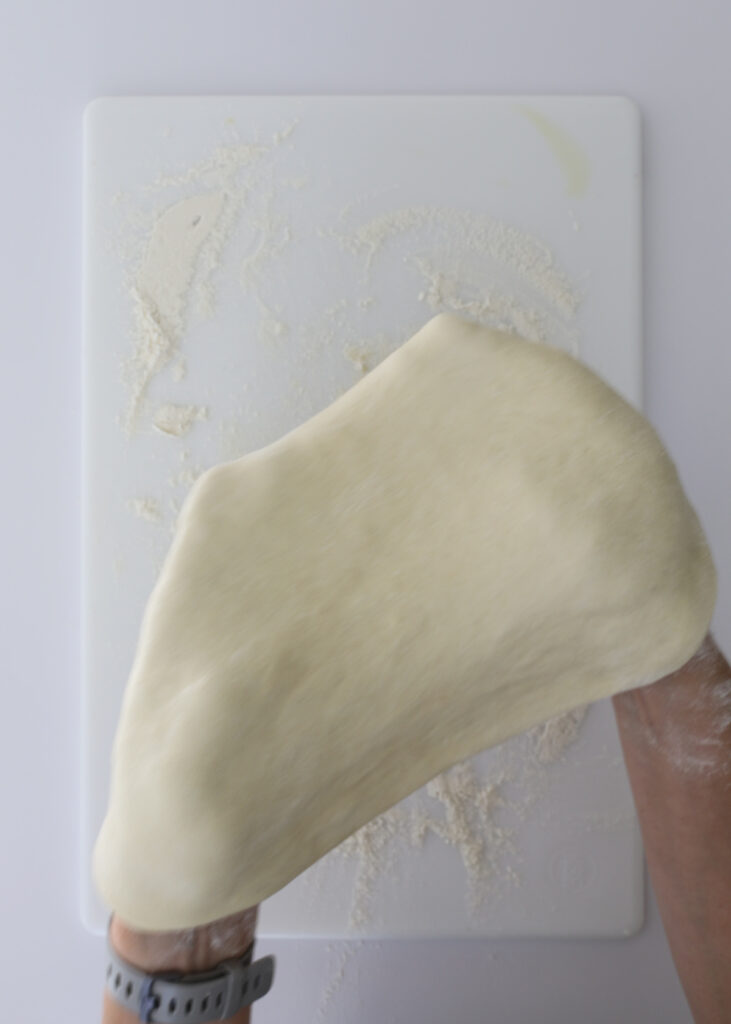
flour – Regular all-purpose flour or bread flour is the best flour for pizza. It’s easy to keep on hand, unlike semolina flour that I don’t end up using that often. Bread flour is a nice option since it has a higher protein content that will result in a stretchier dough that results in a nice, chewy crust. If you’d like a whole-grain pizza crust, be sure to try my Whole Wheat Pizza Dough that uses whole wheat flour.
Variations: you can add parmesan cheese or Italian seasoning to your dough if you’d like to add a little bit extra flavor to the crust itself.
Pizza Toppings
To make the perfect homemade pizza at home, you’ll also need sauce, cheese, and toppings.
Pizza sauces – You can use canned tomato sauce and sprinkle some dried Italian herbs over the top. You can also make our easy, No Cook Pizza Sauce for a quick option. Jarred pizza sauce as well as pesto are also good options. This homemade pizza sauce recipe is delicious!
Cheeses – Shredded mozzarella cheese is standard, but Monterey Jack or fresh mozzarella are both common pizza cheese. Many pizzas also feature goat cheese, feta cheese, Swiss, or Brie.
Toppings – Standard pizza toppings include sliced pepperoni, cooked and drained Italian sausage, sliced mushrooms, diced onion, diced tomato, sliced black olives, chopped zucchini, and sliced bell peppers. You don’t have to limit yourself to these toppings, though. You can pretty much put anything on a pizza: bacon, pulled pork, cooked chicken, grilled steak, black beans, etc. I’ve even seen mashed potatoes on a pizza!
?How to Make Homemade Pizza
A homemade pizza dough isn’t difficult to make, especially if you have a bread machine or a stand mixer. Make the dough a few hours before you plan to bake the pizza(s). This Homemade Pizza Dough makes enough for 3 medium pizzas. You can cut the dough into smaller portions for smaller pizzas.

To make the dough by hand:
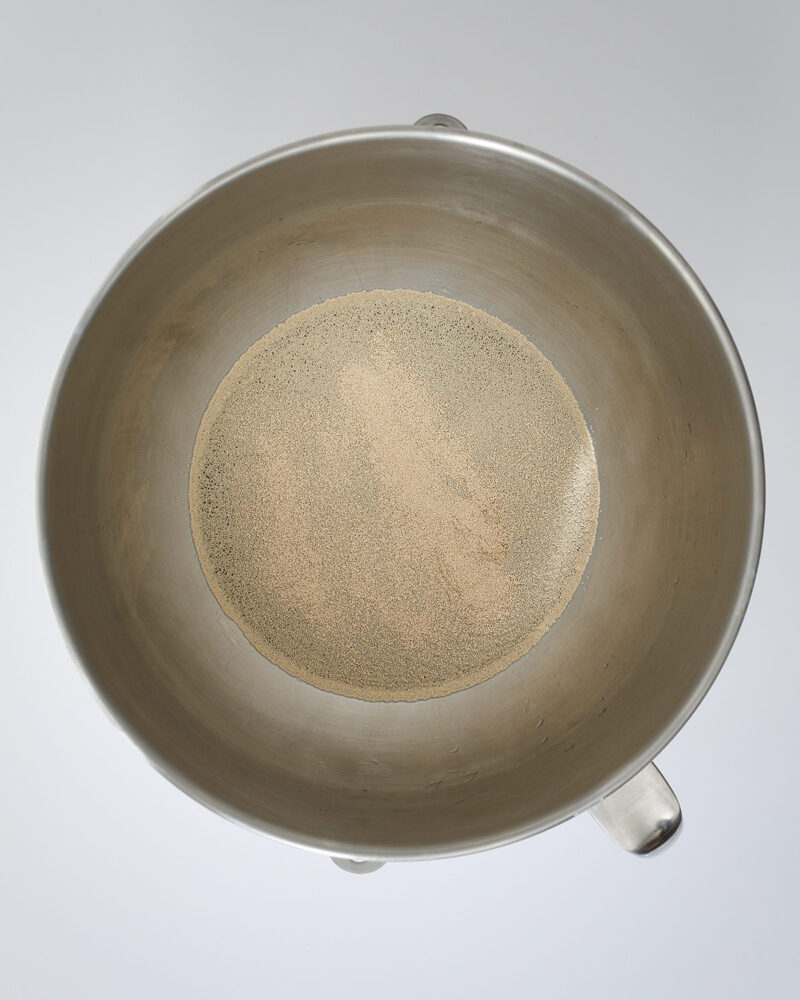
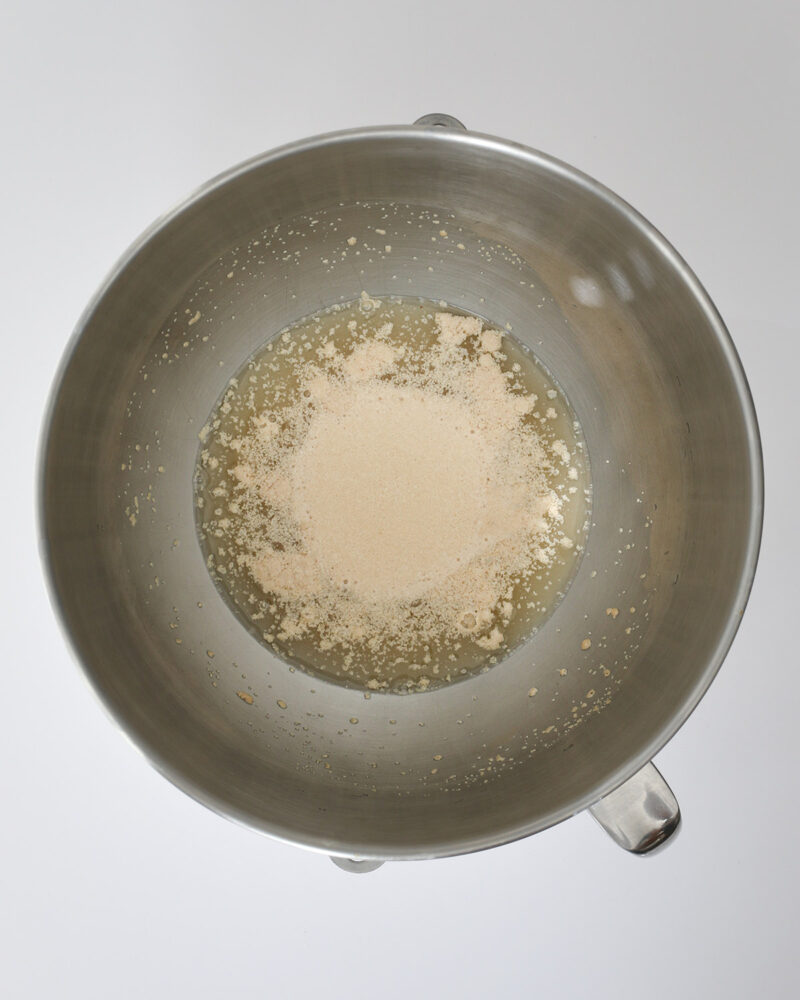
- Place the warm water in a large bowl. Stir in the honey and sprinkle the yeast over the top. Allow this yeast mixture to set for five minutes. The mixture will start to foam and bubble.
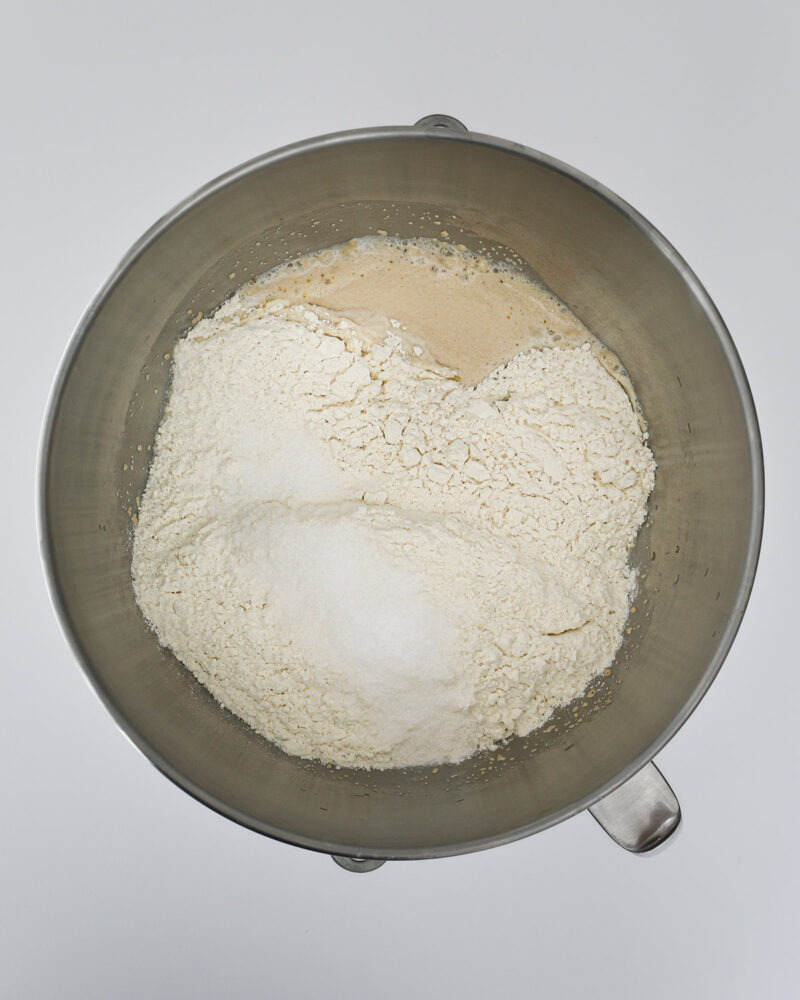
- Add the oil, flour, and salt, and stir until a shaggy dough forms.
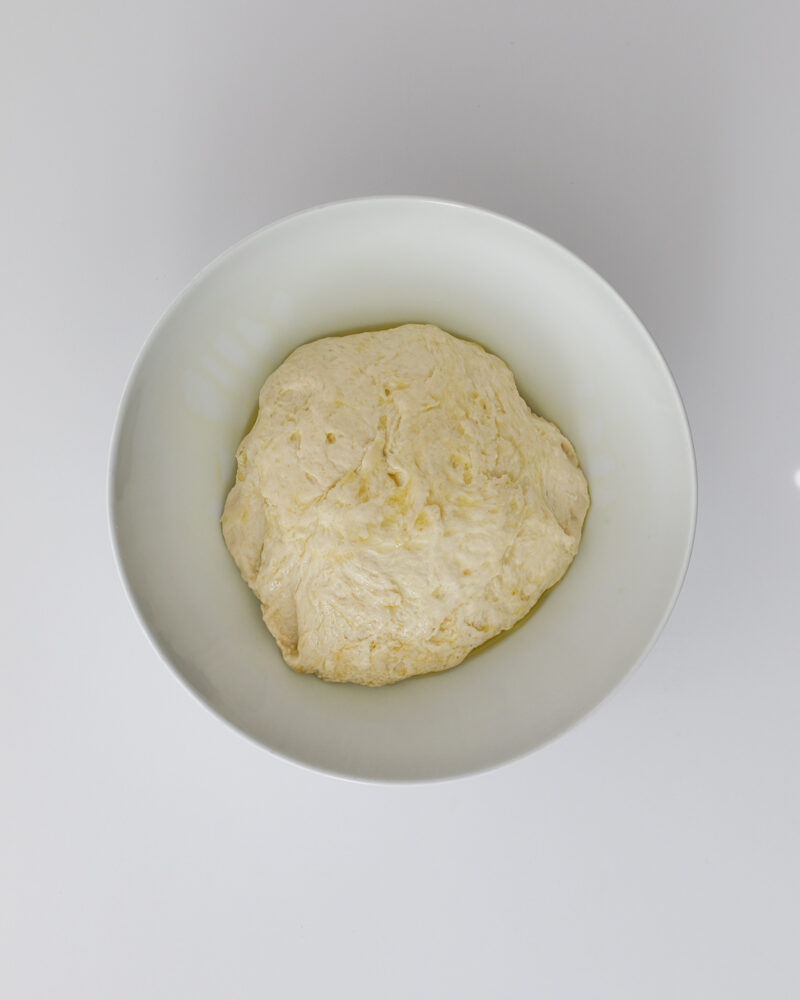
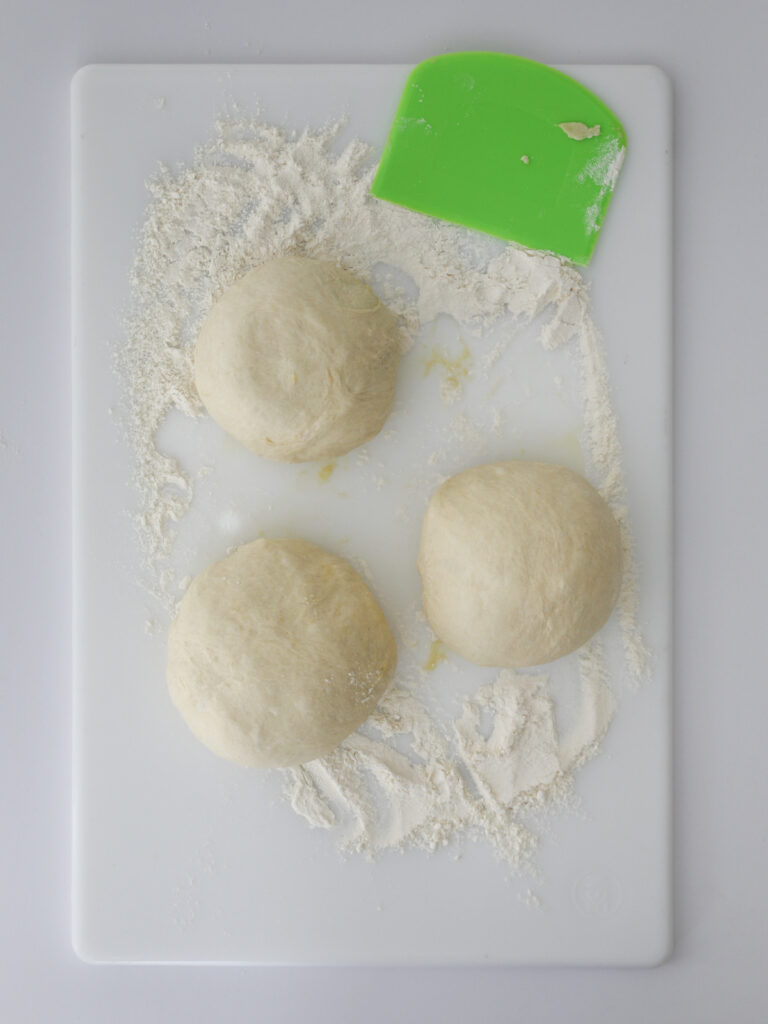
- Transfer the dough to a lightly floured surface and knead for about five minutes until a smooth dough ball is created.
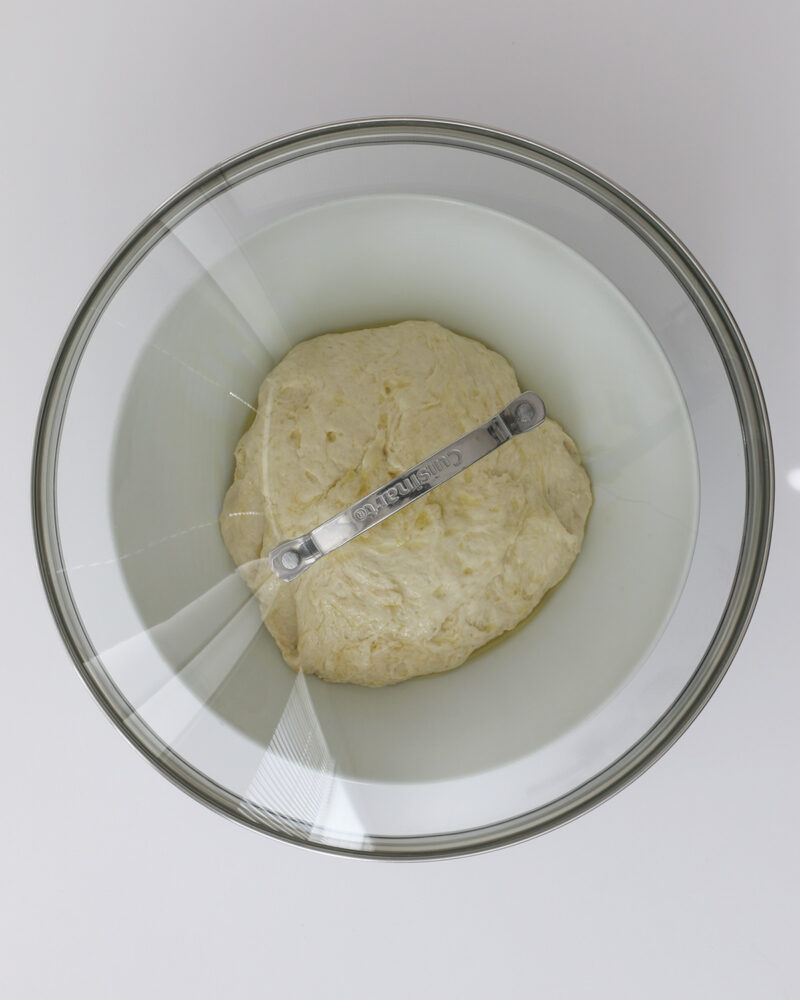
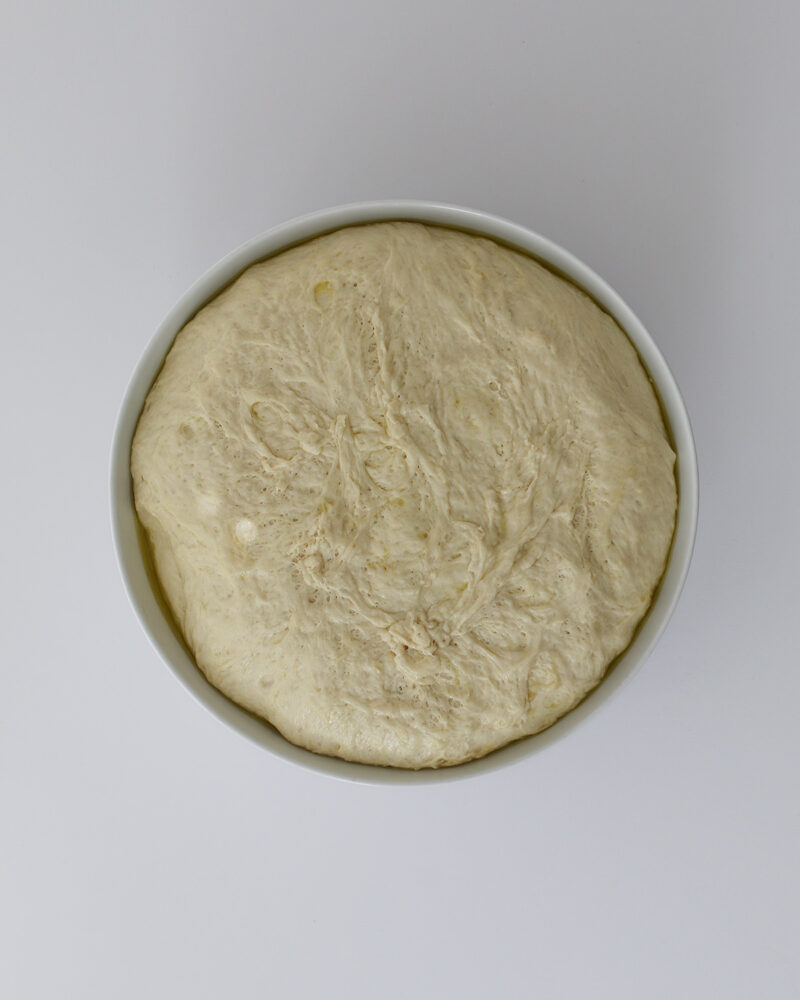
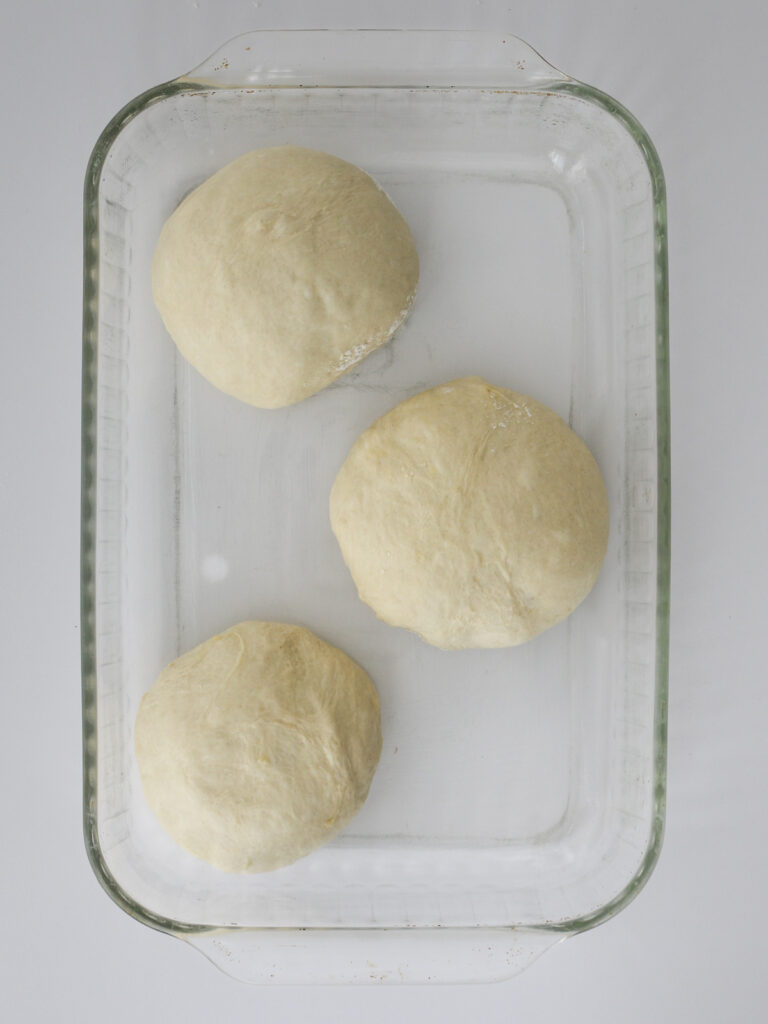
- Transfer the dough ball to a greased bowl, cover with a lid or plastic wrap and allow to rise in a warm place, until doubled in bulk, about an hour.
To make the dough in a bread machine:
- Combine ingredients in the bread machine pan according to the order recommended by your machine’s manufacturer.
- Set on “dough” and start the machine, checking after ten minutes to make sure all the ingredients have been incorporated and not stuck to the side of the pan. Scrape down any stray ingredients.
To make the dough in a stand mixer:
- Place the warm water in the mixing bowl. Stir in the honey and sprinkle the yeast over the top. Allow this to set for five minutes. The mixture will start to foam and bubble.
- Add the oil, flour, and salt.
- With the dough hook, stir the mixture on low until a smooth, elastic dough ball forms. Scrape down the sides, if needed.
- Transfer the dough ball to a greased bowl, cover with a lid or saran wrap, and allow to rise until doubled in bulk, about an hour.
To form the pizzas:
While the pizza dough rises, grease 12-inch pizza screens. I find that a screen works better than a pizza pan for a crispier crust. Alternatively, you can prepare four baking sheets by lining them each with a piece of parchment paper or greasing the pans and then sprinkling with cornmeal.
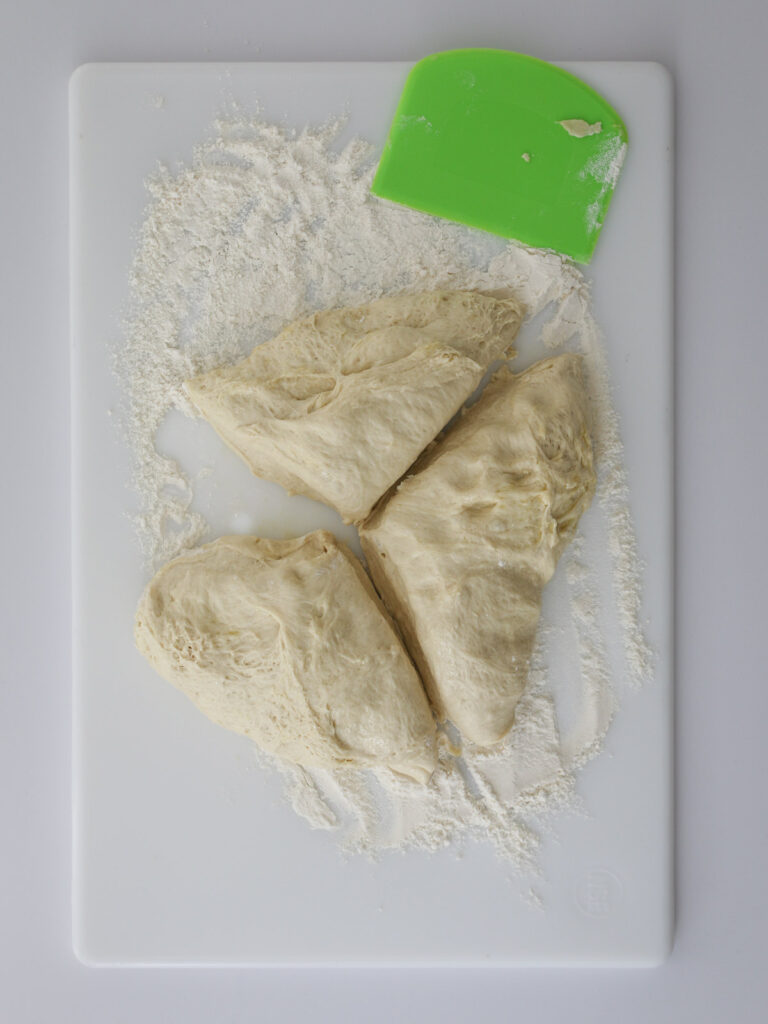
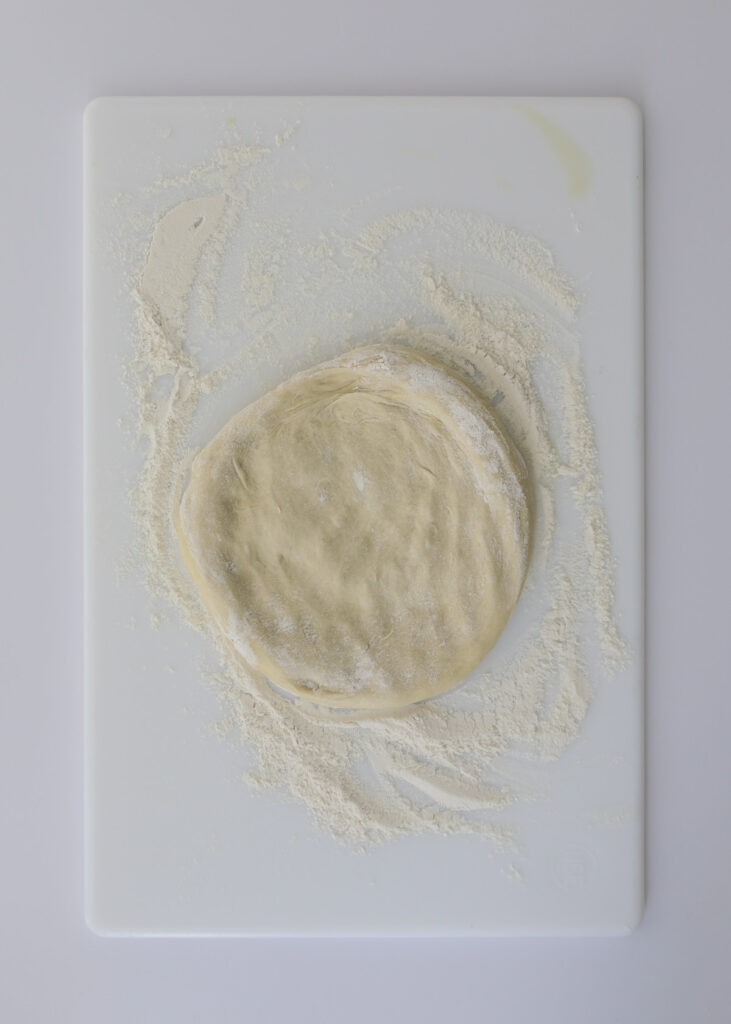
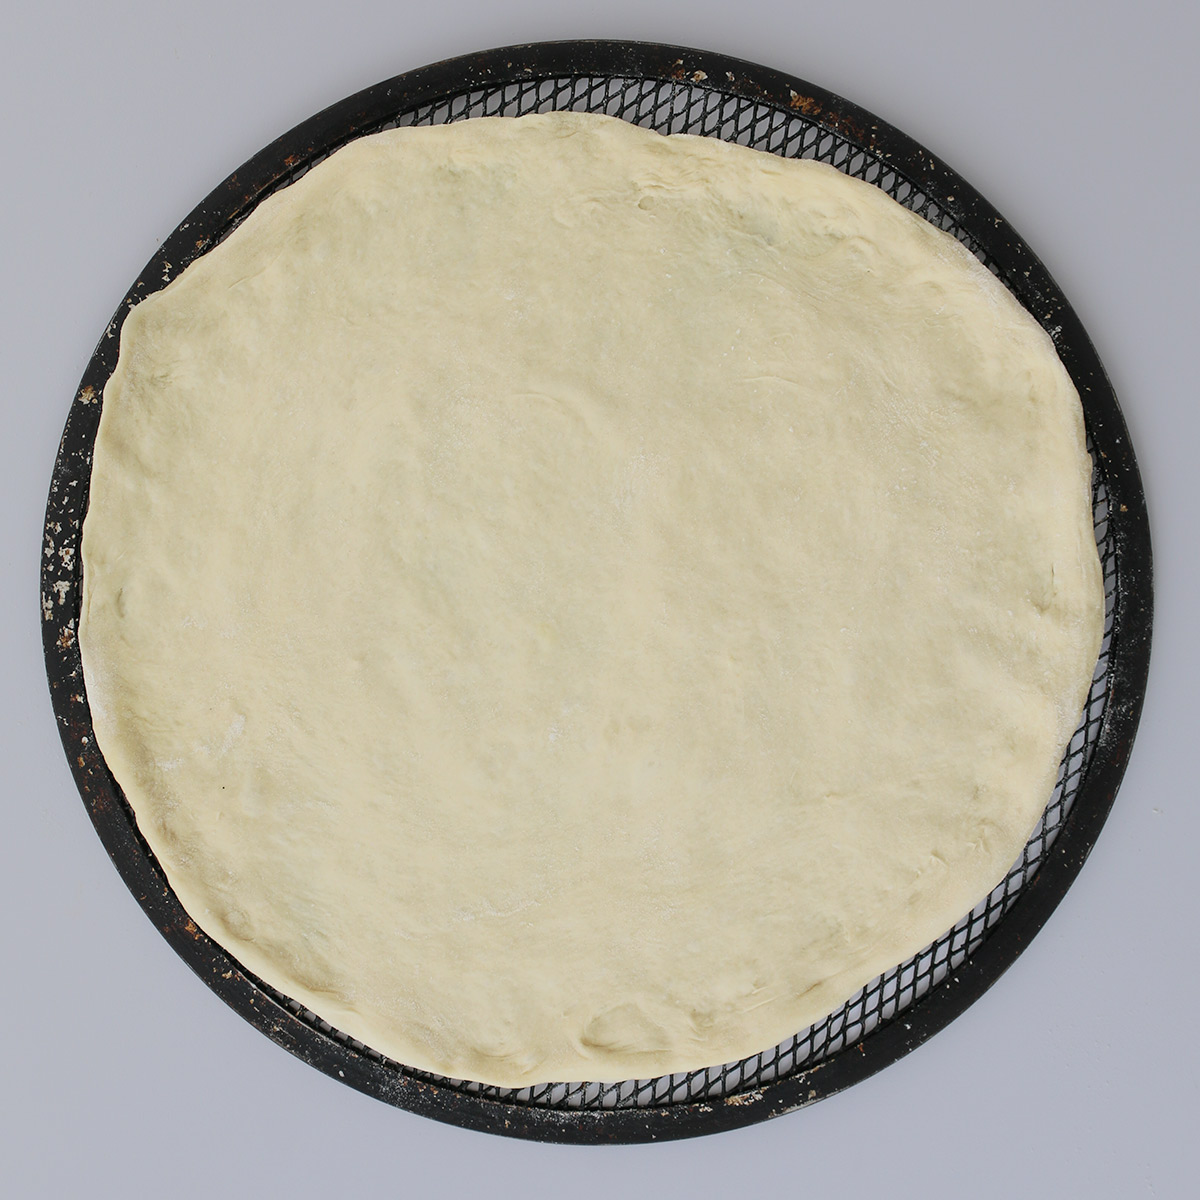
When the dough is ready, divide it into three equal portions. Shape each portion into a flat, 12-inch round. You can use a rolling pin and roll it out on a lightly floured work surface, adding additional flour if the dough sticks to the surface.
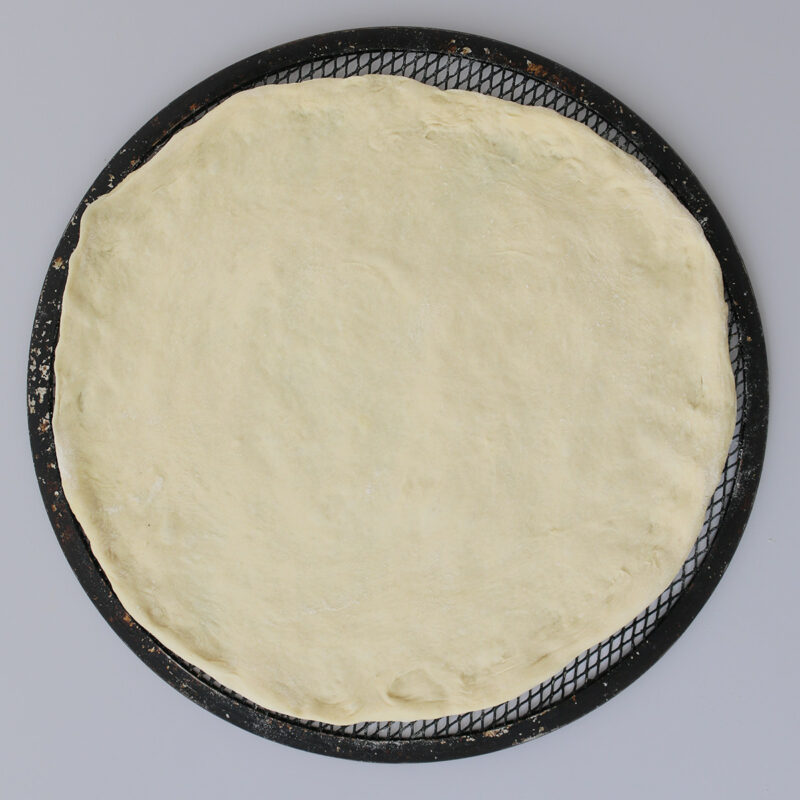
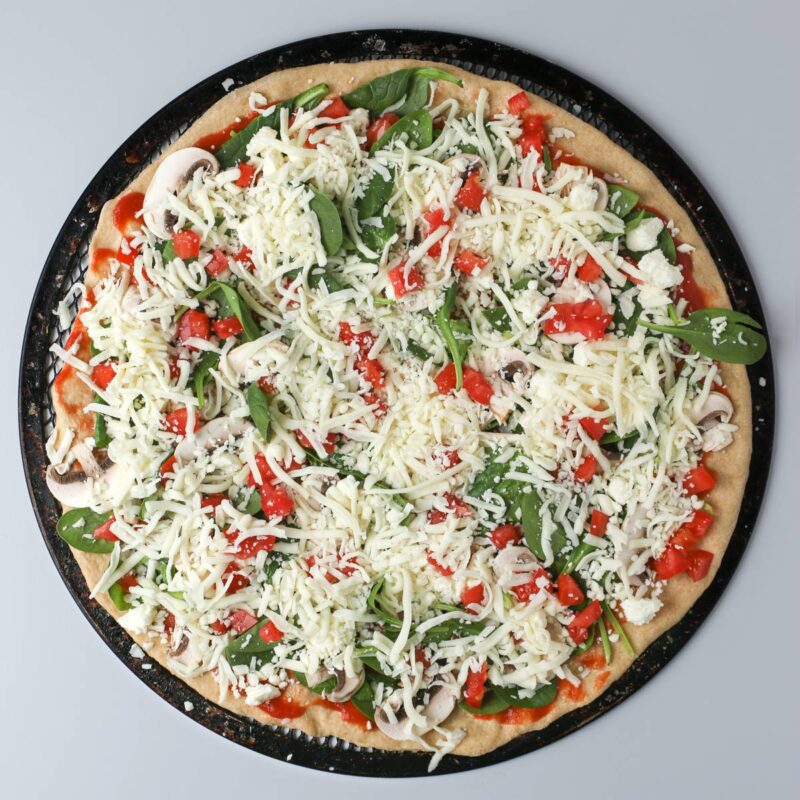
Place each on a prepared pan and proceed with your pizza recipe, adding your preferred sauce and toppings.
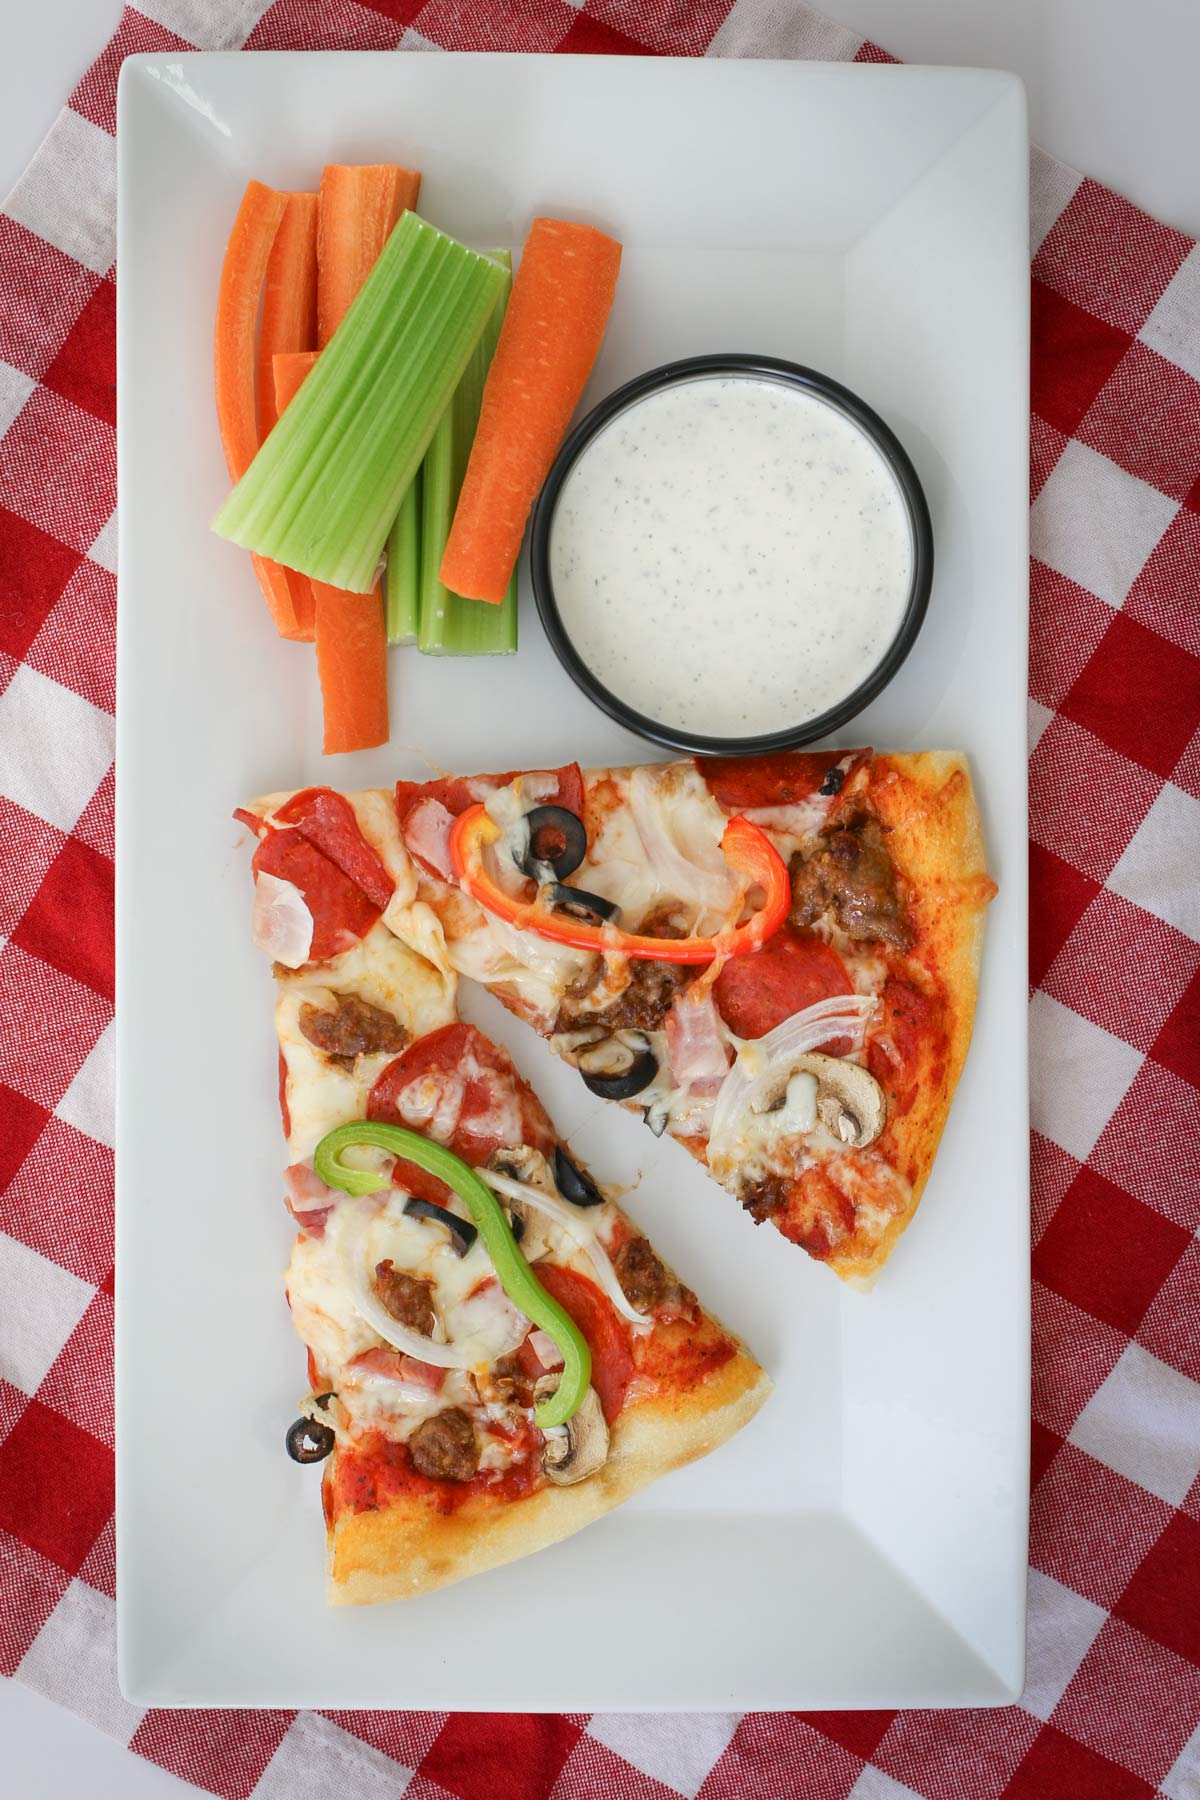
Bake in a preheated 475 degree oven for 8 to 12 minutes, until the crust is crisp and the cheese is melted. This high temperature helps the crust bake all the way through the center.
Here’s a very old video that shows how to form small pizza rounds. Those are super easy to make when you’re just beginning. Mini pizzas make for a super duper easy pizza night.
FAQs
You definitely can! And it will result in a more flavorful dough. Simply make the dough and then store it in the fridge, loosely covered for up to 1 day, letting it rise slowly in your fridge.
If you don’t want to bake all four pizzas, you can freeze the extra dough balls for a later date. When the dough is ready, divide it into 4 sections. Place a dough ball in a greased ziptop, freezer bag or airtight container and place it in the freezer immediately. When you’re ready to use the dough, remove one frozen ball from the bag and place it in a greased bowl at room temperature for several hours. The dough will thaw and rise at the same time. When it has doubled in bulk, you can form and bake the pizza.
What to Serve with Pizza
There are so many great recipes to serve with pizza. Of course you can simply dig in as is! But pizza night always goes well with a garden salad topped with this Easy Homemade Italian Salad Dressing Recipe. Or try this Italian Salad with Crispy Prosciutto.
Of course you can’t go wrong with a Quick and Easy Caesar Salad.
Favorite Pizza Recipes


Tell us what you think!
We love to hear your experiences with Good Cheap Eats. Click the STARS on the recipe card or leave a STARRED comment to let us know what you think of the recipe.
Best Homemade Pizza Dough
Ingredients
- 1 ½ cup water warmed
- ¼ cup olive oil
- 2 tablespoon honey
- 4 ½ cup unbleached, all-purpose flour
- 1 tablespoon salt
- 1 tablespoon active dry yeast
- 2 cup pizza sauce
- 6 cup shredded mozzarella cheese
- assorted pizza toppings
Instructions
To make the dough by hand:
- Place the warm water in a large mixing bowl. Stir in the honey and sprinkle the yeast over the top. Allow this to set for five minutes. The mixture will start to foam and bubble.1 ½ cup water, 2 tablespoon honey, 1 tablespoon active dry yeast
- Add the oil, flour, and salt, and stir until a shaggy dough forms.¼ cup olive oil, 4 ½ cup unbleached, all-purpose flour, 1 tablespoon salt
- Transfer the dough to a lightly floured surface and knead for about five minutes until a smooth dough ball is created.
- Transfer the dough ball to a greased bowl, cover, and allow to rise until doubled in bulk, about an hour.
To make the dough in a bread machine:
- Combine ingredients in the bread machine pan according to the order recommended by your machine’s manufacturer.1 ½ cup water, ¼ cup olive oil, 2 tablespoon honey, 4 ½ cup unbleached, all-purpose flour, 1 tablespoon salt, 1 tablespoon active dry yeast
- Set on "dough" and start the machine, checking after ten minutes to make sure all the ingredients have been incorporated and not stuck to the side of the pan. Scrape down any stray ingredients.
To make the dough in a stand mixer:
- Place the warm water in the mixing bowl. Stir in the honey and sprinkle the yeast over the top. Allow this to set for five minutes. The mixture will start to foam and bubble.1 ½ cup water, 2 tablespoon honey, 1 tablespoon active dry yeast
- Add the oil, flour, and salt.¼ cup olive oil, 4 ½ cup unbleached, all-purpose flour, 1 tablespoon salt
- With the dough hook, stir the mixture on low until a smooth, elastic dough ball forms. Scrape down the sides, if needed.
- Transfer the dough ball to a greased bowl, cover, and allow to rise until doubled in bulk, about an hour.
Once the dough is ready:
- Grease four 12-inch pizza screens or prepare four baking sheets by lining them with parchment paper or greasing and then sprinkling with corn meal.
- When the dough is ready, divide it into four equal portions. Shape each portion into a flat, 12-inch round.2 cup pizza sauce, 6 cup shredded mozzarella cheese, assorted pizza toppings
- Place each on a prepared pan and proceed with your pizza recipe, adding your preferred sauce and toppings.
- Bake at 475 degrees for 8 to 12 minutes, until the crust is crisp and the cheese is melted.
Video
Notes
Nutrition
This post was originally published on July 24, 2009. It has been updated for content and clarity.

Casey Malone
Okay…Stupid question…Self rising flour or all purpose. I have never made pizza dough.
Jessica
all-purpose, unbleached.
Amy
Thanks for all the information! I’m going to make this tomorrow and freeze it! I’m hoping to make a months worth and start having Friday Pizza Nights!
Thanks for all the tips on freezeing and thawing! I cant wait!
Tracy
I know this is an old post, but after many failed homemade pizza attempts, I tried this recipe and it was AWESOME! In fact, I just ate leftovers : ) I think the thing I always missed before was the oven being so hot – I swear most recipes call for 400 degrees. That and the awesome crust recipe….Thank you so much for sharing!
Aubrey Jensen
Just tried this (w/computer set up in the kitchen!) tonight and it turned out AMAZING!!! Just wondering, to turn it up to be extra-fattening (hey, I’m pregnant!), how would you make this a pan pizza?
Tara
Never mind, I just tried it and it was perfect! I used 1 C wheat 1 C white and 2 1/2 C bread flour. The dough was amazing!! so elastic and perfect moisture content – not to wet/dry. Thanks!!
Jessica
Glad it worked for you!
Tara
What size bread machine do you use? Mine makes a 2lb loaf is that big enough? Thanks! Can’t wait to try it!
Jessica
Mine is a 2 lb. machine
Misty Rodz
Wow, this pizza dough is awesome! I was skeptical at first, because it seemed extremely crumbly when the bread machine first started mixing the ingredients together. However, this was the best pizza that I have made by far. I live in Puerto Rico, so the humidity usually obliterates any type of dough that I attempt to make. When I try to make pizza, I always have to add so much flour to make it less sticky that I end up with white crust that never browns–and it tastes terrible too! However, this dough browned up beautifully without burning the cheese. It truly was pizzeria quality dough. I am soooo excited about this! We can pizza any time we want without breaking the bank. Thanks so much for sharing this recipe!
Jessica
So glad that it worked for you!
Lerin
I am giving this a try today, but I am going to freeze the dough to use for after baby #3 gets here. So when I am ready to use it, I just thaw it in the bag all day then just roll it out, etc, or does it require some more rise time or anything?
Jessica
@Lerin, I take out the frozen balls from the bags and place in a greased dish and let it thaw/rise all night in the fridge or 1/2 day on the counter.
Lisa O Shea
Hope im not repeating but about freezing the dough after the first rise, you just pop it in as is?Its usually very soft no? Just curious as i would like to make a few at a time to safe myself some hassle next time! What are the best steps to take once removing the dough from the freezer.
Jessica
I’ve been researching and testing. I think the best way is to only rise about 30 minutes and then put each dough ball in sandwich bag. When ready to thaw, remove from the bag and place in a greased dish in the refrigerator, covered with a towel. Gonna mix up several batches today.
MK
Have you tried using whole wheat flour in place of white flour or a half and half combo?
Jessica
I’ve done partial, but I didn’t care for the texture of all whole wheat.
Shelah
(I can’t find which post about your pizzas that I made my original comments on.)
These pizzas are awesome. I have been a homemade-pizza failure for a decade. No more, thanks to you! My pickiest eater tells us that this is her favorite meal. The sauce is awesome. (We don’t like that sweet stuff.)
I do the dough with my kitchenaide mixer. Warm water, yeast, and 2 cups of the flour in together….let it proof for a few minutes. Mix in everything else besides the last of the flour. After a little mixing, add remaining flour. It only takes a few minutes of prep. Then I let it rise for an hour. Punch it down and it is ready to go.
Love it!
Jessica
Yeah! Thanks for the good word. When I’m making this for the freezer, I get one batch going in the bread machine and one in the Kitchenaid. And that’s exactly how I do it.
Rebecca
I have a question. Like Carrie, above, I’m going to try this recipe without a bread machine. I also want to freeze the dough. Should I freeze it before it rises and just let it rise when it thaws in the fridge?
Jessica
Sorry, I thought I answered this. I freeze after the first rise.
Sara
Hi! Sounds yummy!! Was wondering how you freeze the pizza dough?
Jessica
I wrap each dough ball in plastic wrap or sandwich bag and then store in freezer in a gallon size bag. Do it quickly in the coldest part of your freezer. The yeast keeps going and dough can keep rising until it’s frozen. (It’s alive!) 😉
Tami
I had just all but given up on good pizza at home. After reading all of your posts and seeing your wonderful-looking pizzas, I’m going to give it another try. It gives me a reason to keep my bread machine around a little longer. lol! I was thinking about donating it because it has been taking up space since I haven’t used it in quite a while.
Thanks for the inspiration to try again!
Angela
Your pizzas look great!! I have been fiddling around with a different dough recipes, but haven’t really found one we really like, so i’m going to try yours, I do have a question though: what purpose does the honey serve? Is it just to give the dough a hint of sweetness? I ask because its not something we normally have in the house and wondering if i could get away with substituting brown sugar. Thanks!
Jessica
A little bit of sugar or honey helps the yeast do its stuff. Feel free to substitute a different sweetener.
Jennifer
I’ve been making homemade pizza for 13 years and have never been satisfied with any of the recipes I’ve tried. I’ve made this 3 times now It is awesome! This is now the only one I will use, it has ended my cravings for any of the pizza chain pizzas. Thank you for sharing!!!
Jessica
Yeah! Thanks for letting me know that it works for you!
CarrIe
Is there anyway to translate the dough recipe into a non- bread machine one? Maybe warm the water and let the yeast sit, then combine, let rise, then punch down? Does that sound right?? Lol… Did I just figure it out?
Jessica
Yes, that’s exactly it. I’ve done it when making many batches at once. 😉
Katy
Can you give me instuctions for the non-bread machine intructions? I need more directions than sit, combine, rise, and punch! haha.
Jessica
Non-bread machine directions: Warm the water and place it in a large mixing bowl (or Kitchenaid bowl). Add honey or sugar and sprinkle the yeast. Once it starts to foam, add the rest of the ingredients. If using mixer, put the bread hook on and mix for 3 minutes. If by hand, stir until dough forms, transfer to floured surface and knead for about 10 minutes. Transfer to greased bowl and let rise until doubled in bulk.
Tara
Could you outline in more detail how to make this dough if you don’t have a bread maker? The first post was a little vague for me, as I’ve never made any type of bread before. FYI: The breadmaker is on my Christmas list! 🙂
Jessica
Warm the water and place it in a large mixing bowl (or Kitchenaid bowl). Add honey or sugar and sprinkle the yeast. Once it starts to foam, add the rest of the ingredients. If using mixer, put the bread hook on and mix for 3 minutes. If by hand, stir until dough forms, transfer to floured surface and knead for about 10 minutes. Transfer to greased bowl and let rise until doubled in bulk.
FishMama
For just overnight, I would store in fridge. Longer storage, freezer.
Sabrina
Okay, I made this tonight and want to use it tomorrow. Can I just store it in the fridge overnight? Or should I put it in the freezer? Thanks to anyone that can help?!?
Debbie
Look delicious! I've got a pizza dough recipe I like, but I'm going to try this one next.