

Bake someone happy today. Include cookies. Not sure how? You can learn how to make cookies easy, delicious, and pretty at home with these tested cookie baking tips.

Want to save this post?
Enter your email below and get it sent straight to your inbox. Plus, I’ll send you budget recipes and money-saving tips every week!
Who doesn’t have fond memories of the Cookie Monster gobbling down cookies in a flurry of crumbs?
And who doesn’t melt when the baker chick hands Harold Crick a warm-from-the-oven chocolate chip cookie?
The world needs more good cookies. Ergo, you need to know how to make cookies so that you can share them with the people you love.
These hand-held desserts are simple to make, freeze beautifully, and are guaranteed to make people happy. While store-bought cookies have certainly improved over the last few years, homemade cookies are almost always better. Cheaper, too.
Follow these tried and true cookie baking tips for best results.
Why It Matters
You can have all the cookie recipes in the world, but if you don’t know how to make cookies easily at home, your efforts may be disappointing. The mixing will be frustrating or your cookies will flatten.
Learn these basic cookie baking tips so it’s more fun and delicious.
Tips for Success
You increase your chances of baking the perfect cookie by following the recipe directions carefully and considering the following cookie baking tips:
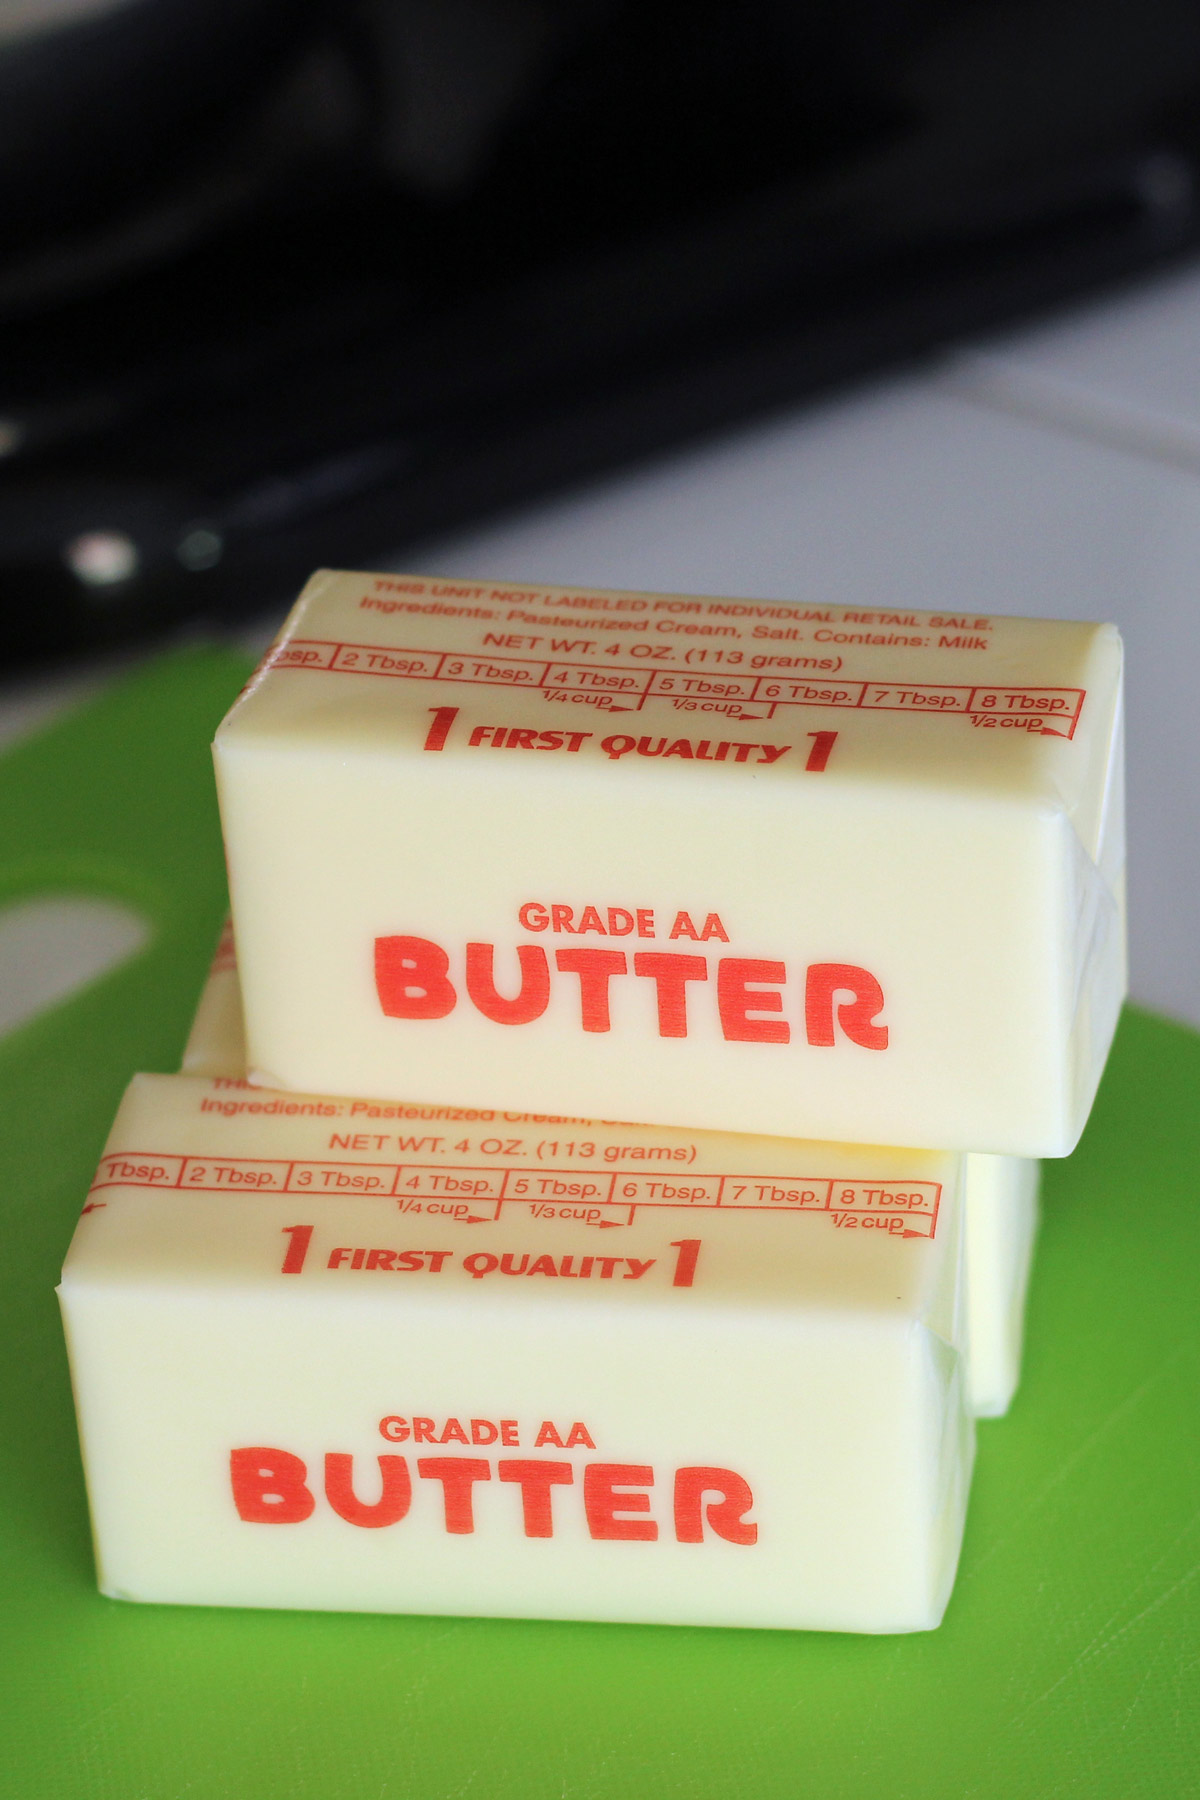
Soften the butter.
Oh, it’s such a pain to make cookies with hard butter. And, yes, butter is in order. It makes everything better.
To cream butter with sugar is the first step in baking cookies and works best with room temperature butter.
For best pricing, buy it in bulk at Costco or on sale at the grocery store.
You can freeze butter, so don’t hesitate to stock up when you see a great sale.
(And yes, west of the Rockies, butter comes in short, stumpy sticks like those pictured.)
- Leave a package of butter on the counter overnight before you want to bake. This will soften it so that it’s ready for using in your recipe.
- If it’s salted, it will stay good at room temperature. Lots of baking recipes call for unsalted butter, but you can fudge on this point. Just adjust the salt in your recipe if need be.
- If your butter is not soft enough to “cream” easily, nuke it in the microwave for 10 to 30 seconds at 10% power. This should speed up the softening process.
- If your cookies spread too much in baking, it could be that the butter was too warm. Chill the dough before you bake cookies to get the right temp.
Preheat the oven.
You don’t really need to preheat for casseroles and savory dishes, but for baked goods, yes, the preheat step is necessary. It’s one of those cookie baking tips that you can’t skip.
It matters when you’ve got chemical reactions going on between leavenings and liquids, so don’t cheat on this one.
Get an oven thermometer to make sure your oven is calibrated properly. Some ovens run too hot or too cold, so you’ll need to adjust for this.
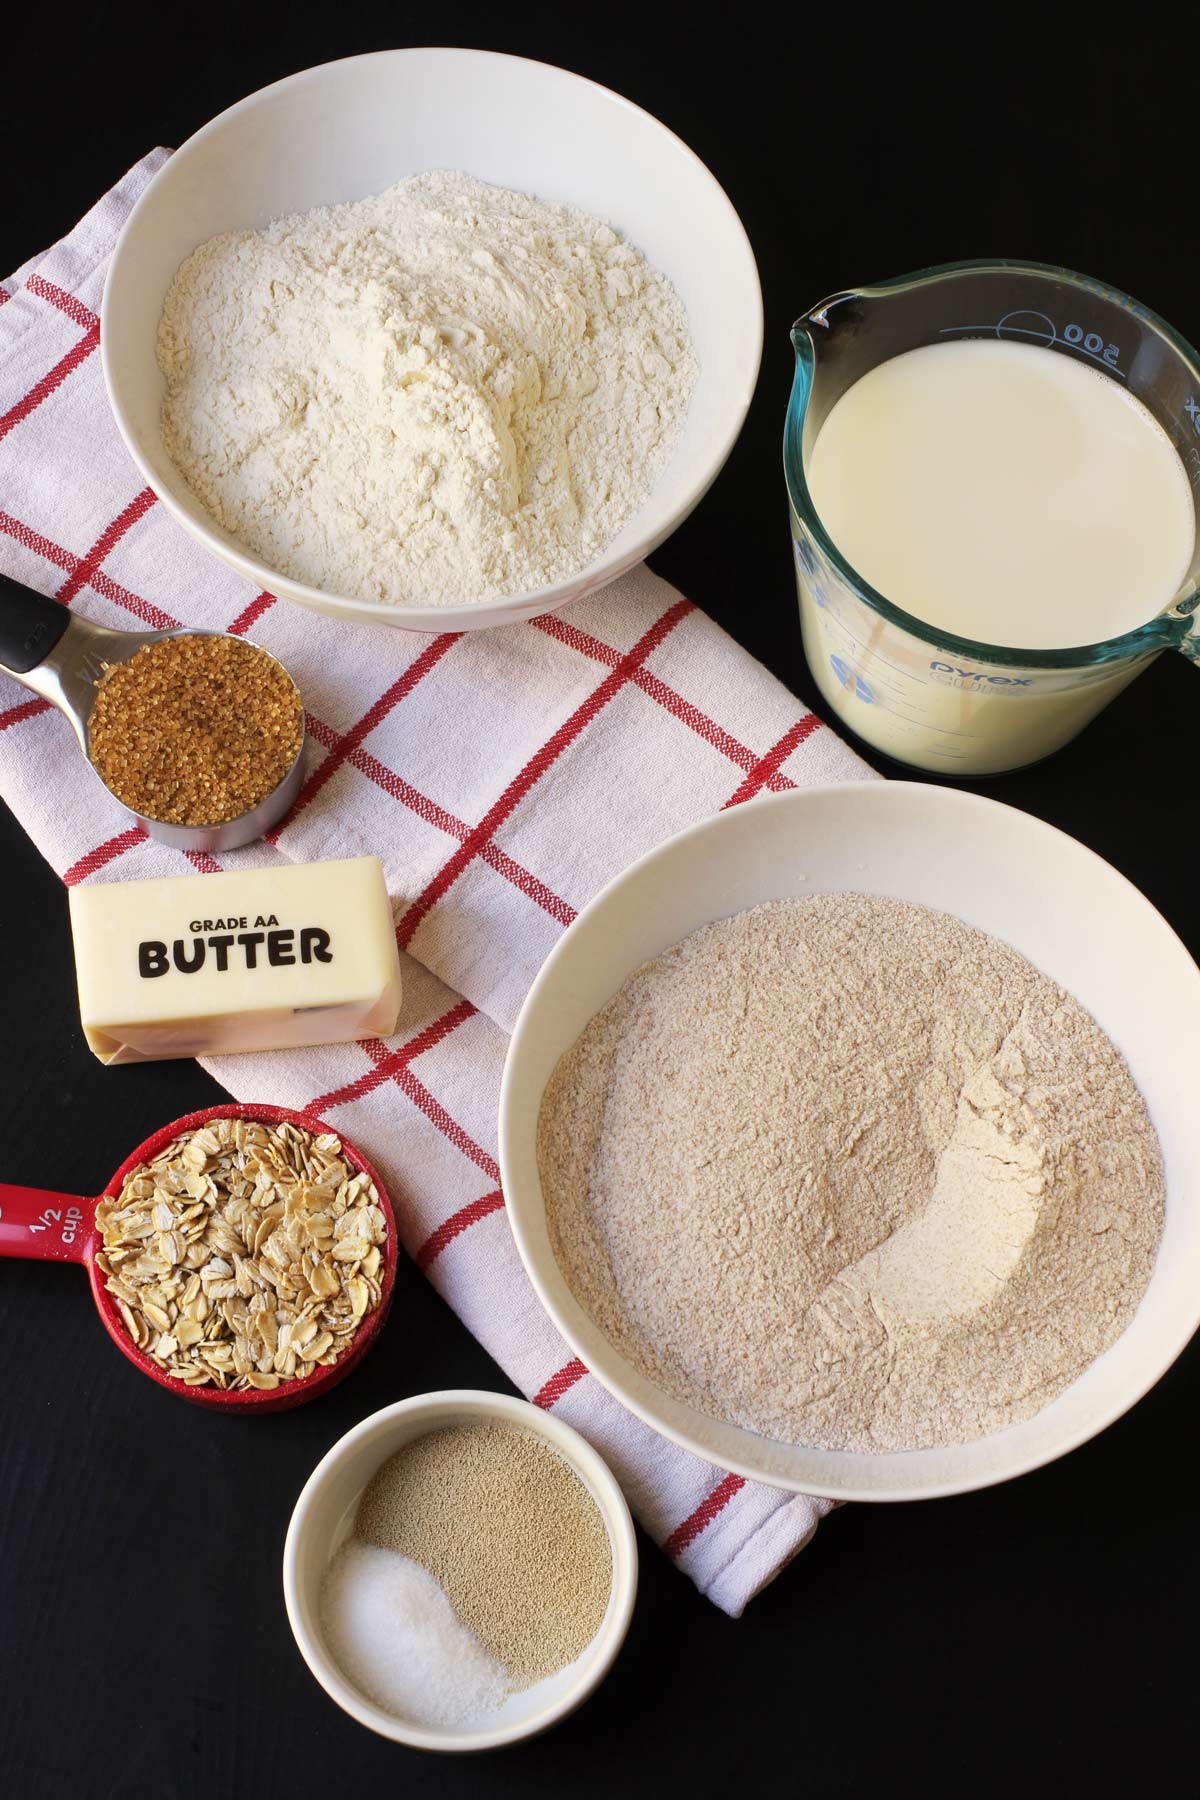
Buy ingredients in bulk.
If you know you’re going to do a lot of baking, particularly at the holidays, build a stockpile from the baking aisle, making sure you have enough flour, sugar, and leavenings to make many batches of your favorite cookies.
- Baking items are typically on sale during the winter and spring holidays, so feel free to buy a lot if you’ve got the room and know you’ll use it.
- Check “best-by dates” to ensure best texture and flavor.
- Butter and flour can be frozen to extend their shelf life.
Pro cookie baking tip: Print off a copy of our Baking Substitutions List to keep on handy for those days when you run out of something.
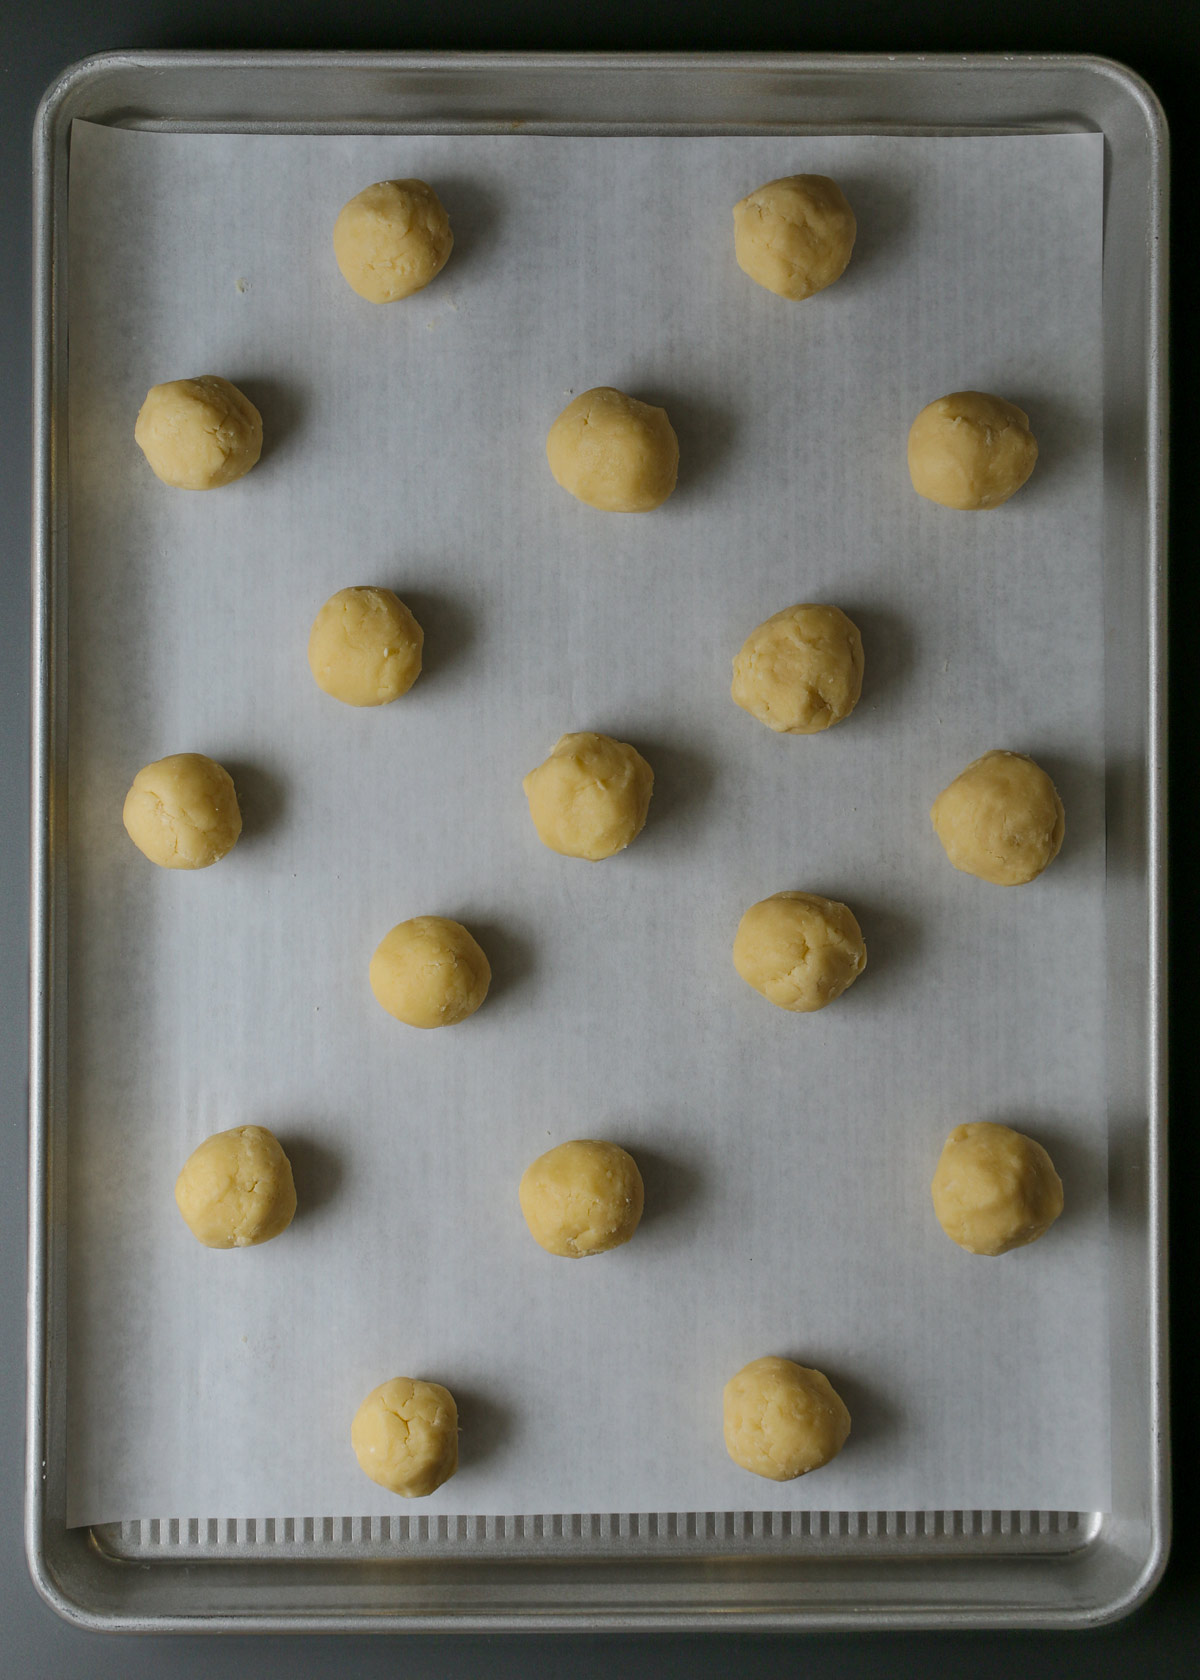
Line your baking sheets.
For easy clean up, line your baking sheets with silpat mats or parchment paper.
Lining the cookie sheet also makes it easy for you to quickly transfer each batch to the baking sheet and to the cooling rack. Just lift the paper or mat and transfer the whole unit. While one batch is baking, you can get the next batch ready on a mat or piece of parchment.
- You won’t have to wash baking sheets when you line them! So nice!
- You can reuse a sheet of parchment 2-3 times and then chuck it.
- The silpat mats can be washed and reused indefinitely. Both serve as an excellent measure to prevent burnt and stuck-on-the-cookie-sheet cookies.
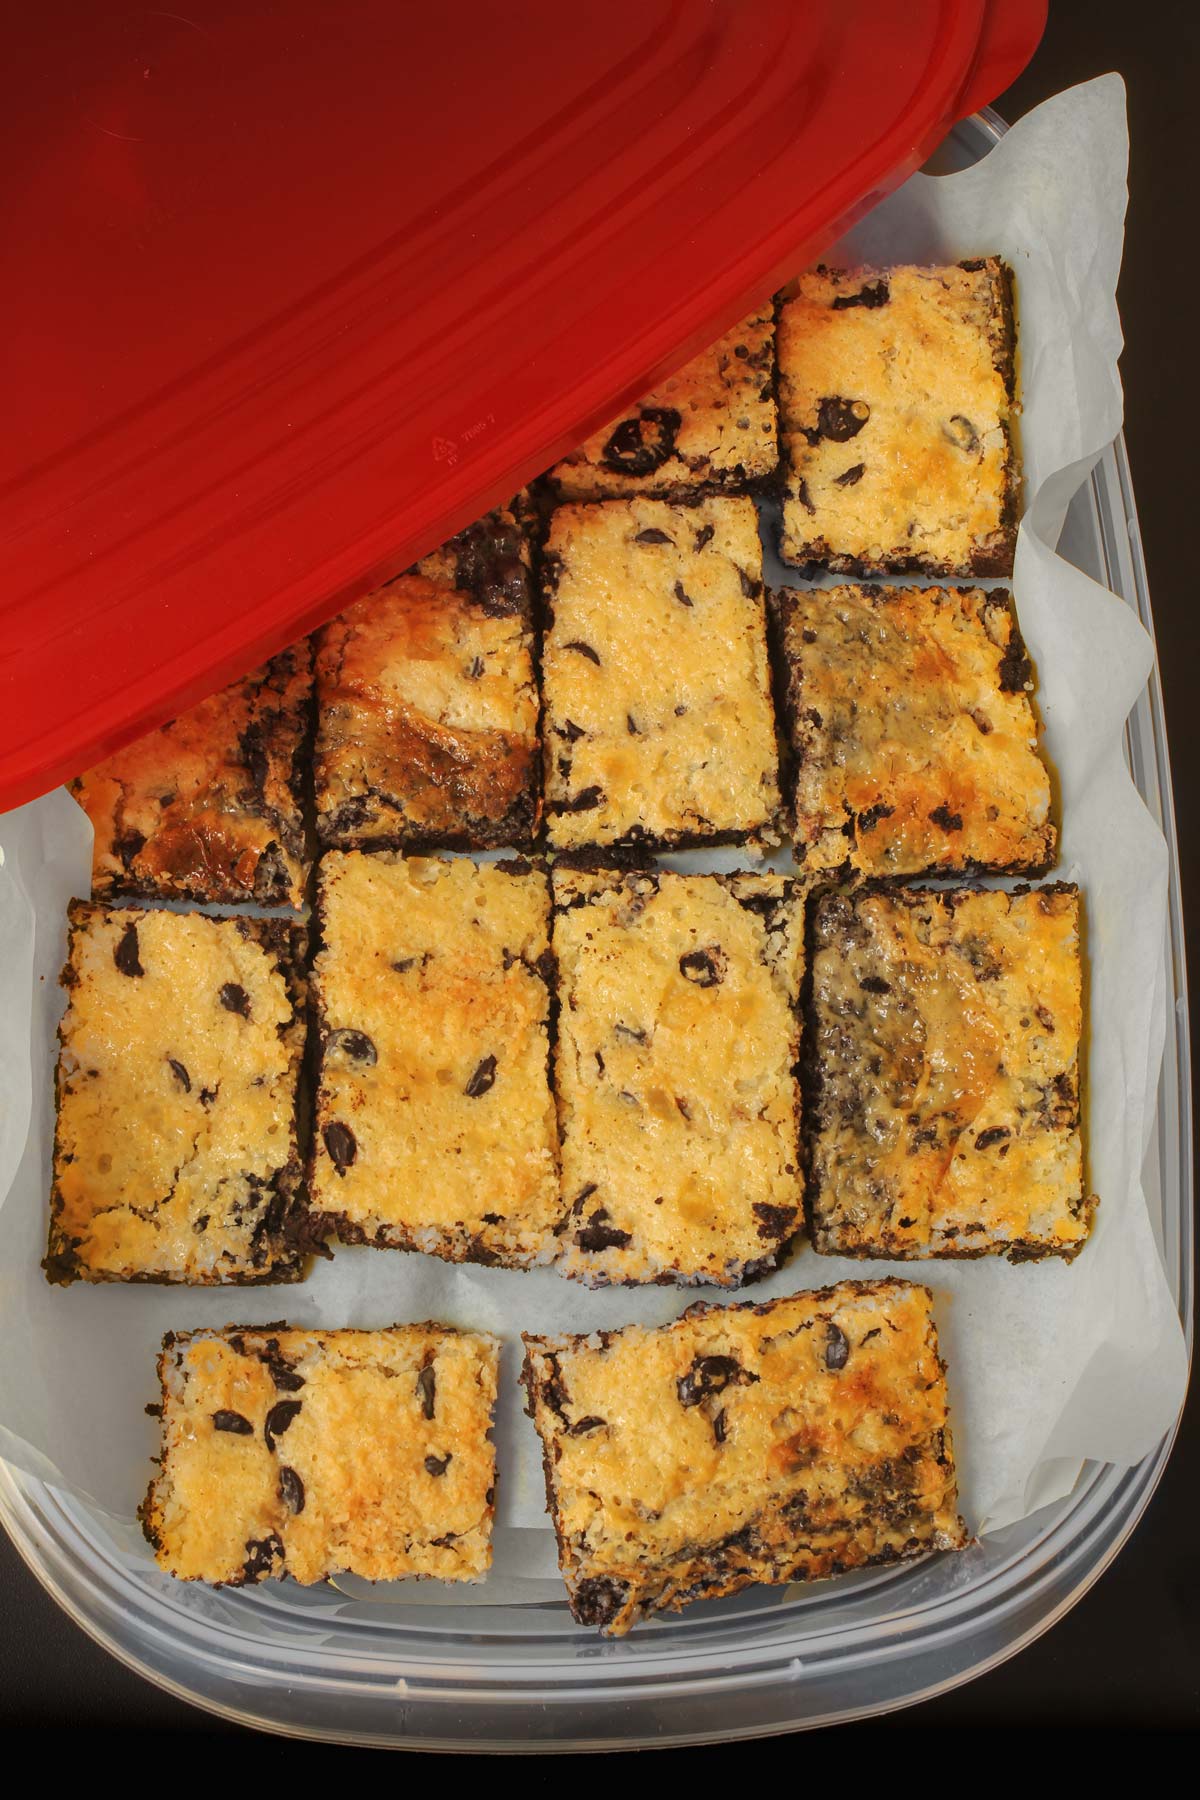
Use parchment paper and binder clips for bar cookie pans.
Even if you’re making bar cookies, be sure to use a parchment lined baking sheet. Cookie removal and clean up will be a breeze!
Binder clips will hold the paper in place until you get your dough or batter in the pan. Then remove them prior to baking.
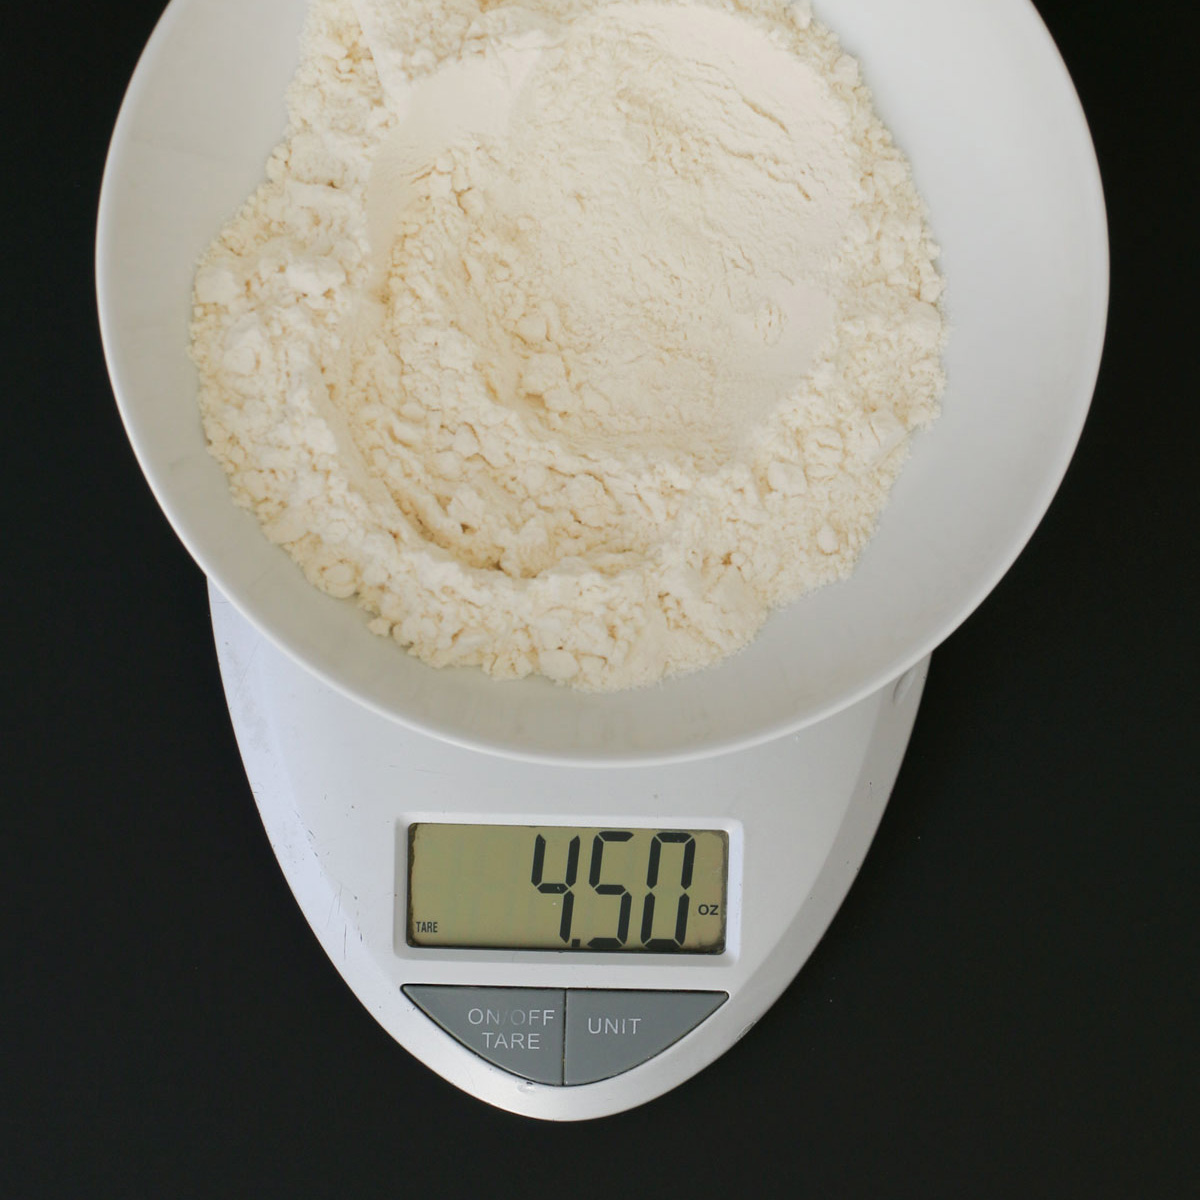
Weigh your flour.
Measuring flour in cups can lead to disproportionate ingredients. Since scooping techniques and flour grinds can vary, weighing flour can make sure everything is measured correctly.
I weight out 4.5 oz of flour for every cup that’s called for a recipe.
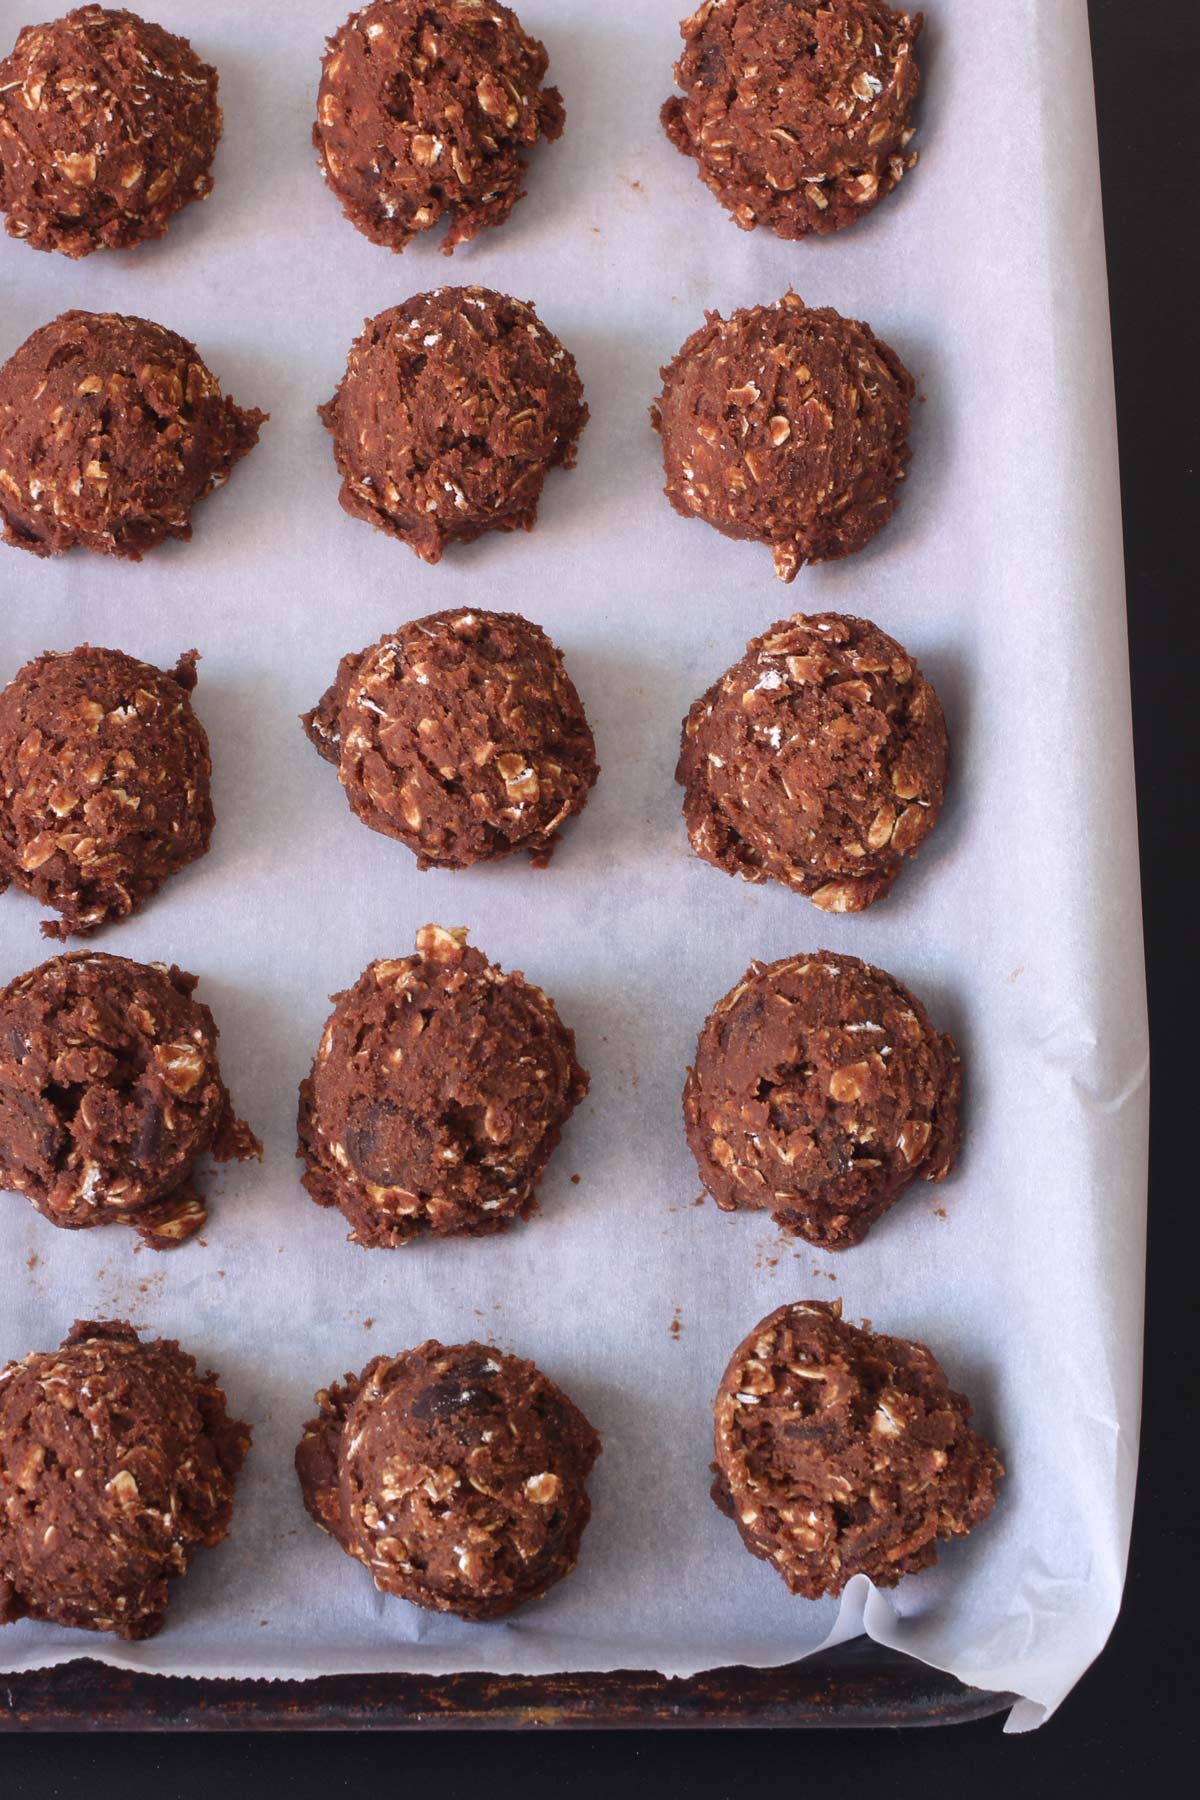
Use an ice cream scoop or cookie scoop for evenly shaped cookies.
A cookie scoop can speed up the work and ensure that your cookies are more or less the same size.
If you don’t already have a quick-release cookie scoop, get some. They make cookie baking so easy for both adults and kids!
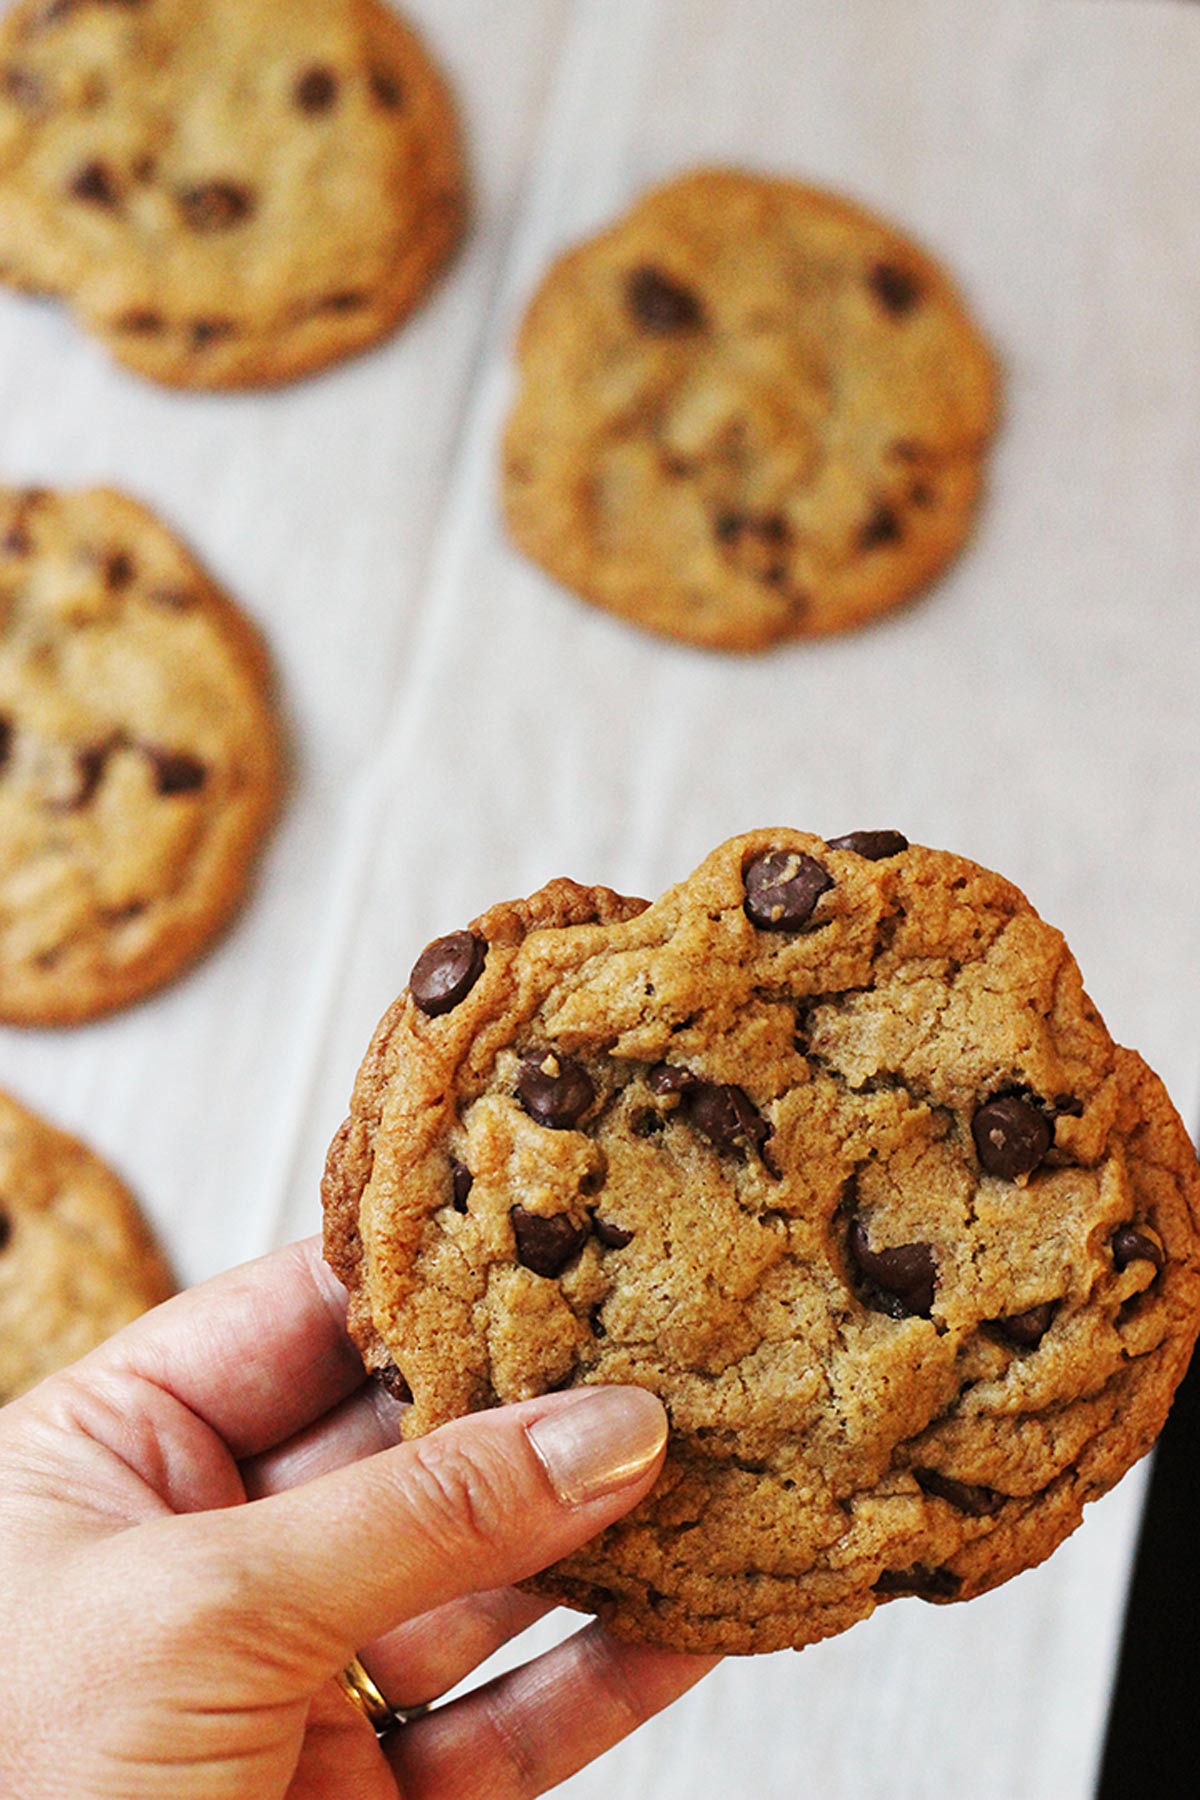
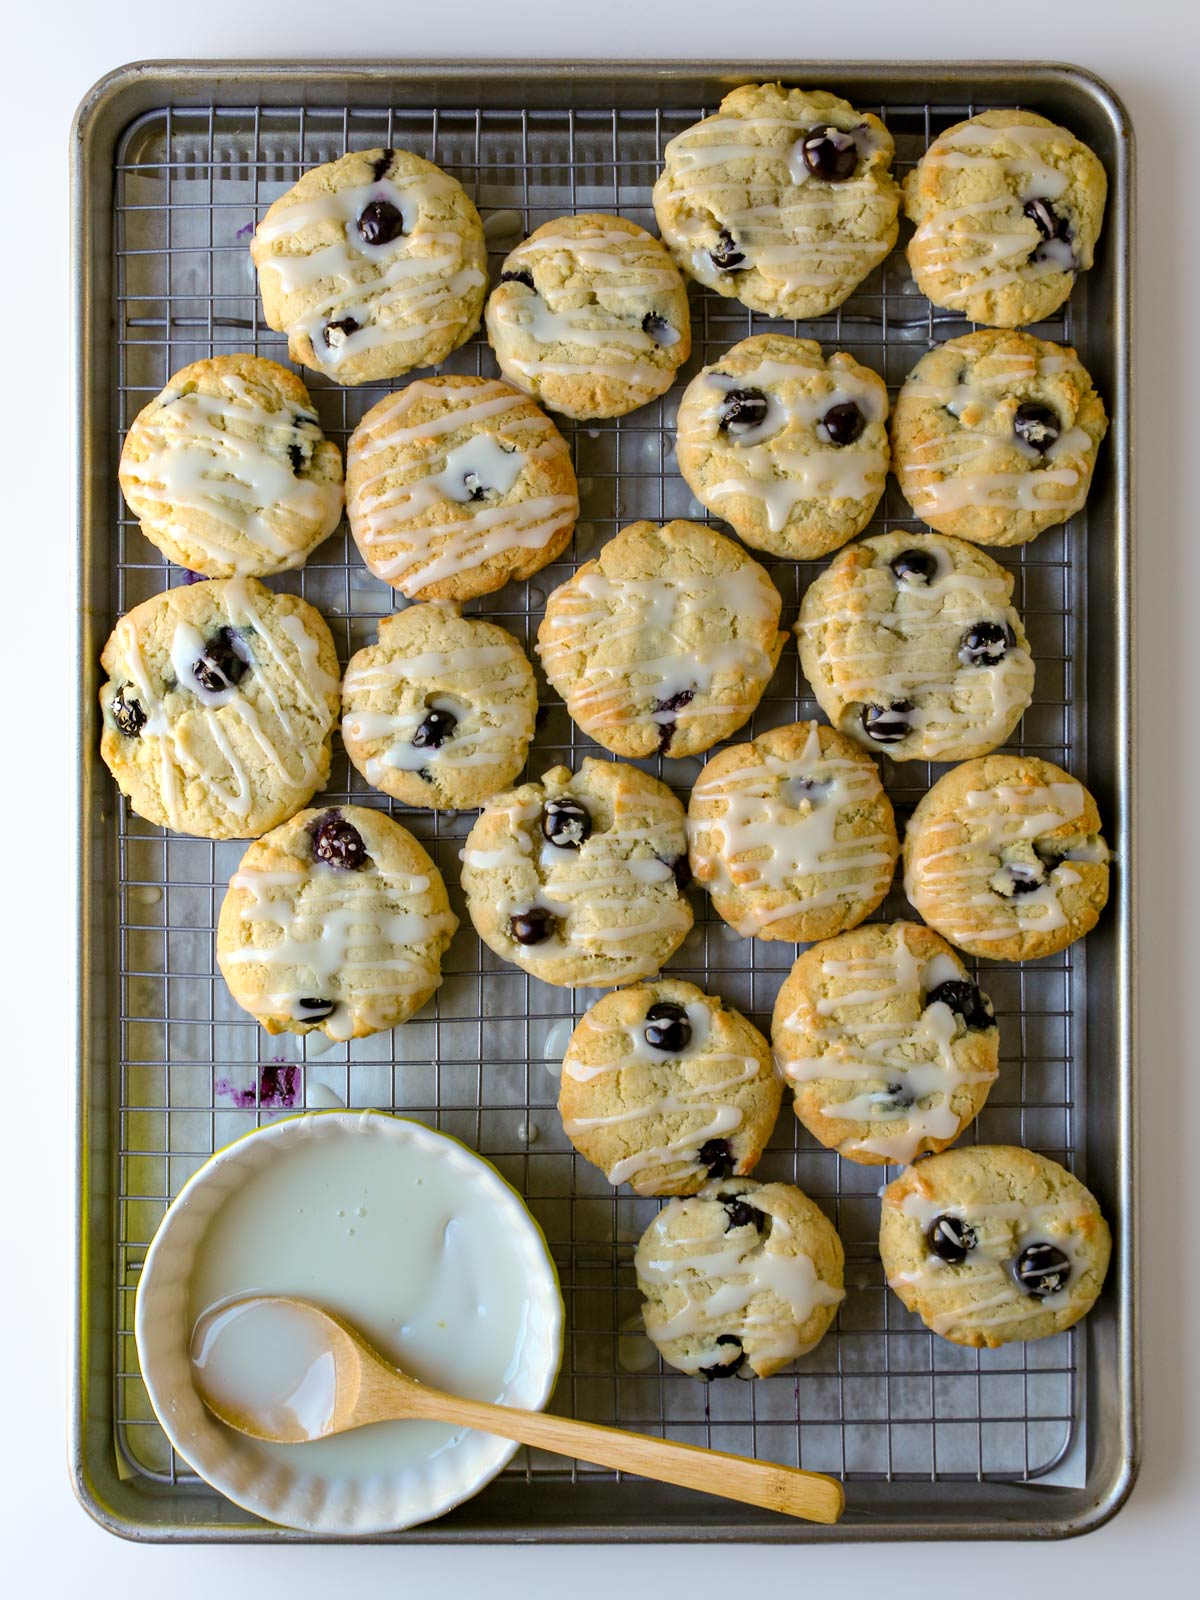
Make sure the goodies show.
Sometimes, the chocolate, M&Ms, or nuts hide under a layer of cookie dough. That’s not a bad thing, but the finished product is much more appealing with that yummy mix-in showing.
Add one or two bits to the cookie balls prior to baking. Or top each Lemon Blueberry Cookies with an extra berry before you bake it.
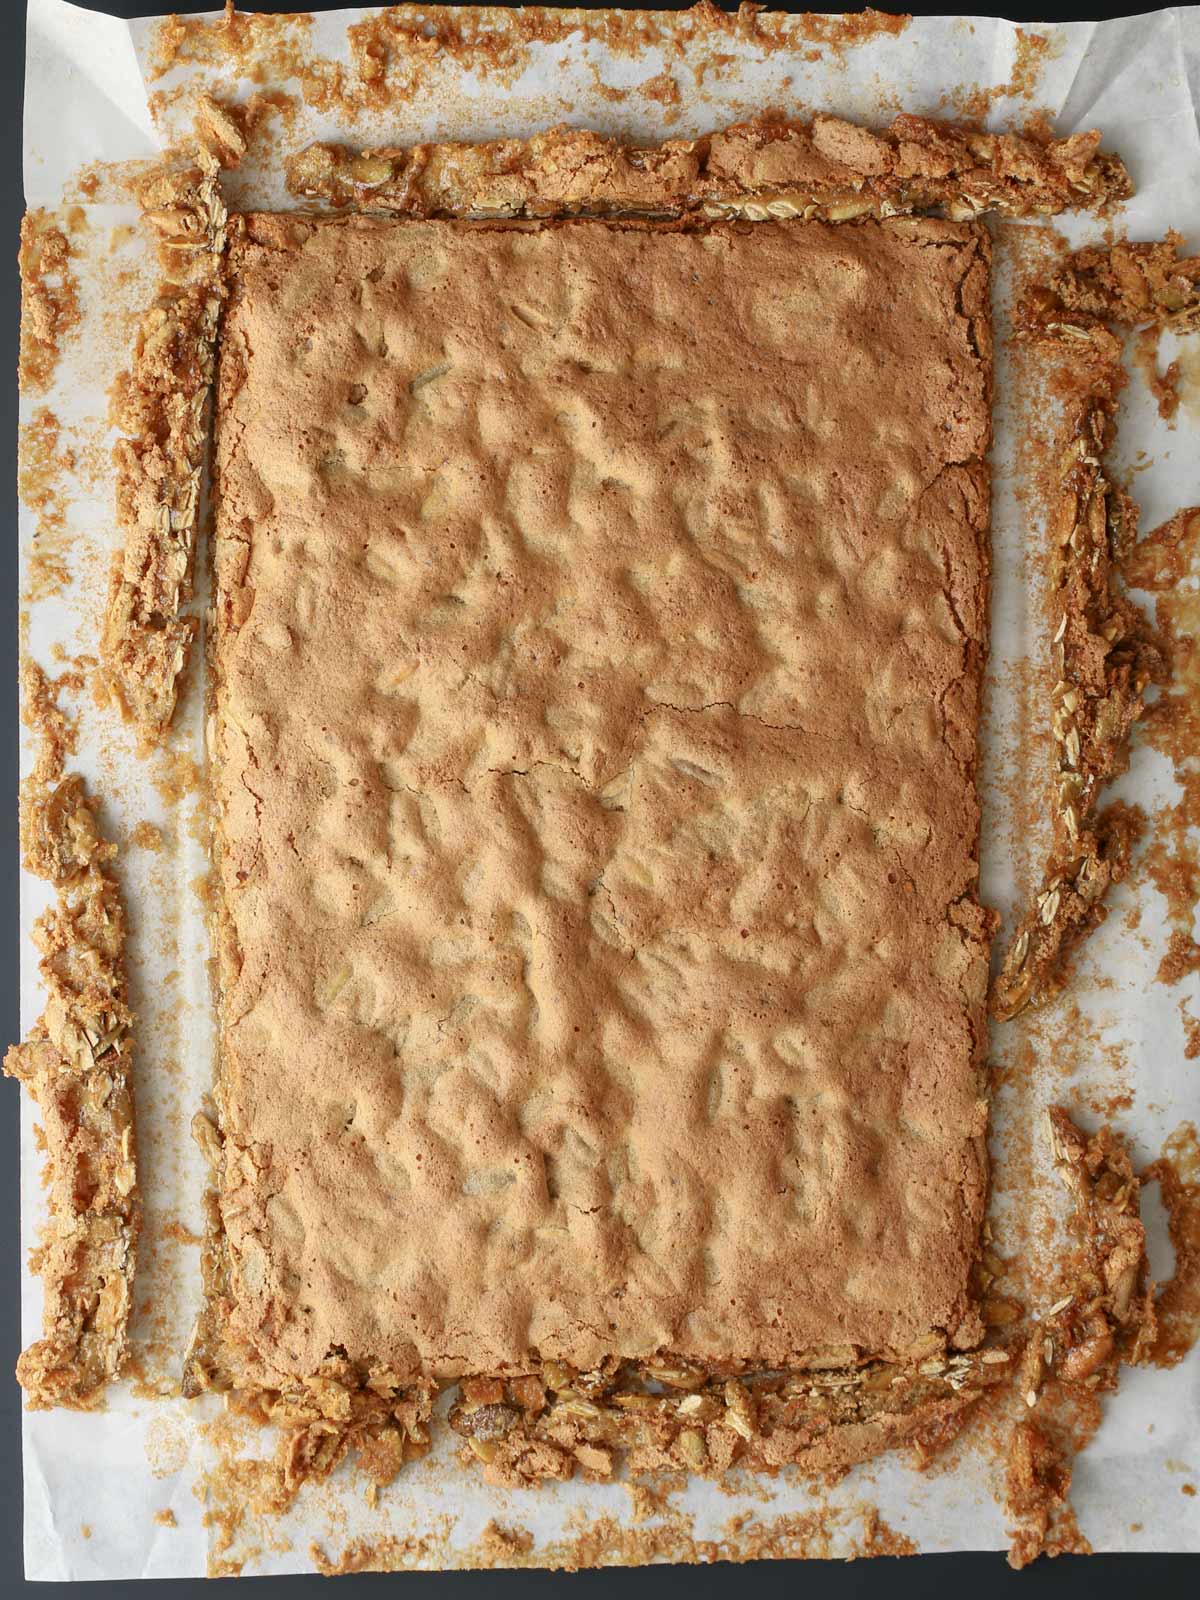
Trim the ugly edges.
It doesn’t matter if you’re making brownies, magic bars, or these yummy Brown Sugar Cookie Bars, the edges sometimes get ugly. Trim those off so you can cut prettier, sharp-edged bars.
You get to eat the edges so nothing goes to waste. Ahem.
Store cookies properly.
Store your baked and cooled cookies in an airtight container, such as a pyrex with a lid or even a ziptop plastic bag.
You can even freeze cookies, unbaked or baked to enjoy them more often.
FAQs
The definition of the “perfect” cookie is a little nebulous. Some folks prefer vanilla sugar cookies while others demand chocolate. Some favor crunchy cookies, while other people choose soft and chewy.
Typically, you’ll need butter, sugar, brown sugar, all purpose flour, baking soda, semisweet chocolate chips, peanut butter, and rolled oats as well as a mixing bowl, rubber spatula, baking sheet, parchment paper, and a wire rack.
Some classic cookies include: butter cookies, chocolate chip cookies, peanut butter cookies, oatmeal raisin cookies, shortbread, macaron, macaroon, biscotti, gingerbread, and bar cookies.
Serving Suggestions
Serve cookies on a tray with a glass of milk, mug of cocoa, or cup of hot tea are so inviting and comforting. It’s delicious to sandwich a scoop of ice cream in between two still warm cookies.
Whether you are looking for Nut-Free Cookies to give to friends, Christmas Cookies to make ahead and freeze, or simply want to soothe a craving for Chocolate Chip Cookies, knowing how to make cookies easily is a great skill.
Thanks for sharing these cookie baking tips with a friend. The world needs more good cookies.
Tell us what you think!
We love to hear your experiences with Good Cheap Eats. Click the STARS on the recipe card or leave a STARRED comment to let us know what you think of the recipe.
This post was originally published on December 7, 2013. It has been updated for content and clarity.

sona
Wondered where your link was so you could get credit for the Silpat pads I want to purchase?
Jessica Fisher
Thanks so much! Any Amazon link on the site will generate a referral cookie, but I’ve corrected the broken link up in #4 above to make it easier. Thank you!
sona
You are welcome. I see the link goes to Amazons pads rather than the silpat. Have you found them to be as good? I always check the negative reviews etc. I see the silpat is made in France, the other in China and just wondered at the quality difference, even though I am always up for saving money! 🙂
Jessica Fisher
I have used both Silpat and a knock-off. I didn’t notice a difference, but both did tear after some time. Could have been user error. Not sure.
Kelly Cook
My cookies almost always flatten out too much, what am I doing wrong?
Jessica Fisher
It could be the butter is too warm. This article does a good job explaining the science behind it all: https://www.finecooking.com/article/flattened-cookies
Kelly Cook
Thanks Jessica!
Tammy
My cookie baking tip: freeze or chill the dough before baking. When I do this my cookie are so much better. If the butter is too warm, the cookie will spread out and be really thin. Also, Aldi has parchment paper this Christmas. I believe it was less than $3/roll.
Jessica Fisher
Thanks for sharing your tips!
Michele
I tried a different way to be more organized with my Christmas baking. I designated one day for making the dough and the next day for baking. Much more effective use of time.
Jessica Fisher
I did that this year, too. I made the dough one night and three days later we baked. It was great! Made clean up not so overwhelming.
Paula
I just made a super sized batch of monster cookies with red & green M&M’s for Christmas – so good! I have yet to use parchment paper. I’ve never thought about how one could lift them all up and slide them off at once. And sometimes finding that metal spatula I only use for removing cookies off of a cookie sheet is like a “Where’s Waldo” in my house. I also only use a cookie scoop (unless for shaped cookies that have to be rolled in sugar or something crazy like that). Also I found a perfect size scoop for my muffins as well – and only use that. We have five children and people think I’m nuts for making 100 or more muffins/cookies at a time – but hey, they fly off the shelf!! Thanks for the tips Jessica & all you do!
Jessica Fisher
LOVE parchment paper. Wish it were a little cheaper, though.
Karen J
I get my parchment paper at the dollar store-where it only costs a dollar 🙂
If I’m really feeling wealthy and need to add something to an Amazon order, I’ll buy the Reynolds pre-cut and folded parchment paper. It’s around four dollars a box, but very, very convenient.
Jessica Fisher
It is very convenient! I bought that once and was really surprised. That’s the kind of thing to buy on clearance maybe or Grocery Discount.
Kimberly
You can safely leave unsalted butter out at room temperature too. (In European countries it is also not uncommon to leave eggs and butter out of the fridge entirely). As a former pastry chef, I would suggest that unless a recipe indicates otherwise, it is best to have all ingredients room temperature (if you are not comfortable leaving eggs out until they are room temperature, you can always put the uncracked eggs into a bowl of hot tap water for a few minutes).
Jessica Fisher
Thanks for the tip. Somewhere I read that unsalted butter had to be refrigerated. The restaurant I worked at in college was fastidious about that. Good to know. And thanks for the tip on the eggs!