Don’t hesitate to make a homemade pie crust. With just four ingredients: flour, butter, salt, and water, it tastes so much better than store bought — and it’s cheaper, too!
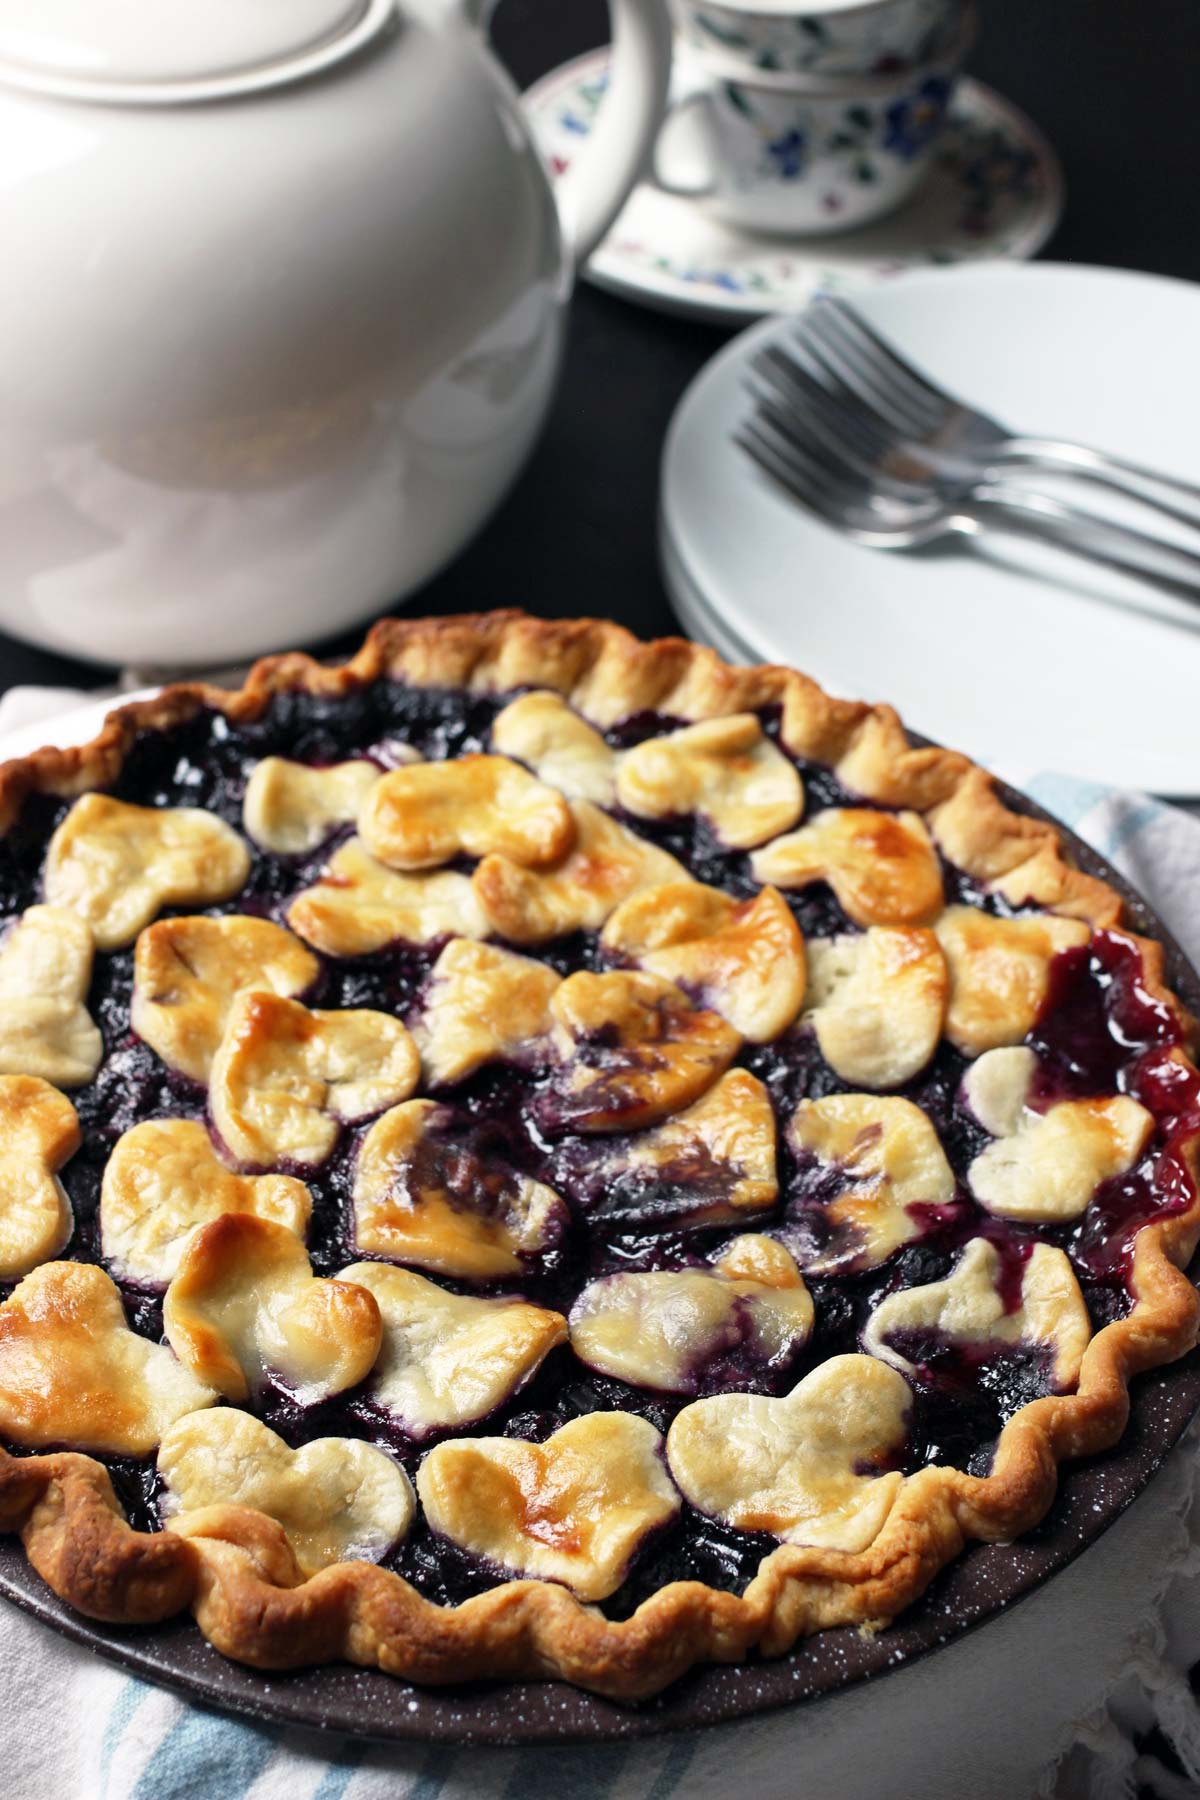
This recipe is a building block to many of our best Homemade Pies. Try it in Easy Blueberry Pie or Homemade Chocolate Cream Pie for show-stopping desserts!
Want to save this post?
Enter your email below and get it sent straight to your inbox. Plus, I’ll send you budget recipes and money-saving tips every week!
Are you a fan of homemade pie? Me, too. I’ll take pie anyday, savory like Chicken Pot Pie or Single Crust Turkey Pot Pie or sweet, like Lemon Meringue or Mixed Berry.
Pie is great, but it becomes fabulous when made with a homemade crust.
Why homemade pie crust is better
Homemade pie crusts have a lot going for them, including
1. Homemade pie crust tastes better than store bought.
2. Homemade pie crust is less expensive than store bought.
3. Homemade pie crust is more fun and fancier than store bought.
Since homemade pie with homemade pie crust is basically bomb, I am here to spread the love and encourage you to give it a try. I know, people can get so intimidated by the idea of making homemade pie crust. I was apologetic for years that my pies weren’t picture perfect, but I threw caution to the wind. I think you should, too.
Taste matters most anyway, so don’t worry if it’s not gorgeous.
Types of crust
There are two basic methods to making homemade pie crust: the rolled pastry and the pat-in-pan pie crust (like Gramma John’s).
The first is more traditional and can hold up to rolling on a board and lets you cut out fancy shapes. The latter, while Blue Ribbon good, doesn’t always hold its shape well in those other applications.
Today let’s unpack the mystery of traditional homemade, rolled pie crust.
Tips for success
1. Use cold ingredients.
The fat (I recommend butter) is what creates those flaky pockets in your homemade pie crust. If the butter melts before you get the pie to the oven, it will be absorbed by the flour and lose its flakiness potential.
Chilling the dough before rolling it and prior to baking can help maintain this light and flaky potential.
So, use cold butter, cold water, and make sure to chill the dough.
2. Work quickly.
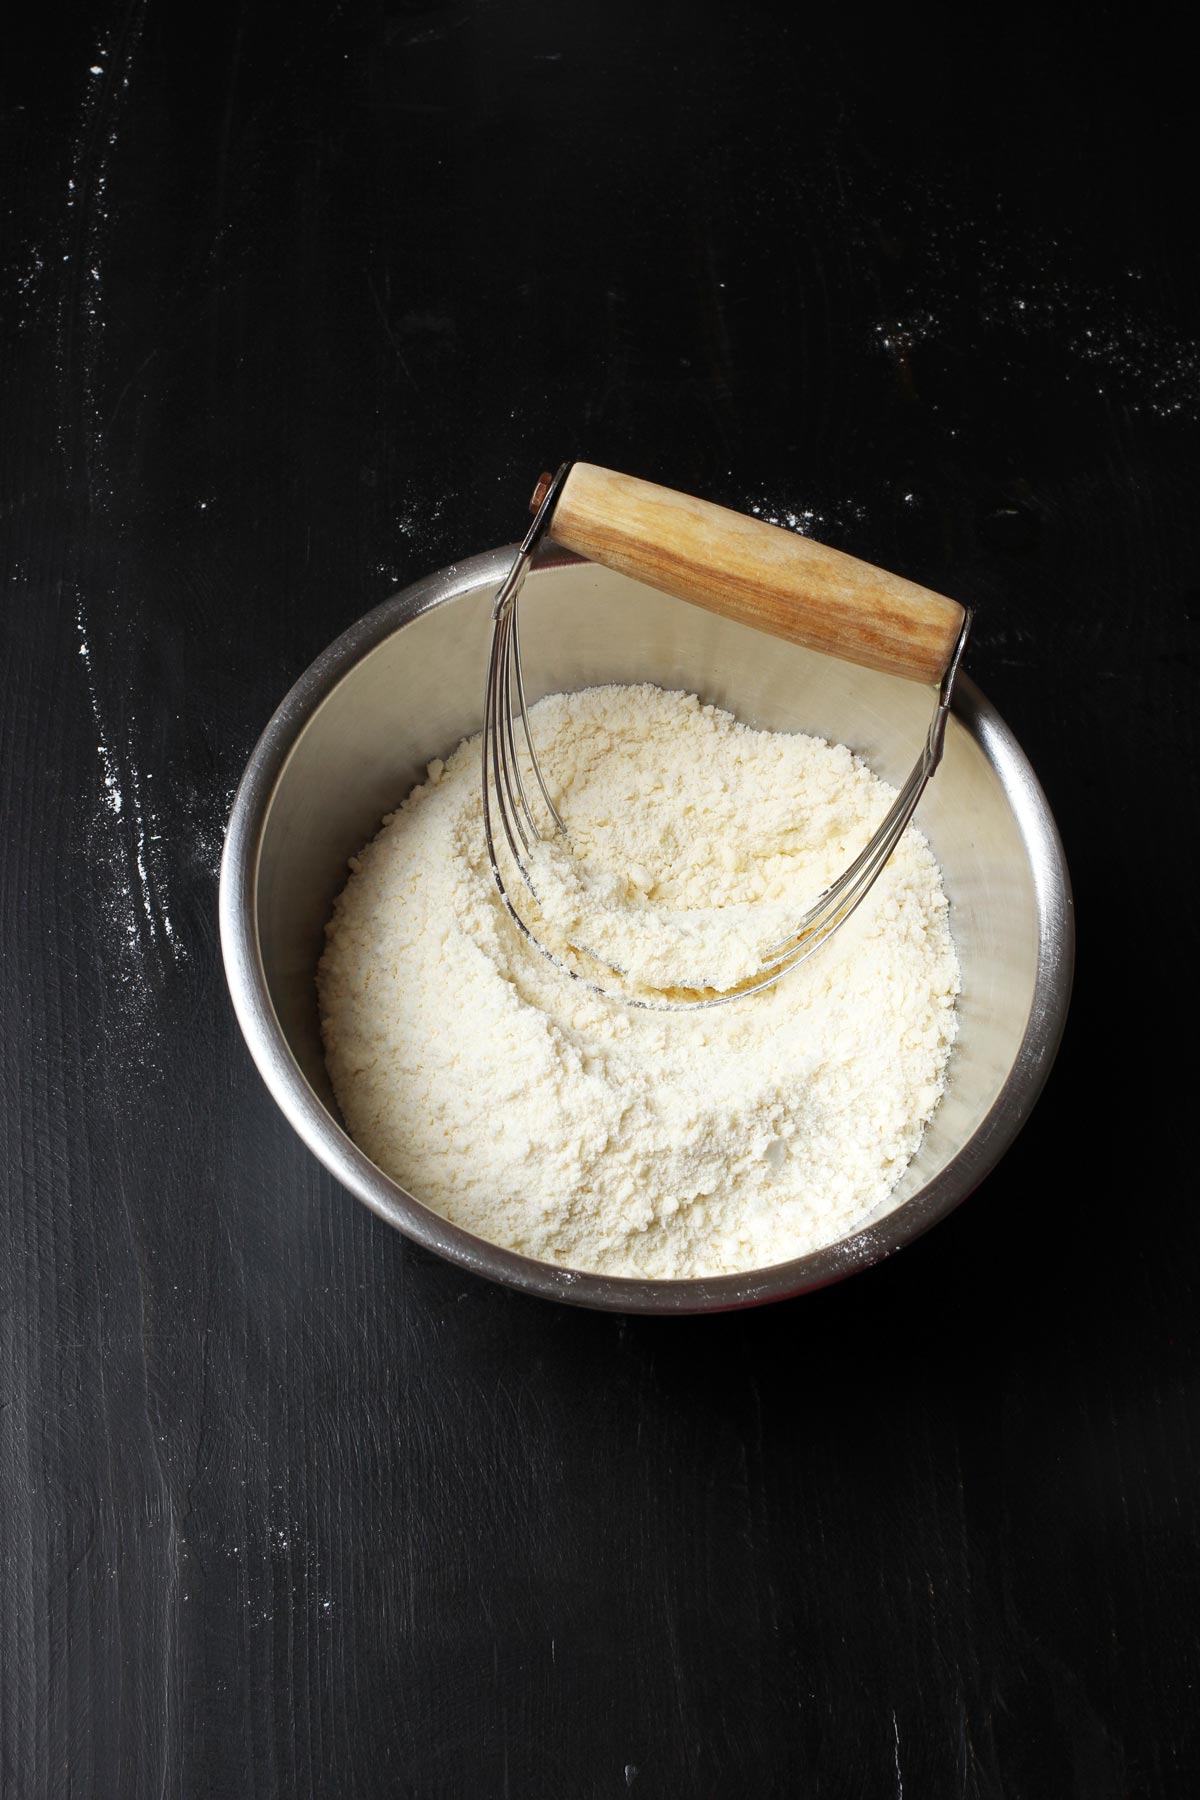
Light and flaky pie crust requires that you mess with it as little as possible. I like to use the food processor because it mixes up super quickly, thus less messing. You can use a pastry blender or a fork or two knives to cut in the butter, just work quickly.
3. Don’t add too much water.
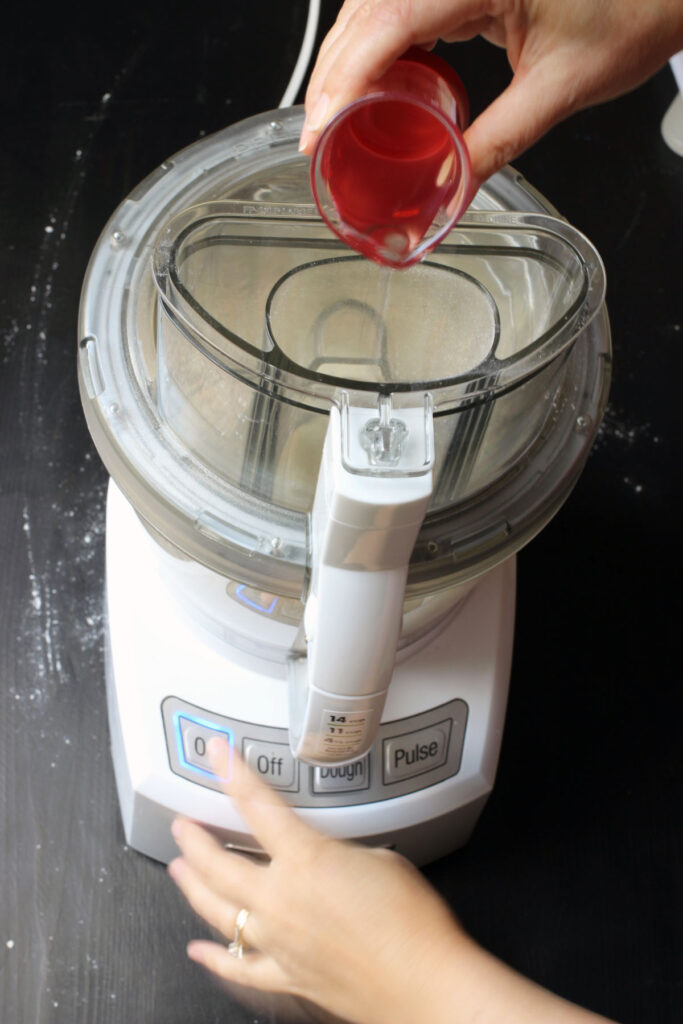
The humidity in the air and the type of flour you use can affect the end result of your homemade pie crust. Note that most recipes give a range for how much water to add. Add ice water just until the dough holds together.
4. Weigh your flour properly.
Too much flour will mess up the texture of your dough. Weighing your flour (as opposed to measuring it in a cup) will give you the more accurate measure.
Making the dough
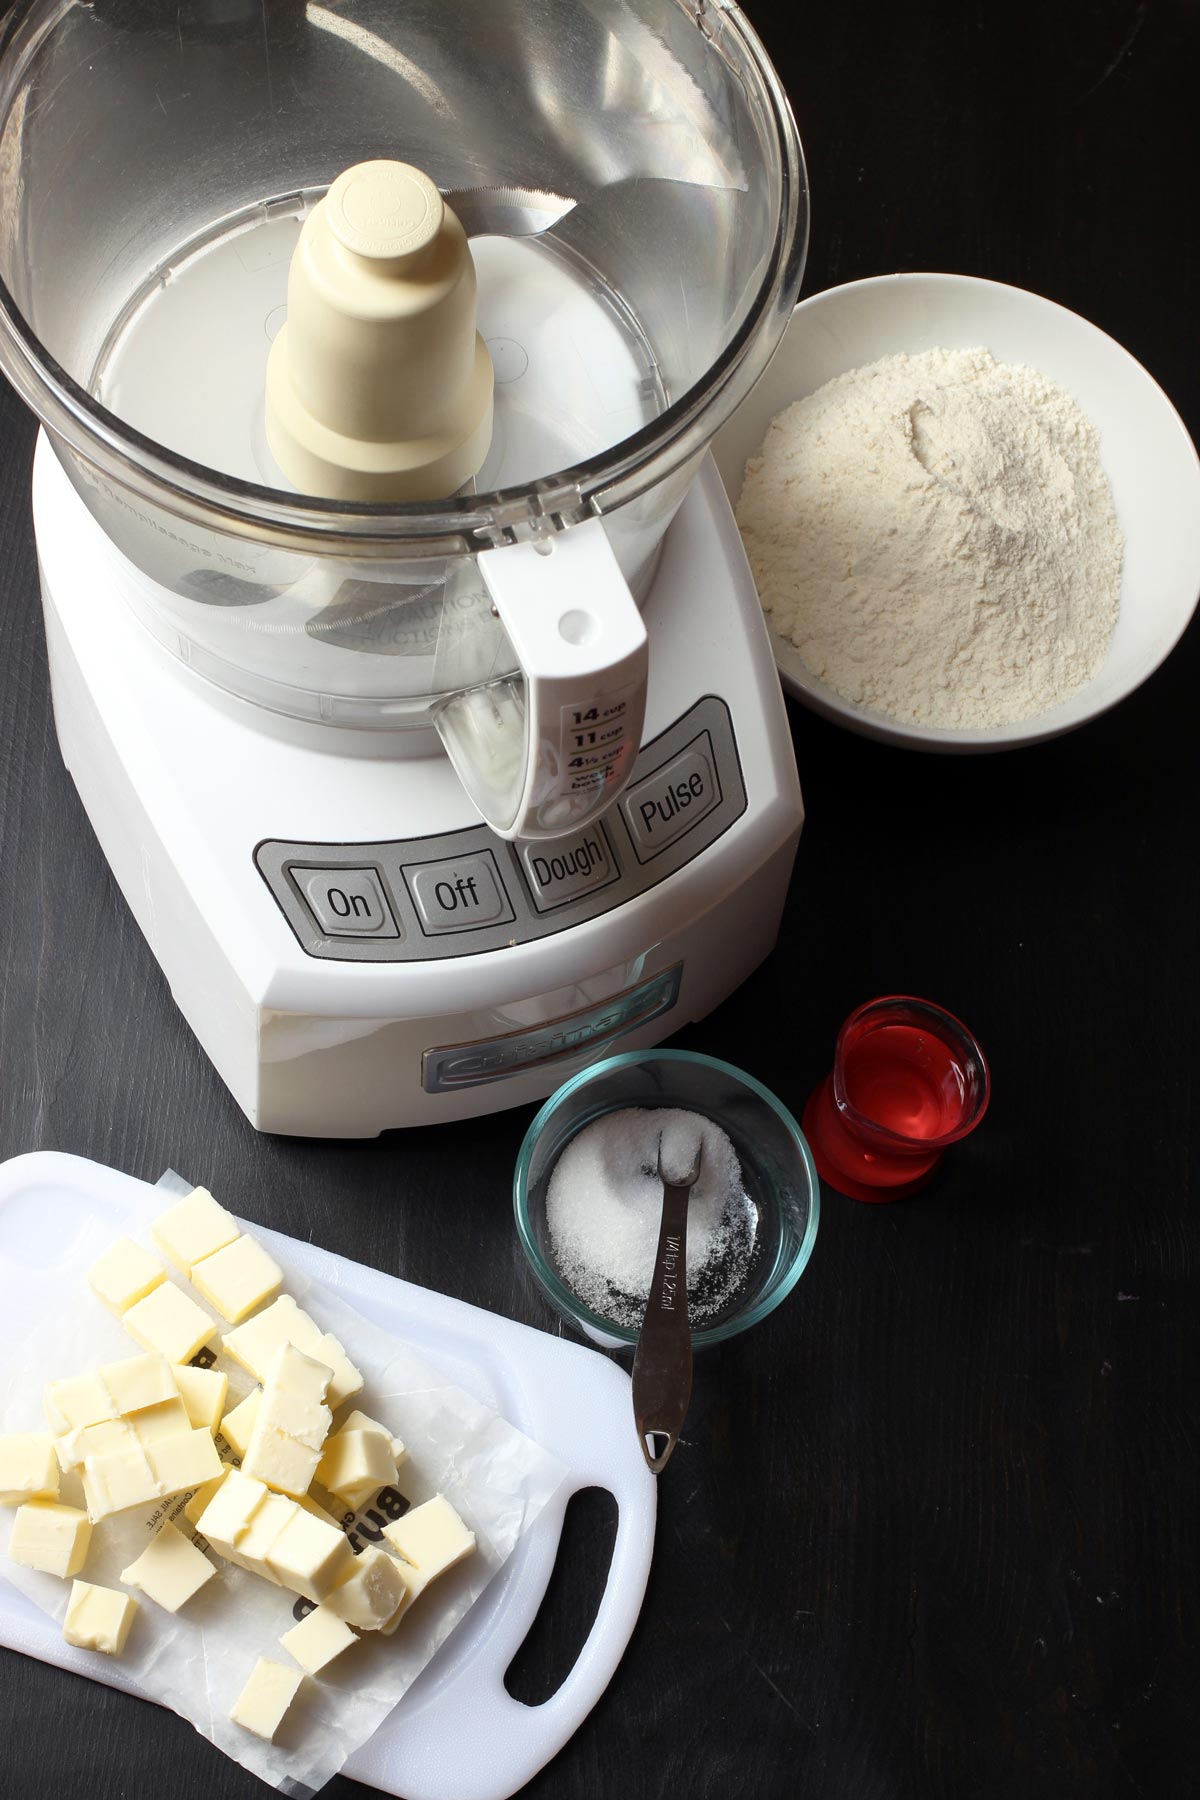
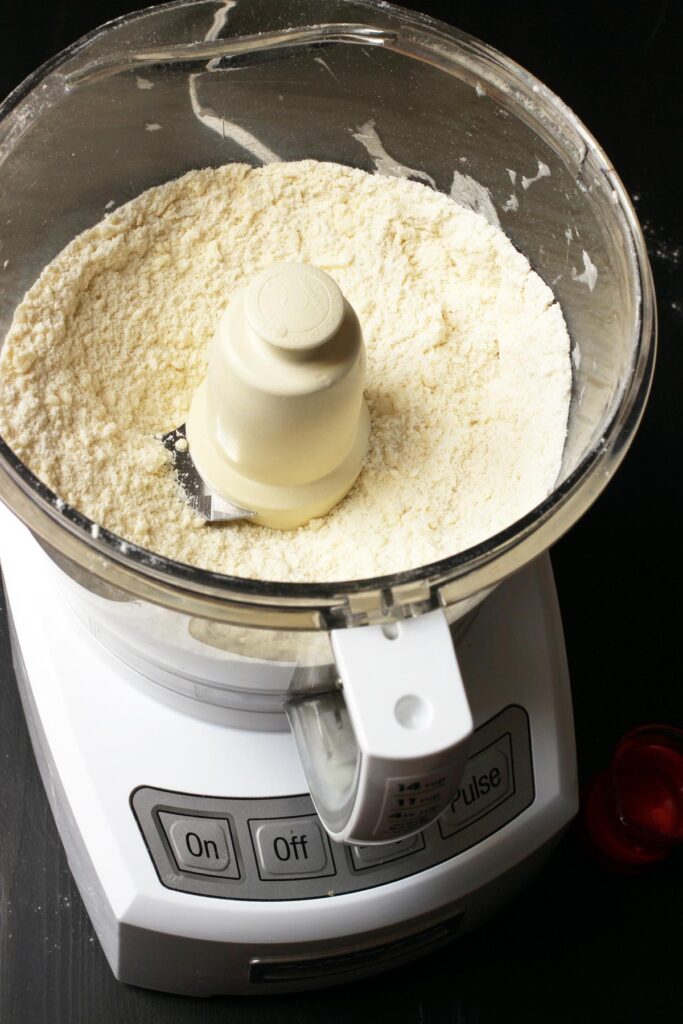
Combine the ingredients in the food processor or in a bowl with a pastry blender or two knives held together like a two-pronged claw.
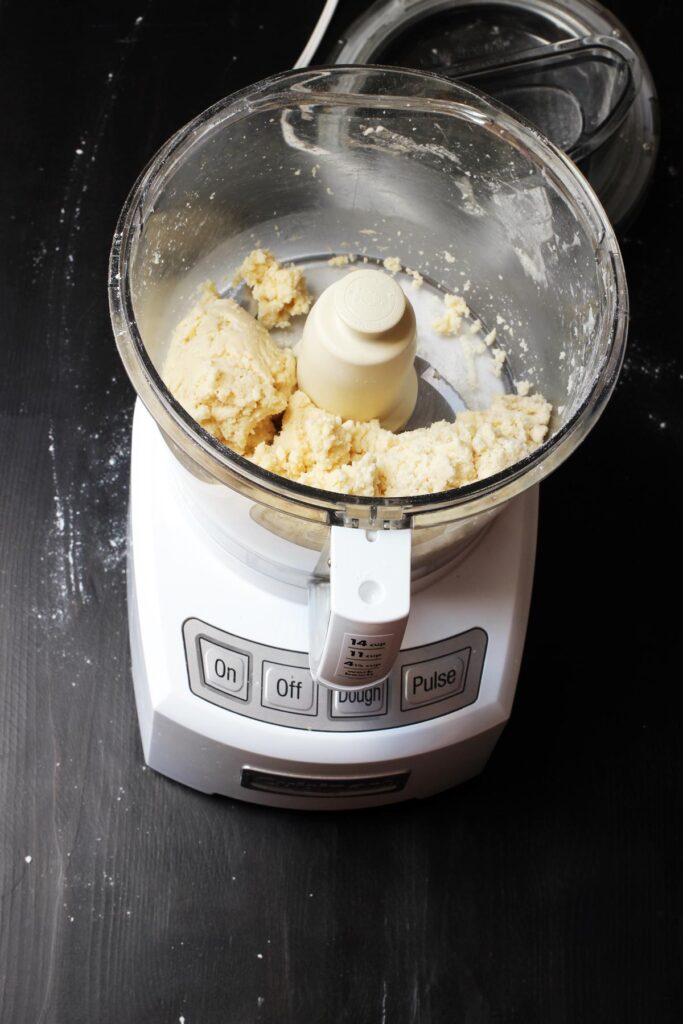
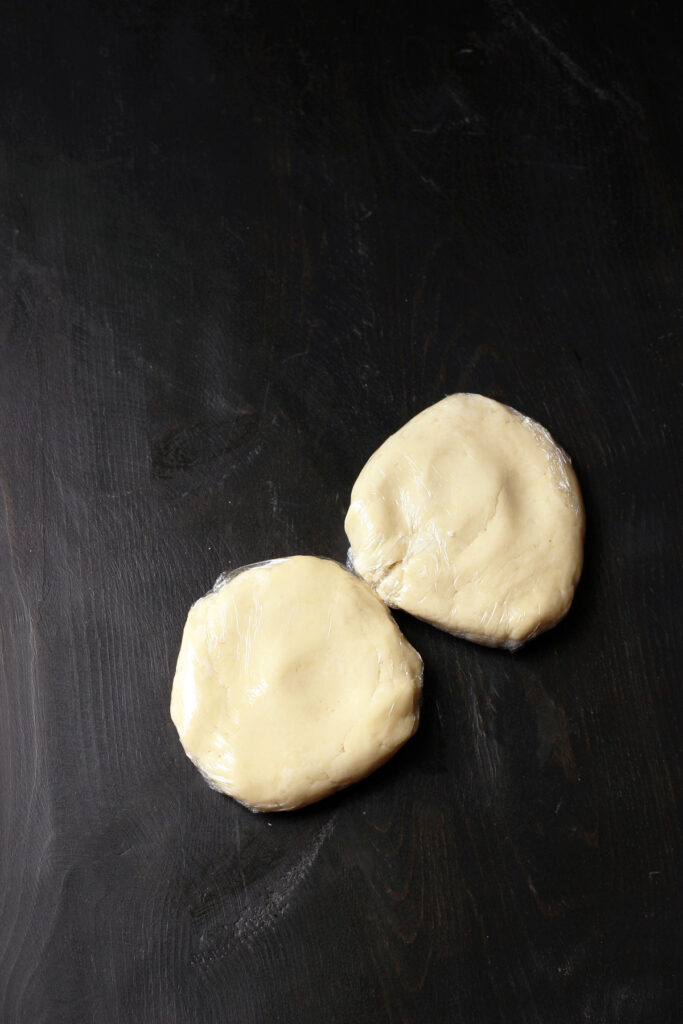
The dough should hold together but not fall apart in crumbs. This recipe makes enough for two single-crust pies or one double crust. Once the dough is prepped, divide it into two portions, form each portion into a disk, and wrap them in plastic wrap.
Chill the dough 30 to 60 minutes.
Can you make pie dough in advance?
You can store it in the refrigerator up to 2 days in advance, or or place it in a freezer bag to store in the freezer, for up to 2 months.
Rolling the dough
When you’re ready to assemble your pie, flour a large surface and roll out your dough with a floured rolling pin.
(If using frozen dough, thaw it completely in the refrigerator and let warm slightly at room temperature before rolling it out.)
They say that to keep a tender crust, to use as little as flour as possible and to work quickly. But, cut yourself some slack if you’re just learning. It’d be nice if it turned into a perfect round circle, but that doesn’t always happen.
I use the plastic wrap that I wrapped the dough in as an aide in rolling out the dough. Not only does this prevent the dough from sticking to the rolling pin, but it also helps me use less flour so that I can have a flakier crust.
Bonus: with the dough attached to the plastic wrap, it makes it easier to move the crust to the pie plate without tearing it.
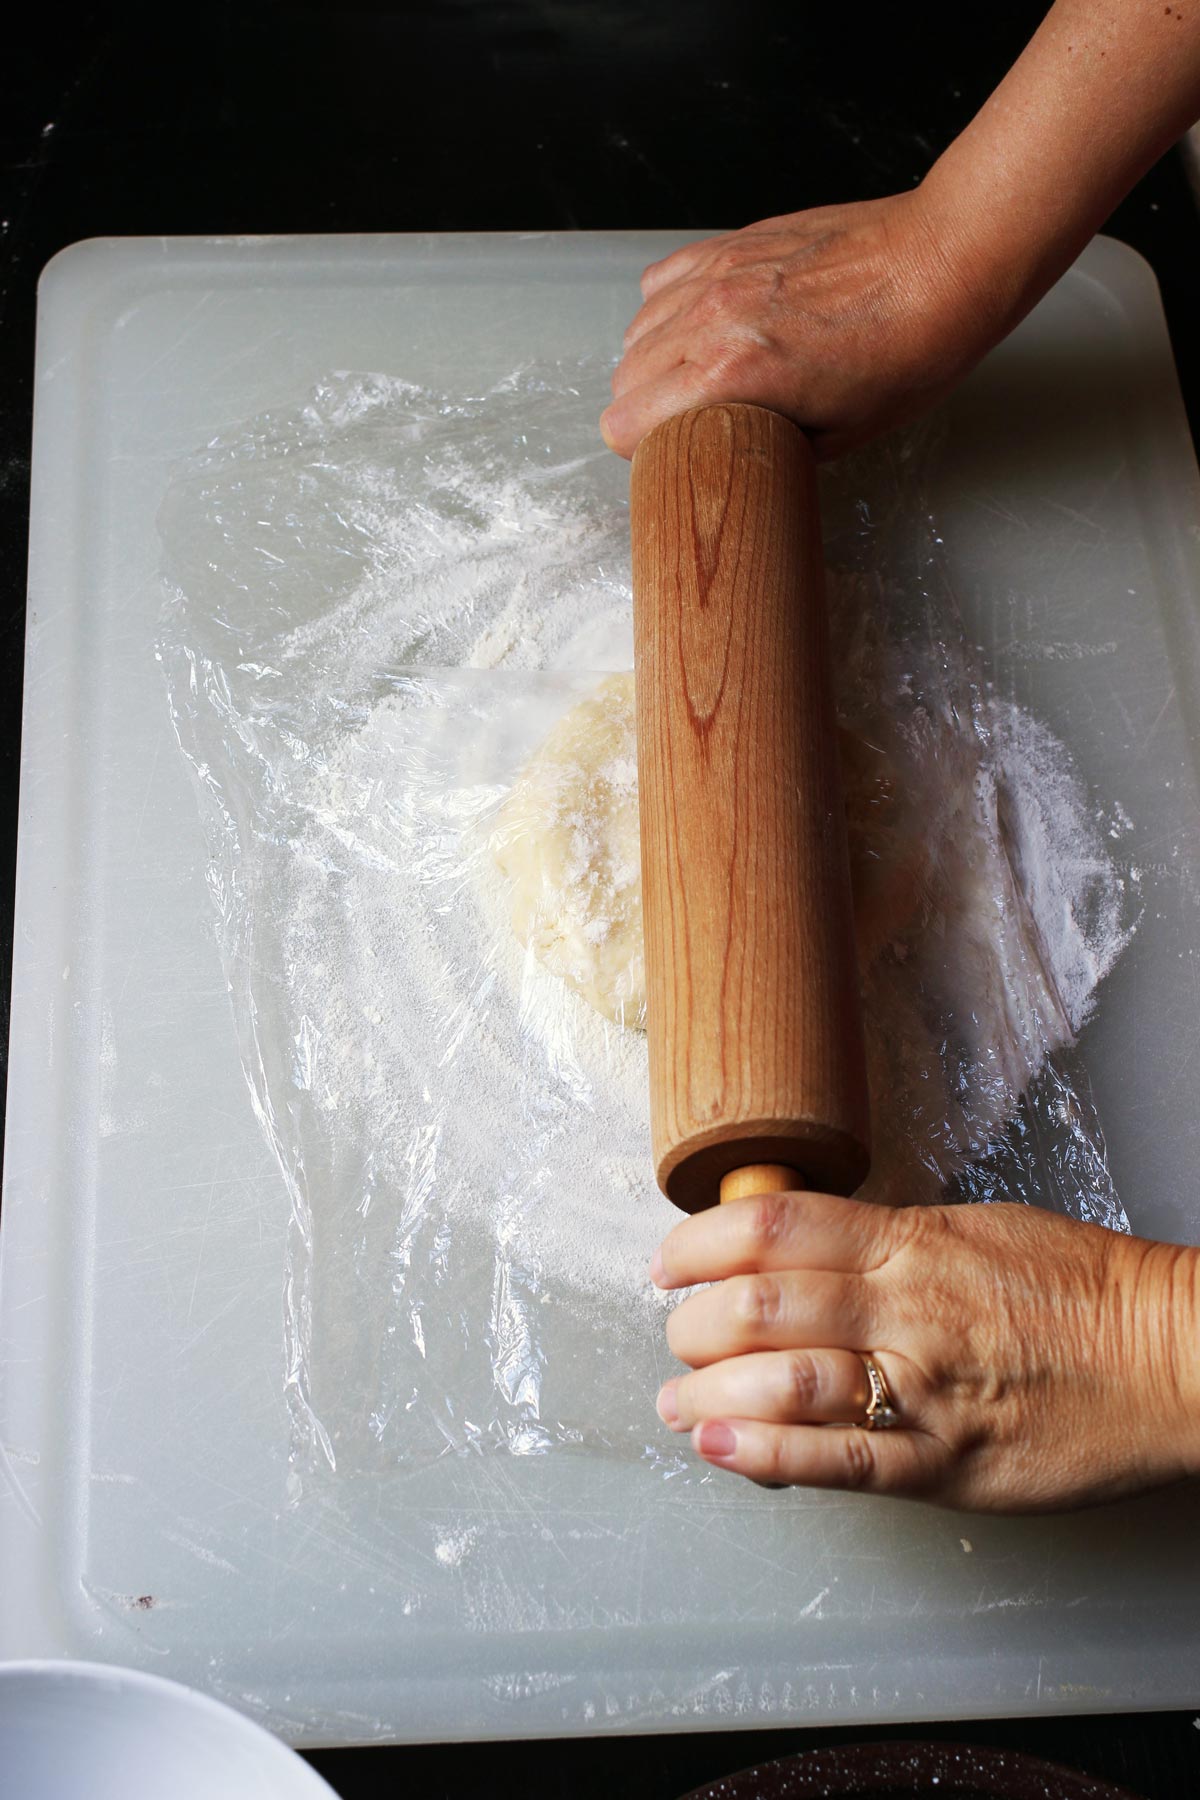
You can totally ditch the plastic wrap trick if you prefer. Just be sure to flour your rolling pin to help prevent sticking.
What if the dough tears?
Patch it up. Unless you earn your living as a pastry chef, it’s not the end of the world if your dough tears while you’re making your homemade pie crust. Take some of the trimmings and patch it up.
Fitting the dough in the pan
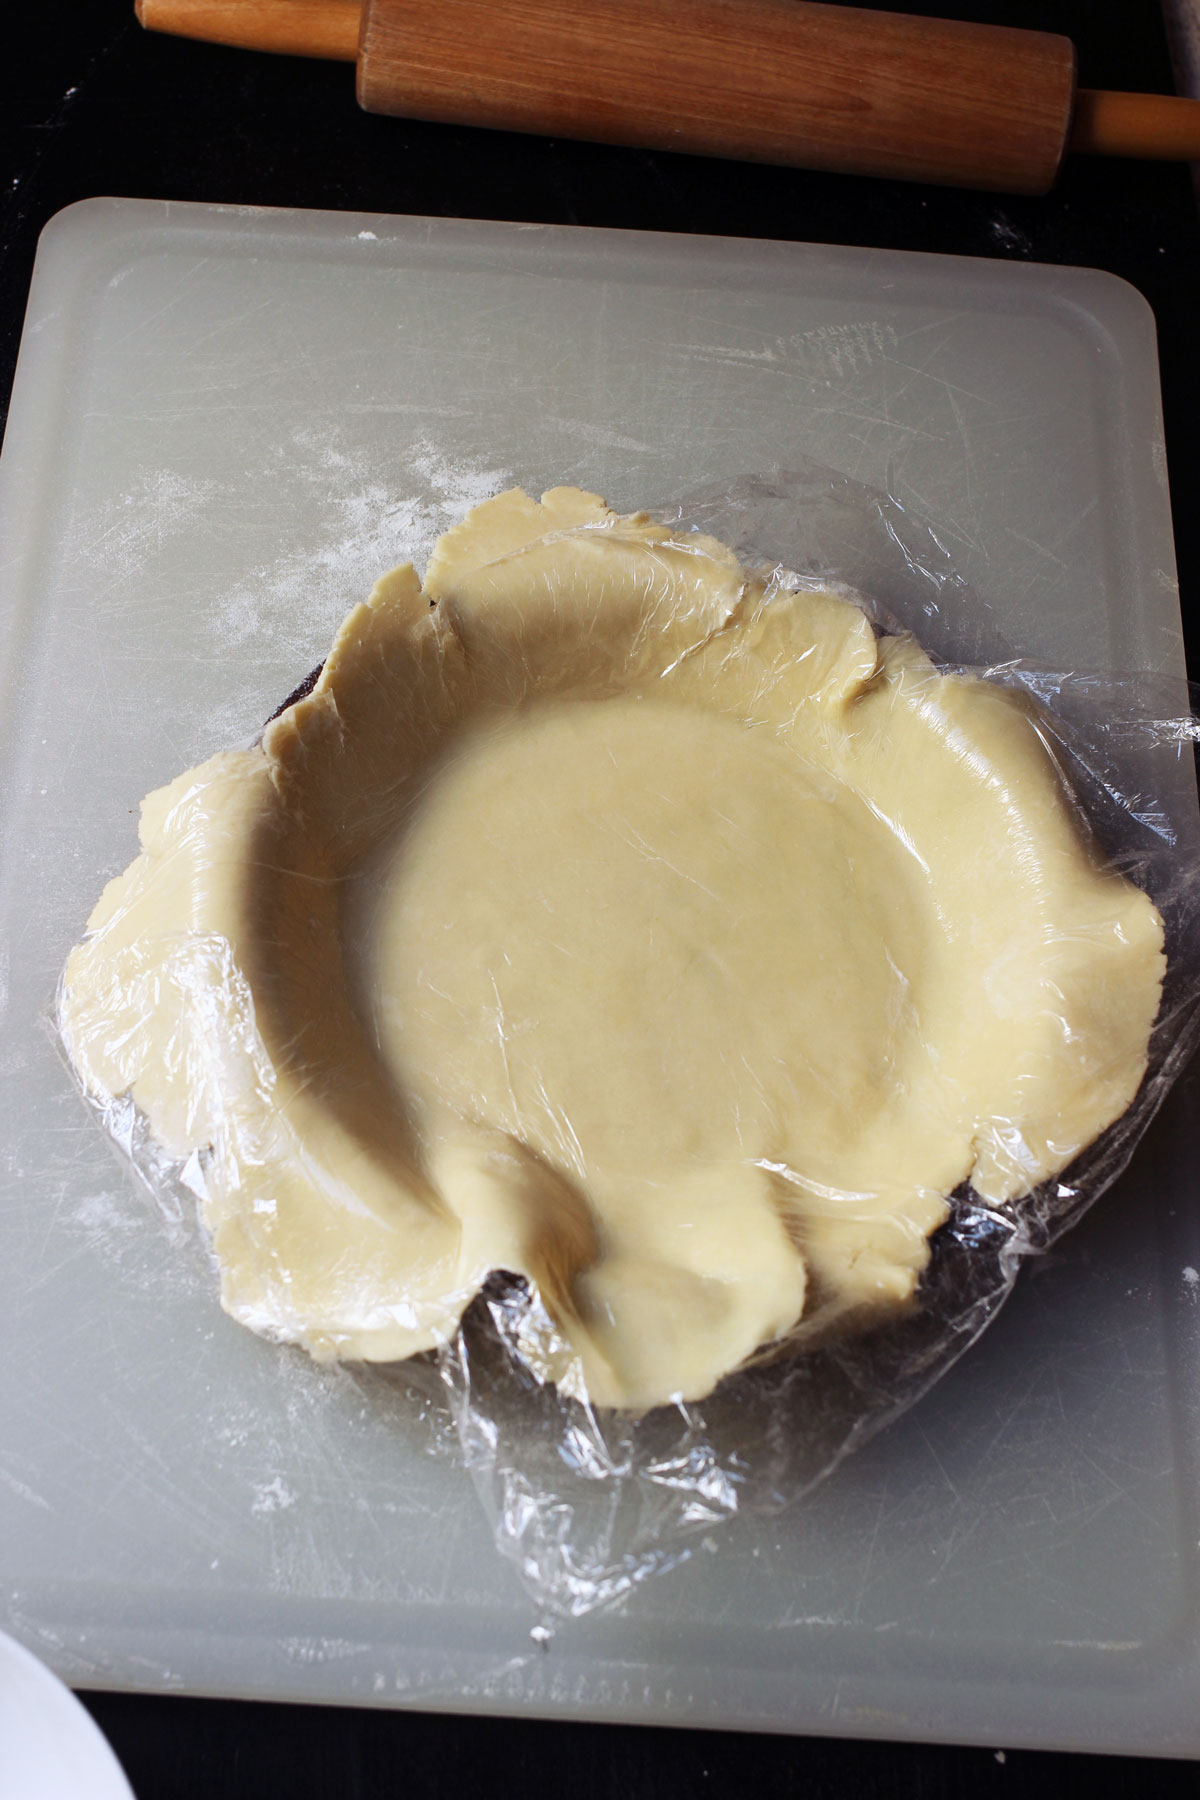
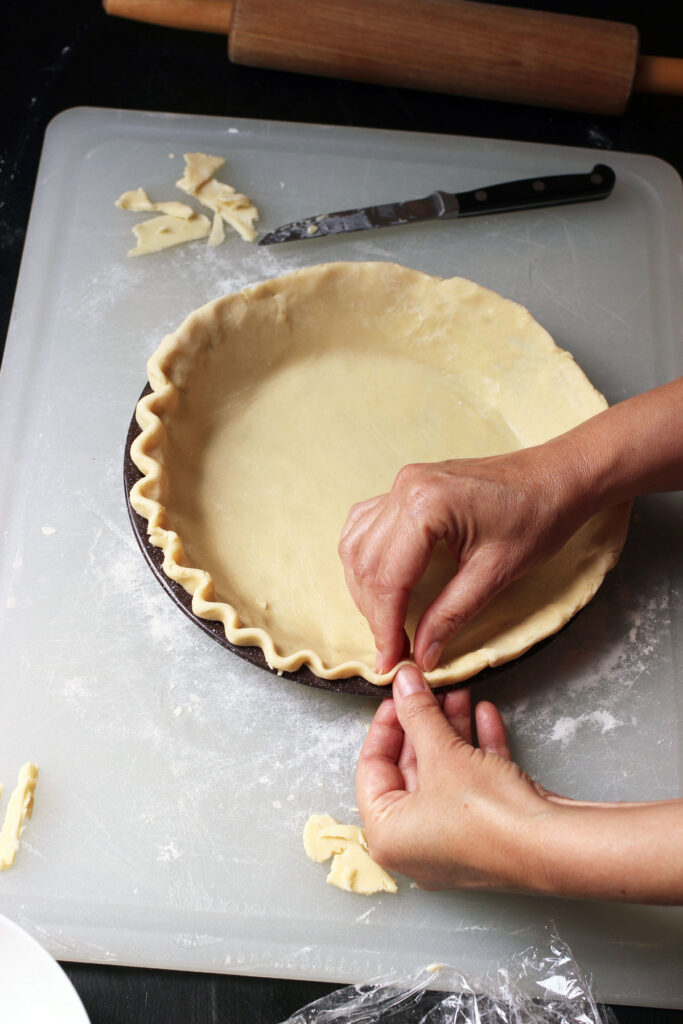
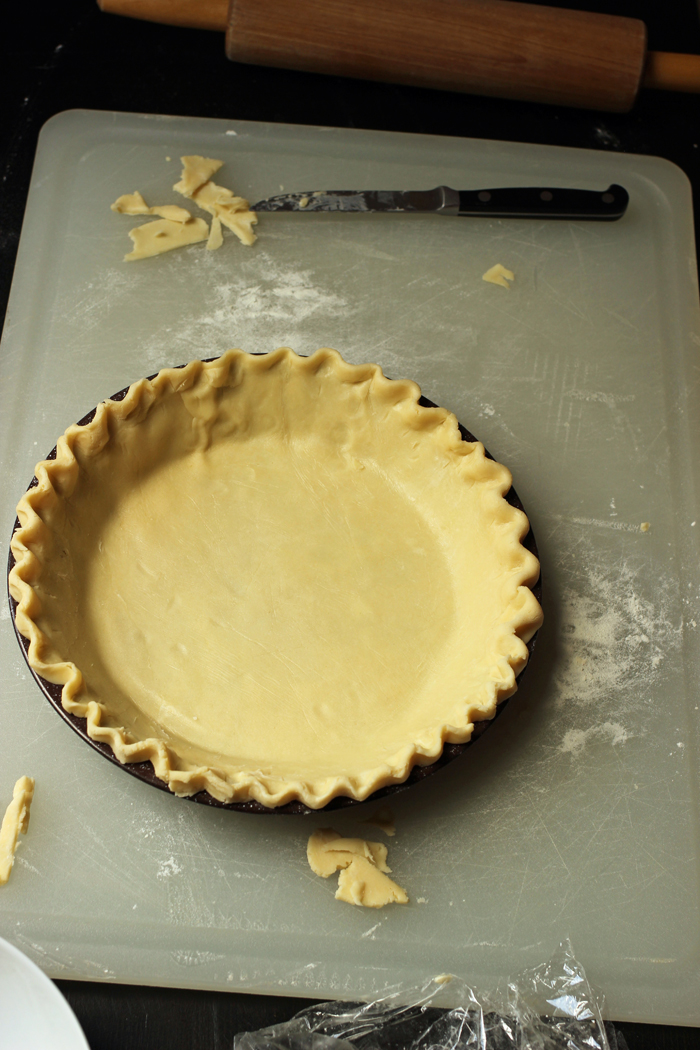
Transfer your crust to a pie plate by gently rolling it around the rolling pin or carefully folding it to transfer. Pat it into the bottom of the pan and up the sides, carefully removing the plastic wrap if you’re using it.
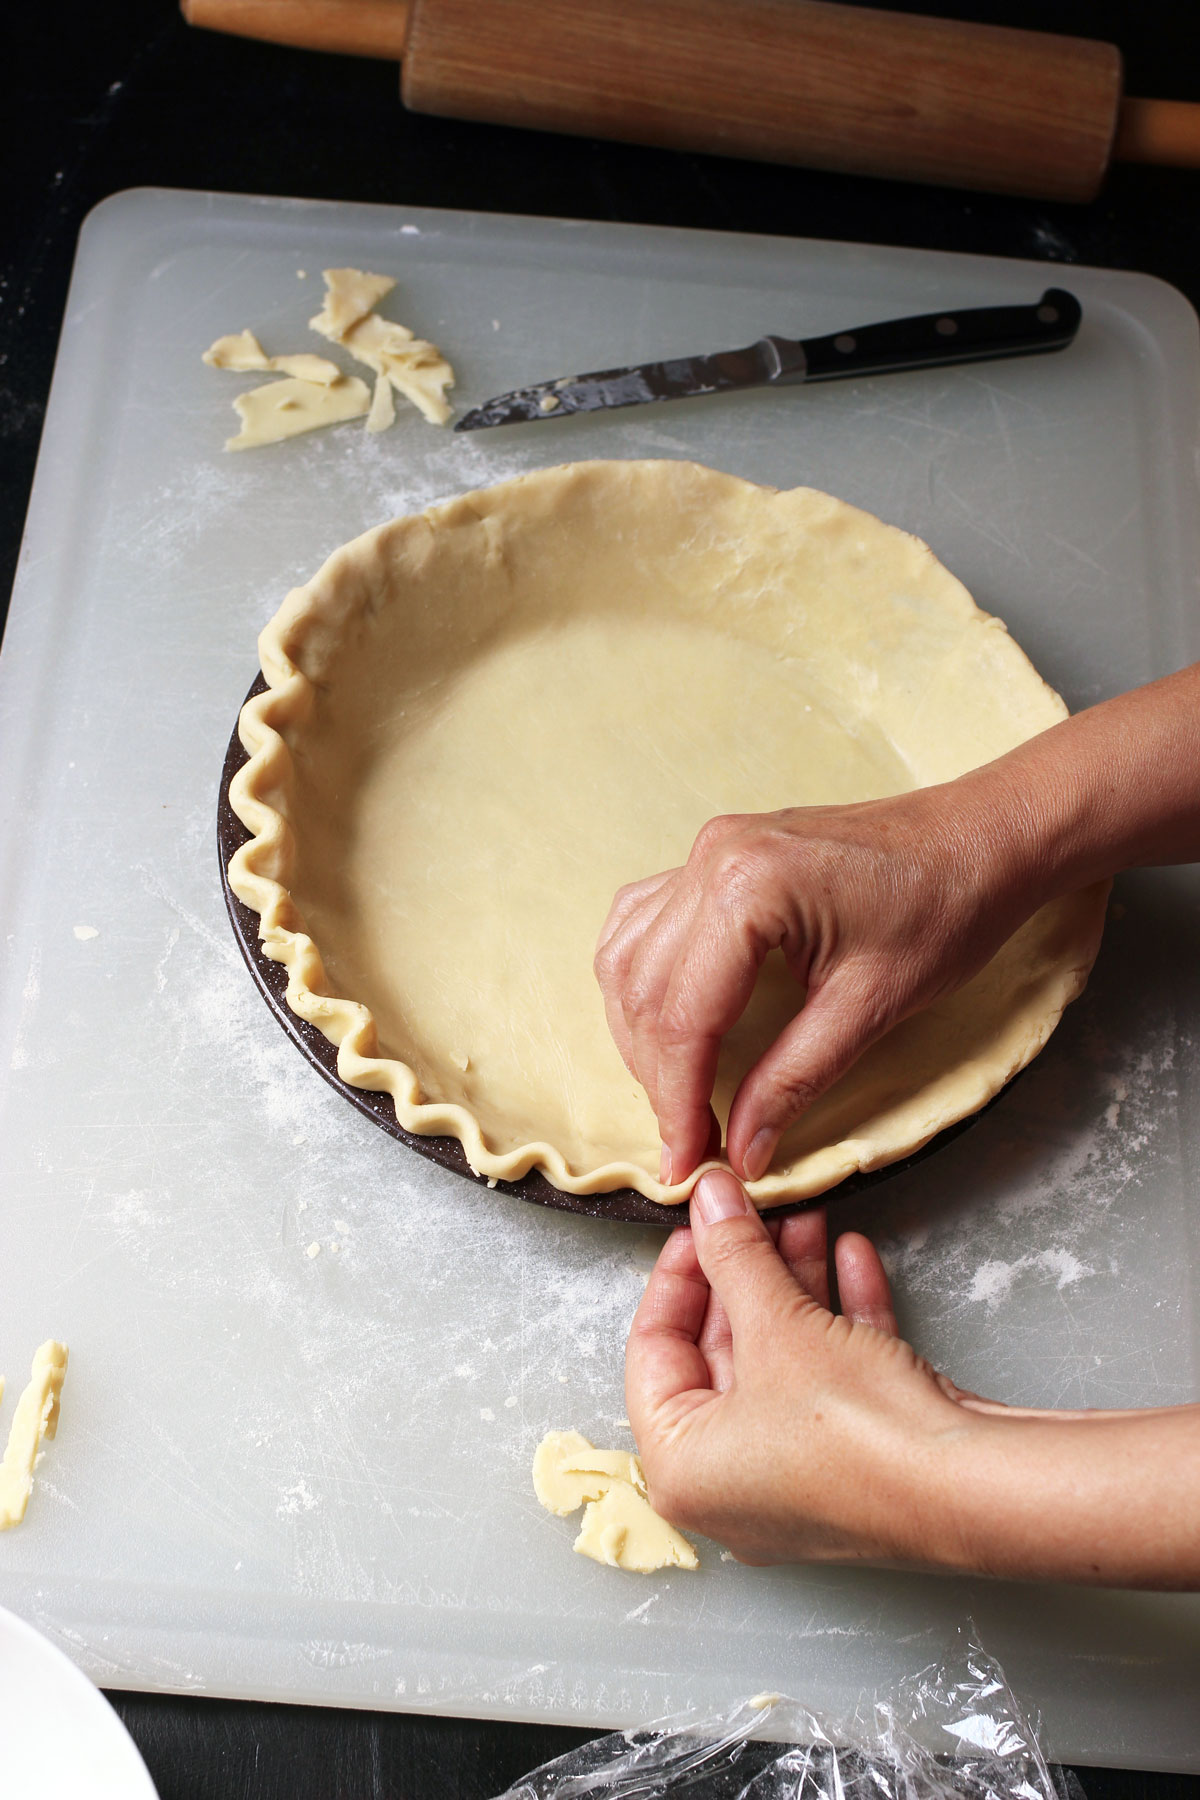
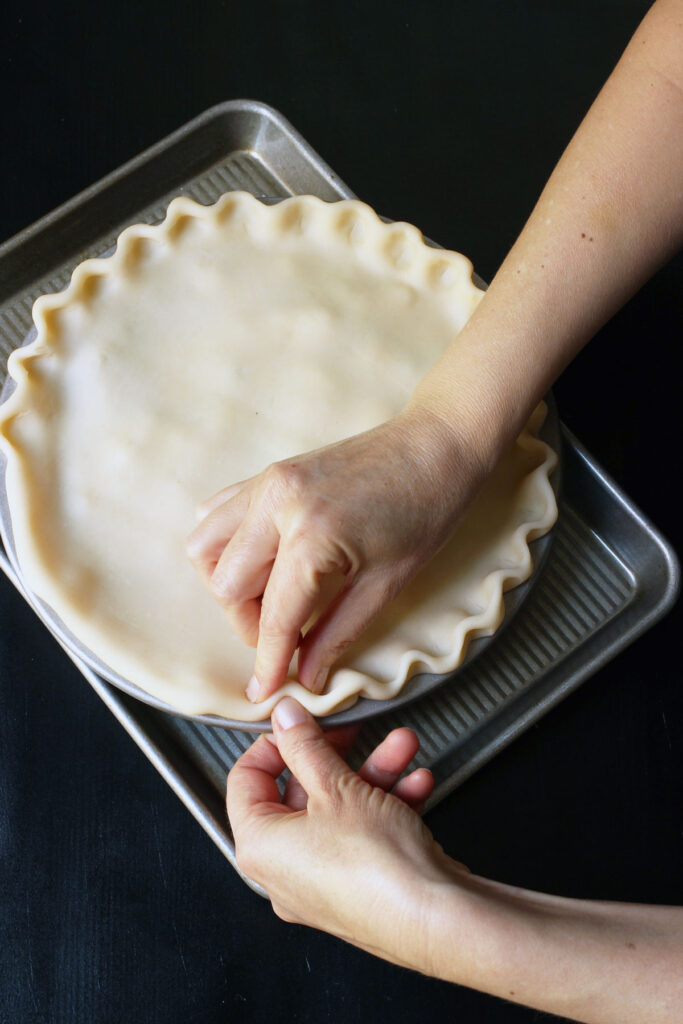
If you’re going for a single crust, like for this Apple Pie, just trim the sides about ½ inch from the rim of the pan. Fold the edge under and crimp the edges by pinching the dough around your thumb and forefinger.
The internet is full of lots of different pie crust edges, so feel free to experiment!
Adding a full top crust
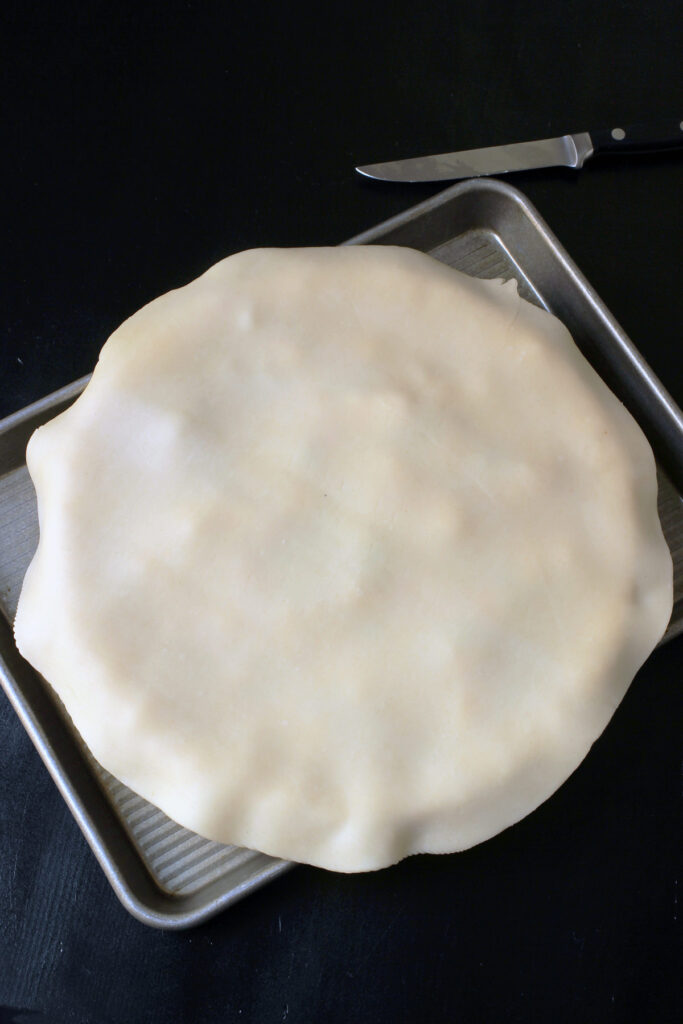
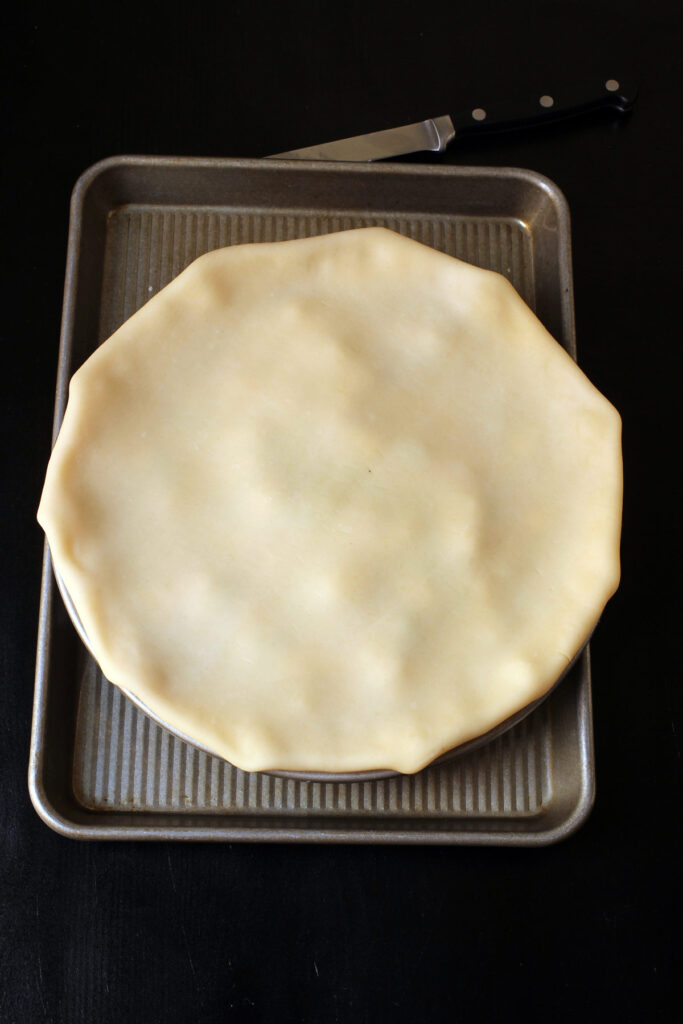
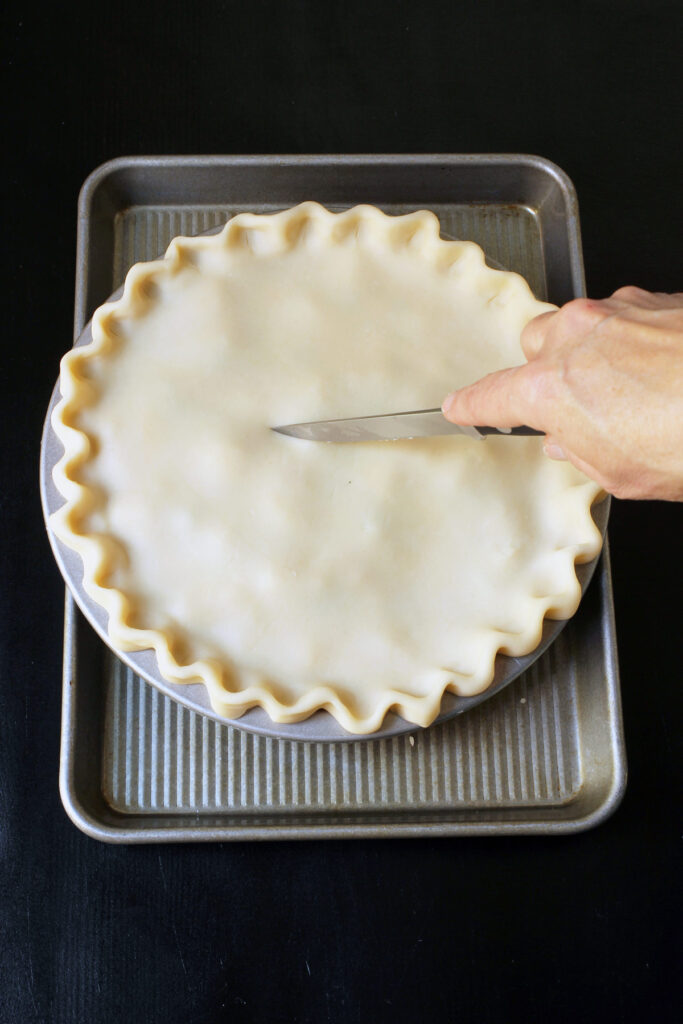
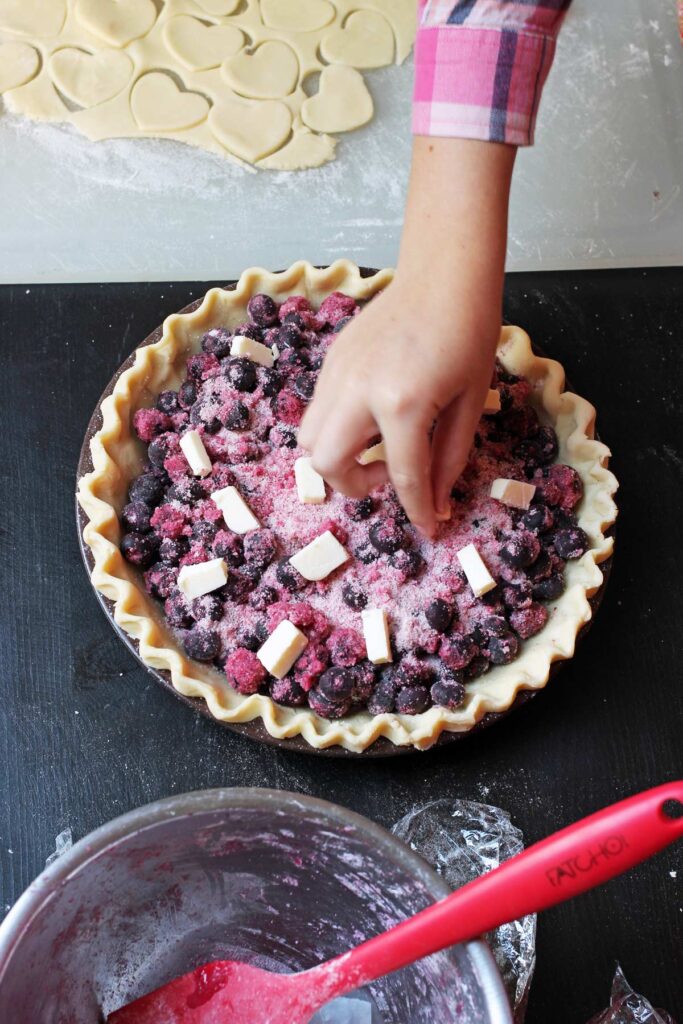
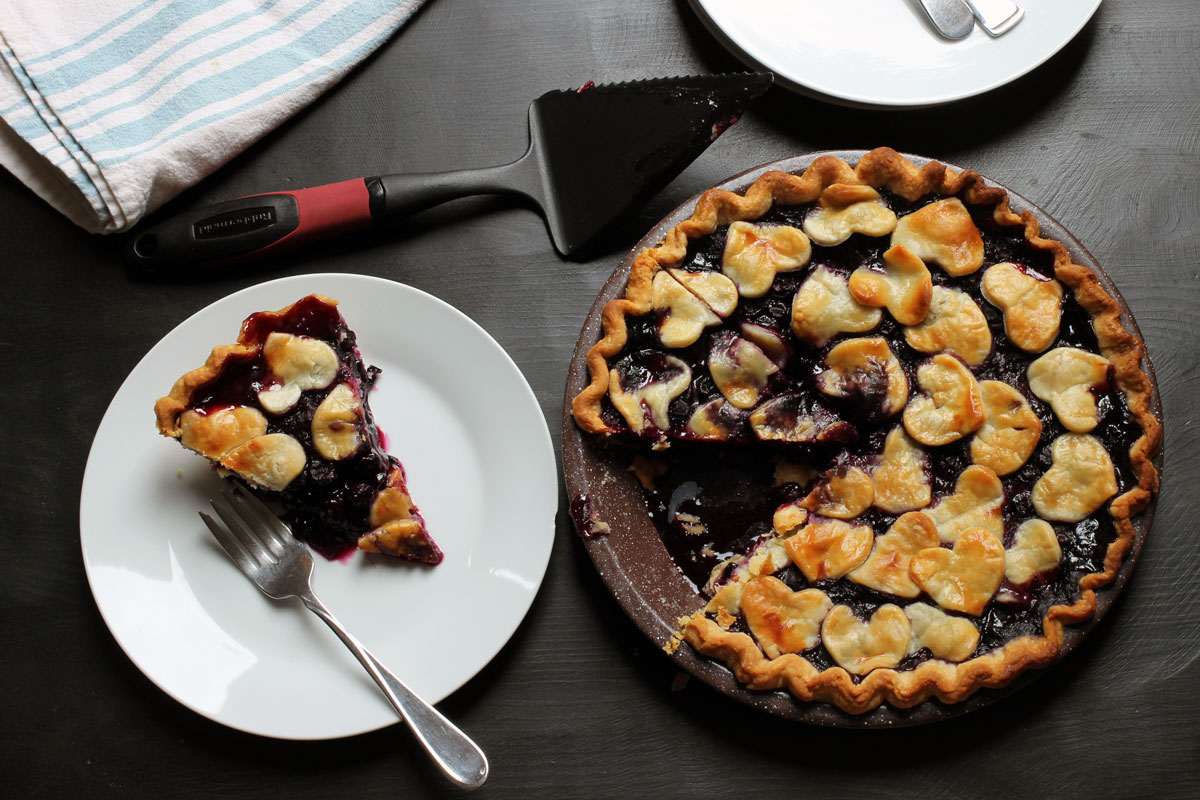
If you’re doing a double crust pie, like for this Easy Blueberry Pie, pour your filling into the bottom shell and center your top crust over the filling. Trim the edges as directed above. Then fold the top crust under the bottom and pinch the two layers together, making the same crimping as you would for a single crust.
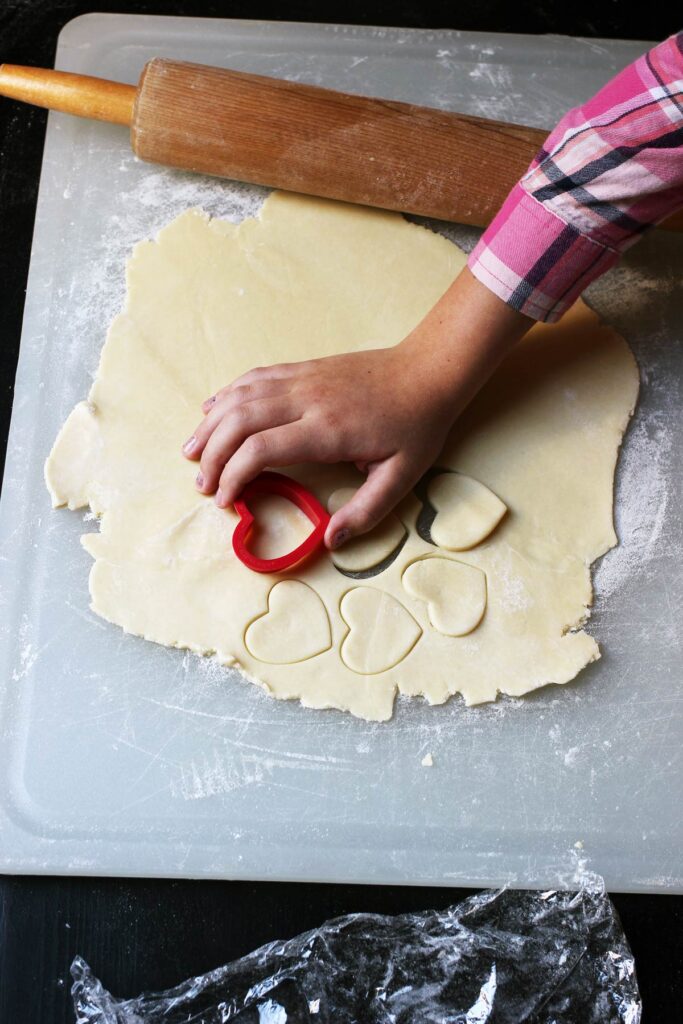
You can add some cutouts made with any extra dough to the top if you’d like a decorative detail. Brush the cutouts with water to help them stick and take a sharp knife to draw a few fancy details.
Otherwise, simply slice a few slits in the top crust to allow steam to vent and brush it with milk or an egg wash, if desired.
Adding a top crust of cut-outs
One fun way to top a pie is to cover it completely in pie dough cut-outs instead of a full top crust.
Prepare the bottom crust as directed. Add your filling.
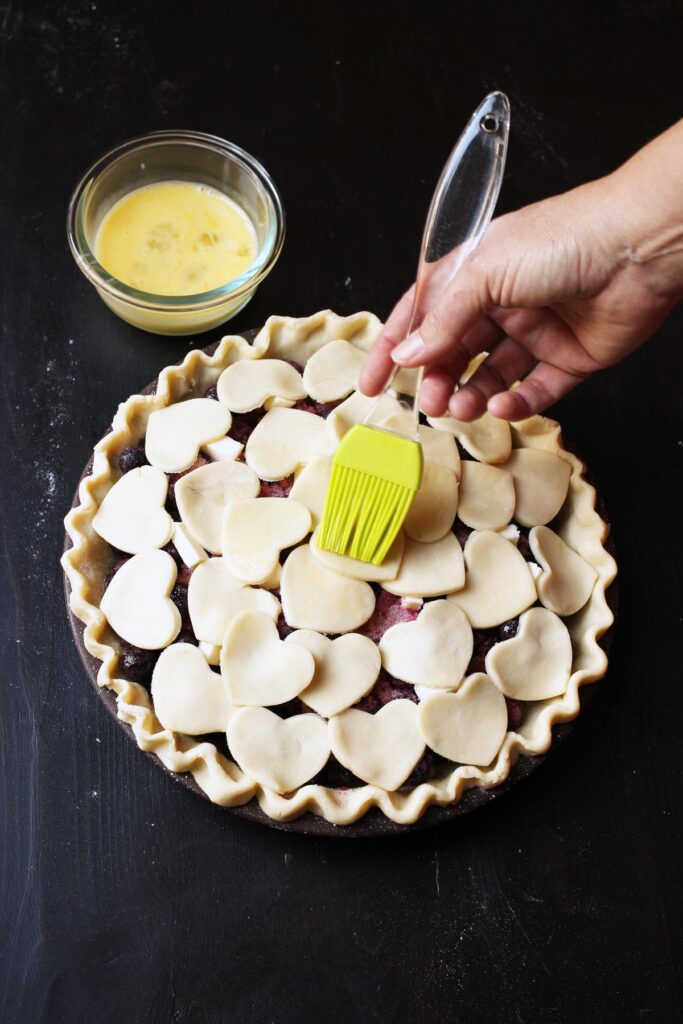
Then cut out shapes from the second crust. Lay these across the top of the pie, taking care not to crowd them or layer the edges of more than two cutouts.
Once you’ve laid the cutouts over the surface of your pie filling, you can brush on a milk or egg wash and bake according to pie recipe directions.
Making a prebaked pie crust
Sometimes you may have a recipe that calls for a pie crust that is already baked, like this Chocolate Cream Pie. This can be tricky as pie crust can migrate down into the pan as it bakes or puff and develop large air pockets in the bottom.
To avoid this, you’ll want to blind bake the pie, that is to line it with heavy duty foil or parchment paper and fill it with some kind of pie weight. In this way, the pie weights keep the crust in place and help avoid air pockets.
You can buy pie weights for this purpose or fill the lined crust with dry beans, uncooked rice, or sugar. The sugar can be reused in baking, but not the beans or rice. However, you can store the rice or beans for the next time you blind bake a crust.
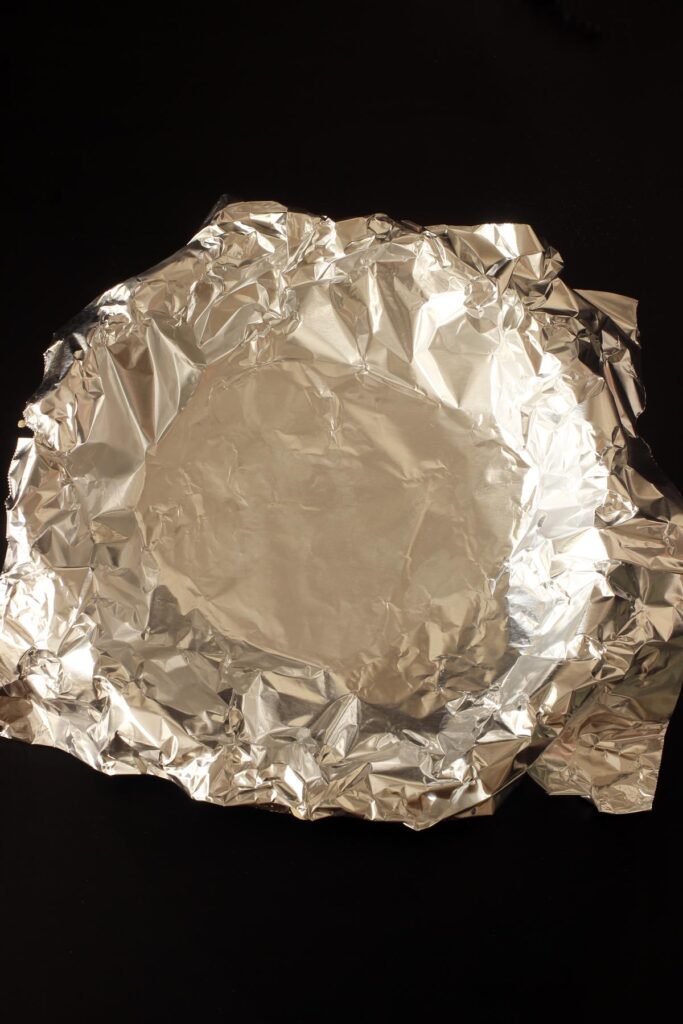
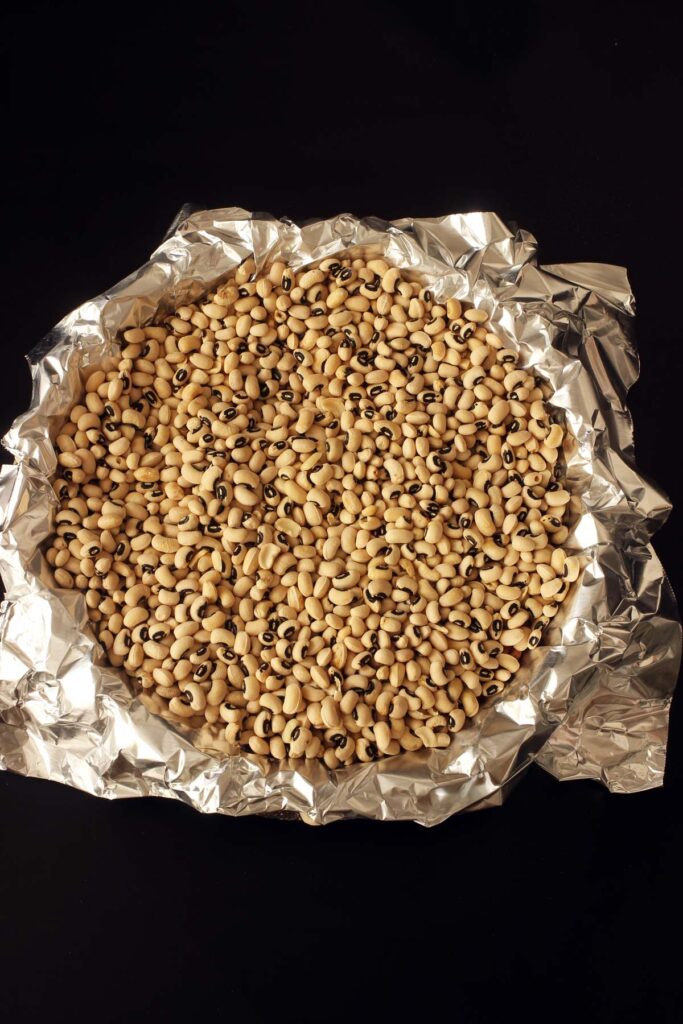
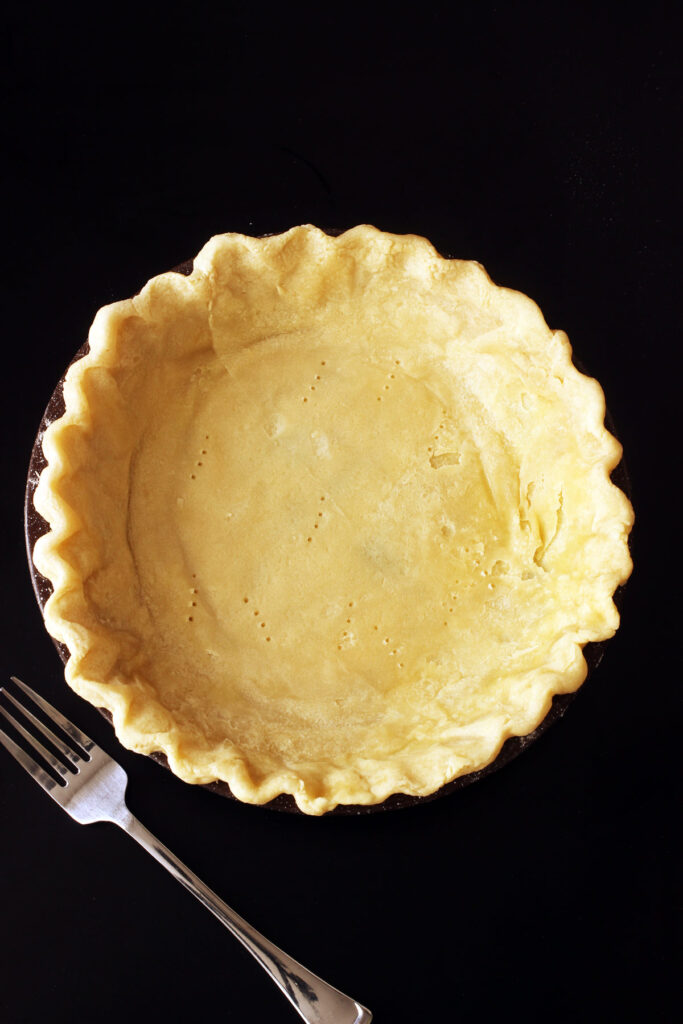
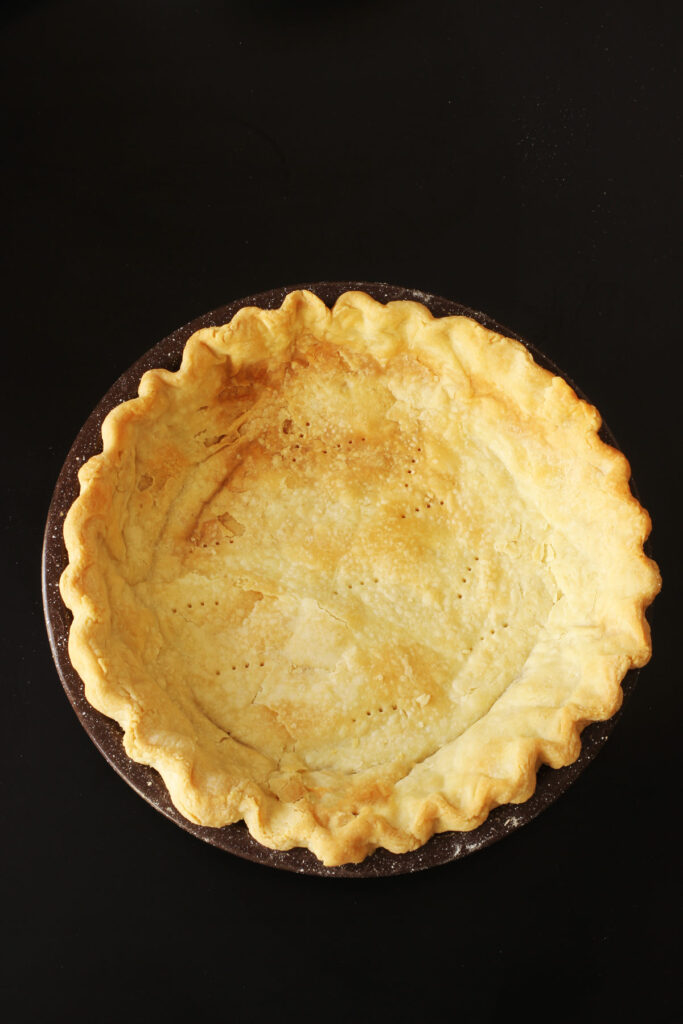
To blind bake the crust:
Line the pie plate with the crust, trim, and crimp the edges.
Chill the pie crust in the freezer for at least 30 minutes.
Preheat the oven to 375 degrees. Wrap a sheet of heavy-duty aluminum foil closely in the bottom and up the sides of the pie plate. Fill it with your chosen pie weights.
Bake in the preheated oven for 15 minutes. Carefully remove the weights and foil. It may stick so do it slowly to prevent tearing.
Pierce the crust with a fork in several spots and continue baking for another 10 to 15 minutes until the crust is golden brown.
Recipe costs
Knowing how much it costs you to prepare a recipe can help you decide if it’s the type of recipe to make regularly or one you might want to save for special occasions. Let’s crunch some numbers and see how this recipe pencils out.
- flour – $0.30
- salt – $0.01
- butter – $1.38 (based on a cost of $3.69/lb)
This works out to be $1.69/batch that produces two pie crusts. Compared with a commercial pie crust ranging from $2.99 to $3.99/2-crust package, homemade is definitely the best bet. It costs less and tastes better!
Here are some of the strategies you can use to make this recipe more economical:
- Stock up on ingredients when they are on sale. When I find regular kitchen staples on sale, I buy a lot. I’m currently using a price book to track prices and that’s saving me money. For this recipe, keeping an eye on the price of flour and butter can help keep the price down.
- Buying in bulk – Bulk pricing can reduce your unit cost dramatically. It’s usually cheaper to buy a big bag of flour than it is a small one. I have gotten into the habit of buying cases of flour from Bob’s Red Mill or VitaCost so that I always have baking supplies on hand. Store extra flour in the freezer to extend its shelf life and protect against pests.
Kitchen equipment
This recipe really couldn’t be easier than it is, but having the right kitchen tools can really make your time in the kitchen more enjoyable. Over time, I’ve honed my collection so that they are perfect for my needs.
Here are the tools that I use for this recipe:
- food processor or pastry blender – Either of these tools make quick work of the short dough. You can do it by hand with two knives, but I prefer my food processor.
- large cutting board – I use this super size cutting board for a work surface for all my doughs. I can easily clean and sanitize it and move it around the kitchen.
- rolling pin – Necessary for making homemade pie crust.
- plastic wrap – Too much flour can make your dough tough, but too little makes it stick to your work surface. I use plastic wrap to help me roll the dough easily and transport it to the pan without tearing it. Stretch-Tite is the best, in my opinion.
- pie plate – obviously 😉
- pie weights, beans, rice, or sugar
- liquid measure – these beakers are more accurate for liquids
- kitchen scale – Love this one! I have had mine for over ten years.

Tell us what you think!
We love to hear your experiences with Good Cheap Eats. Click the STARS on the recipe card or leave a STARRED comment to let us know what you think of the recipe.
Homemade Pie Crust Recipe
Ingredients
- 2 cup unbleached, all-purpose flour
- ½ teaspoon salt
- ¾ cup cold butter (1 ½ sticks)
- ¼ cup water or less
Instructions
- Combine the flour and salt in the bowl of a food processor fitted with a metal blade. Add the butter.
- Pulse until coarse crumbs are formed. Add the water a little at a time until dough starts to stick together.
- Divide the dough into two portions and wrap each in plastic wrap, flattening each half into a disk. Chill for 30 to 60 minutes.
- On a lightly floured board, place one of the disks. Place the plastic wrap over the dough and roll out the disk to a thin circle. Repeat with the other portion of dough.
- Transfer one portion of dough to the pie plate. Trim the edges about ½ inch from the edge of the plate.
- If making a double-crust pie, add the filling and position the top crust over the top. Crimp the edges.
- If making a single-crust pie, fold the excess dough under itself and crimp together, pinching it between thumb and forefinger.
- Bake according to pie recipe instructions.
Notes
Nutrition
This post was originally published on October 13, 2018. It has been updated for content and clarity.



Leslie
What suggestions do you have for making enough dough for 4 chicken pot pies, if you don’t have a food processor, and you don’t want to lose your mind?
Jon
Why provide the “helpful” tip of weighing the flour instead of measuring it by cups, then only provide the measure by cups. How much flour by weight should I use for this?
Jessica Fisher
4.5 ounces is standard practice for what many recipe developers, including myself, use for 1 cup. For this recipe you’ll need 9 ounces.
Margaret Kukta
Just wondering can i put vanilla extract in some of the water to make it a little sweet.
Jessica Fisher
Vanilla extract isn’t actually sweet. It would give it a bit of vanilla flavor, though. If you’d like a sweet dough, add a tablespoon of sugar to the mix.
Charlotte Daly
In the ingredients list for your piecrust you listed to use 1/2 cube of butter. But towards the end of the actual directions with the recipe list again it shows you listed to use one and a half cups of butter. As a first time user of this recipe I followed the ingredients that were first listed later to find out that my piecrust was too dry because it didn’t have enough butter. Maybe you should read list or revise your original ingredients list to match your ingredient list in the directions.
Jessica Fisher
Hey Charlotte, I don’t see where in the ingredients list it says 1/2 cube. The recipe calls for 12 tablespoons of butter, which is the same as ONE and A HALF sticks of butter.
Margaret
I need some help with the amount of butter to use. 12 Tablespoons 1 1/2 sticks butter. Do you mean that you use 12 Tablespoons butter and 1 1/2 stick of butter. I had an old recipe for pastry and lost it and this seems to be really close.
Thank you
Margaret
Jessica Fisher
12 tablespoons is the same as 1 1/2 sticks. I’ve added parentheses to make this clearer. So sorry for the confusion!
Emilia
Jessica, I made your “Versatile Buttery Pie Crust” (from “Not Your Mother’s Make Ahead and Freeze Cookbook”) and we loved it. This seems to be a variation from that one. Could you tell me what the difference in results might be?
Jessica Fisher
Glad you liked it! This one is a little bit easier to roll out and contains a smaller percentage of butter so it’s a little bit cheaper.
Marie
So I was looking for a pie crust recipe with no yeast and came upon your website that is a huge blessing! Thank you and God bless.
Stacey
This crust really is easy, plus it’s delicious.
Dina
Thanks so much for this recipe. We just discovered our son becomes hyper after eating anything with RED40 in it. Store bought refrigerator pie crust contains RED40! Making a bunch for freezer 🙂
Jessica Fisher
I never would have suspected that. Oh my!
April
I've been wanting to try pie crust, and I may use this one for your chicken pot pie recipe. Do you think it would work as well with whole wheat flour?
Jessica Fisher
@April, it doesn’t work as well with whole wheat. Sub some whole wheat pastry flour for the unbleached. But, I don’t know that I would do all. But, try it and tell us how it goes.
ptacklind
okay, i have the BEST recipe for you to try as well. and ridiculously easy. blend together with a fork: 2/3 c. oil and 1/3 c. water. in another bowl, mix 2 c. flour and 1/2-1tsp. salt. mix the two bowls together until the dough holds together. next (this is the best part!) divide the dough ball in half. put half in a plastic grocery bag and roll it out until it's an 1/8" thick circle. cut the sides of the bag and lift off the top portion of the bag so the dough is showing. flip it into the pie pan and peel the plastic off. (no flour needed!) then do the same with the other half of the dough and use as your top crust. it tastes so good and is SO easy to do! cook as directed. glad you love pie! i do too!
Amy @ Finer Things
Nothin' finer than a flaky, tender pie crust! Mmmmm
Melissa, Multi-Tasking Mama
Mmmm, so glad fall (a.k.a pie baking season) is upon us =)
Monica
I just started making homemade pie crusts last year and I was pleasantly surprised at how easy it was! I'm looking forward to pie baking around the holidays again this year.
Steven and Ginger
Tonight I made your apple pie. It was delcious! I love the little bit of almond flavoring. It will definately be put in the recipe book to make again.
Amy Lynne
Looks awesome! I am so glad it is pie season again!
Susie
Homemade is the way to go:-)
Danielle
So glad you posted this! I've had a dickens of a time with pie crusts, and have been wanting to find someone to recommend a recipe to me! Thanks