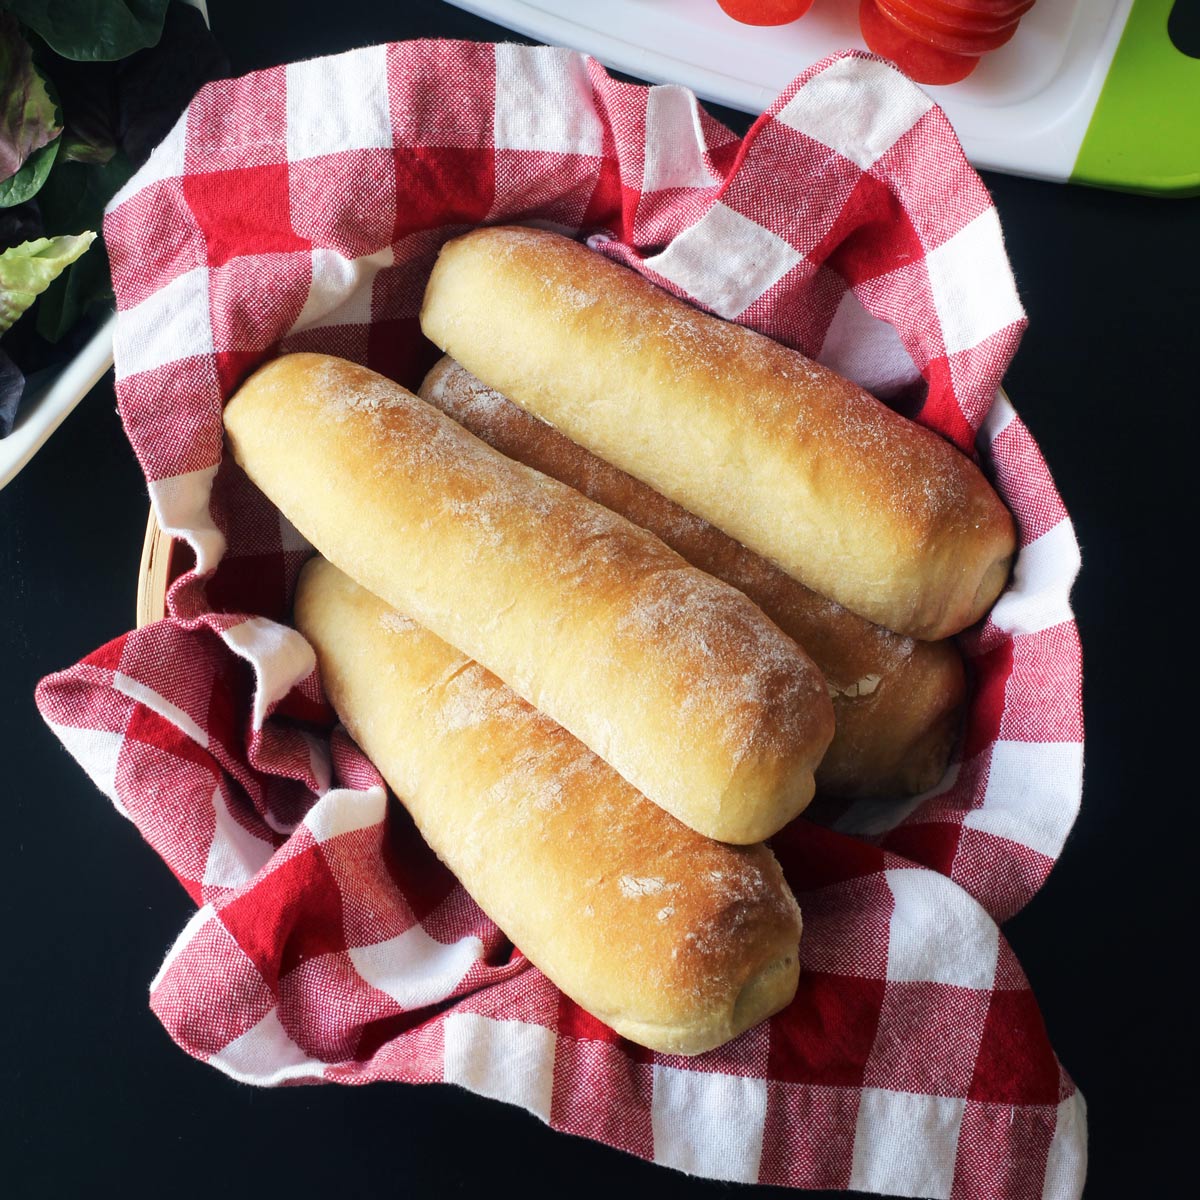
Enjoy fresh-baked sub rolls, enriched with white whole wheat flour. Sandwiches on rolls you make yourself are better than any five-dollar footlong.
Want to save this post?
Enter your email below and get it sent straight to your inbox. Plus, I’ll send you budget recipes and money-saving tips every week!
It’s true that the $5 Footlong or the local deli’s sandwich can be a nice treat once in awhile. But, the price can definitely add up. To feed my family such tasty fare costs about $40 at the minimum!
Making sandwiches at home is a much better deal. Anything from the Meatball Sub to the Hot Italian Beef to the classic Italian Sub Sandwich can be made pretty affordably at home.
And why not? There are oodles of choices of Sandwich Recipes for Quick Dinners. But what about the bread? Bread can be pricey.
Good thing that Homemade Sub Rolls aren’t hard to swing.
What are sub rolls?
Sub rolls are the small bread loaves that are used in submarine sandwiches, also referred to as grinders, hoagies, poor boys, and torpedoes. While the fillings and moniker can vary regionally, the bread is basically a small loaf of Italian or French bread, shaped into an oblong and used as a base for sandwiches.
Serving suggestions
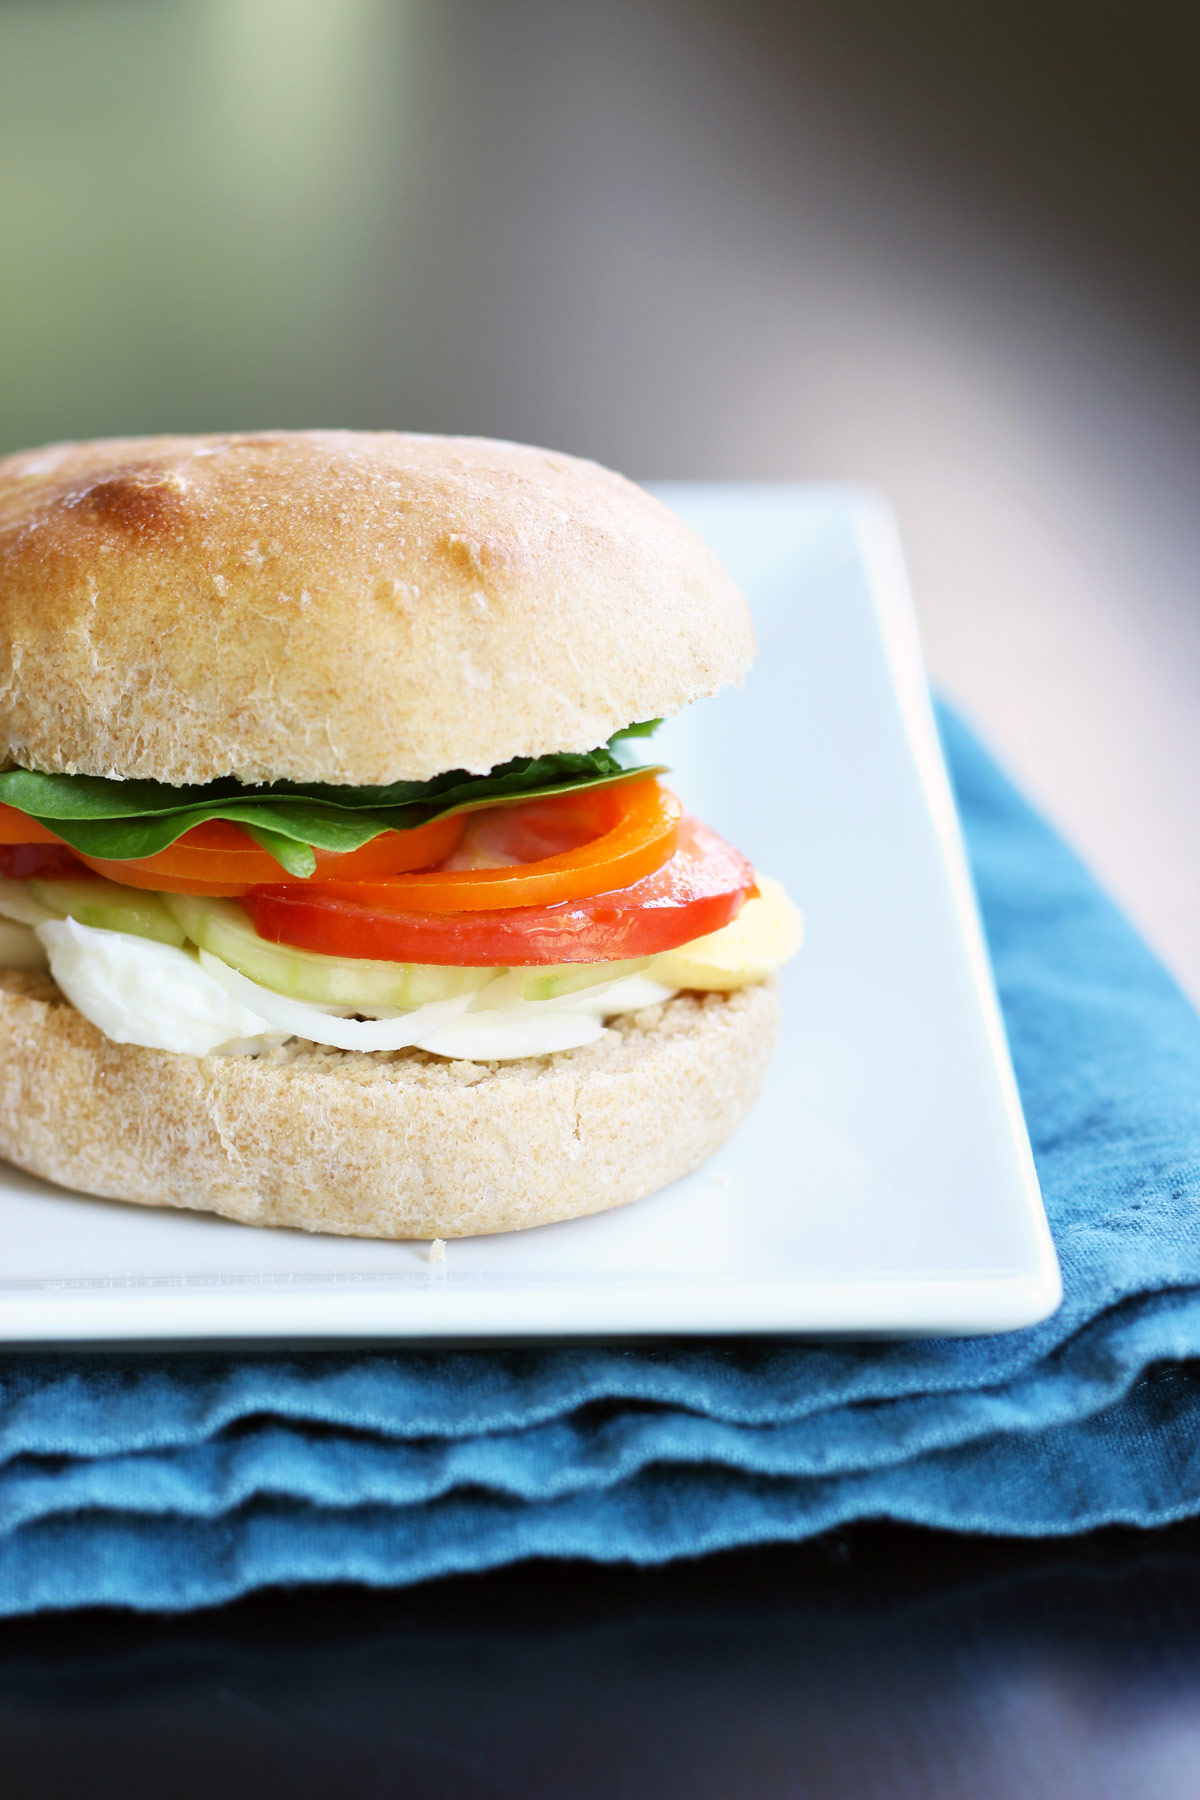
These rolls are great as a base for sandwiches.
After a few days, they may start to dry out a bit. At that point they are perfect candidates for Easy Make-Ahead Freezer Garlic Bread, Cheese and Garlic Croutons, or other uses for dry bread.
Ingredients
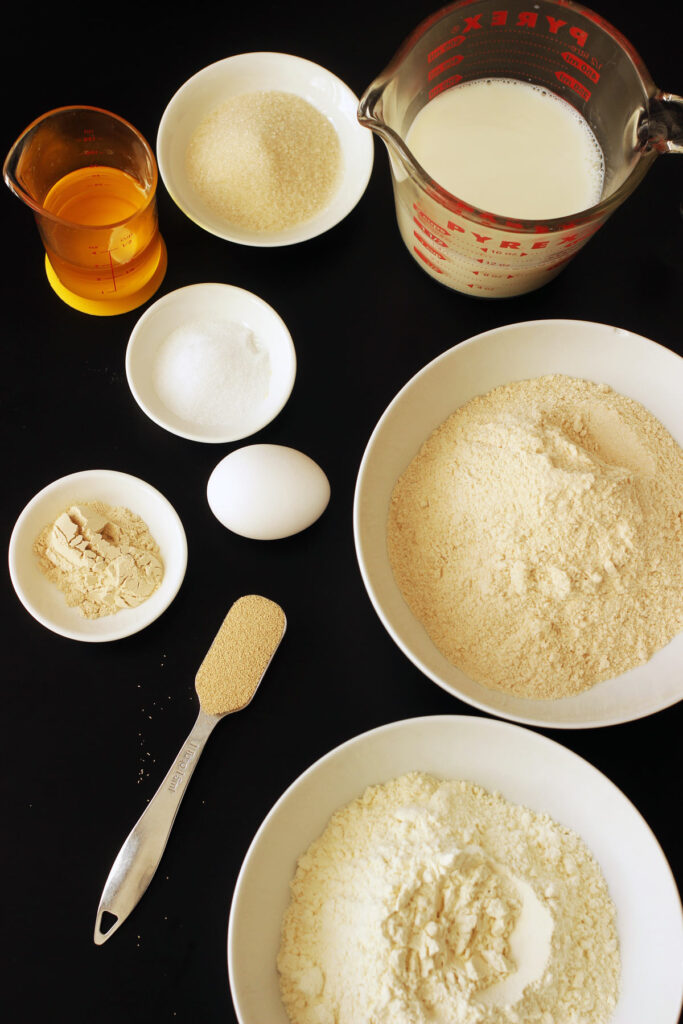
The ingredients contain nothing exotic, simply some regular baking staples.
- milk – use whatever kind you have on hand, dairy or plant-based.
- egg – this enriches the dough and keeps it tender.
- oil – whether it’s olive, canola, vegetable, or avocado, any oil will work. Again, this helps keep the dough soft.
- sugar – another softener for the dough, you can use any form of sugar or honey that you like.
- white whole wheat flour – I find this flour quite easily and cheaply at Walmart and Ralphs. It’s a whole grain with a lighter texture and color than regular wheat flour.
- salt – Do not omit this. It really adds flavor to your baked goods.
- active dry yeast – I buy the big blocks at Costco and store it in a jar in the freezer.
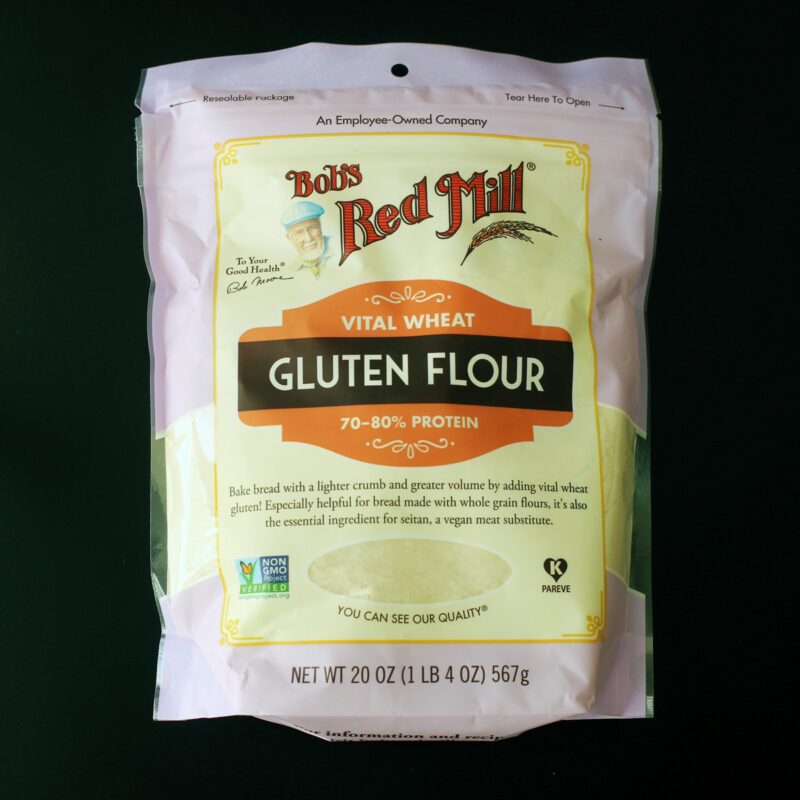
- vital wheat gluten – this is probably the weirdest of the ingredients. Vital wheat gluten is naturally occurring in wheat. It helps the texture and elasticity of yeast breads. I’ve purchased it online as well as found it at Walmart, Sprouts, and Ralphs.
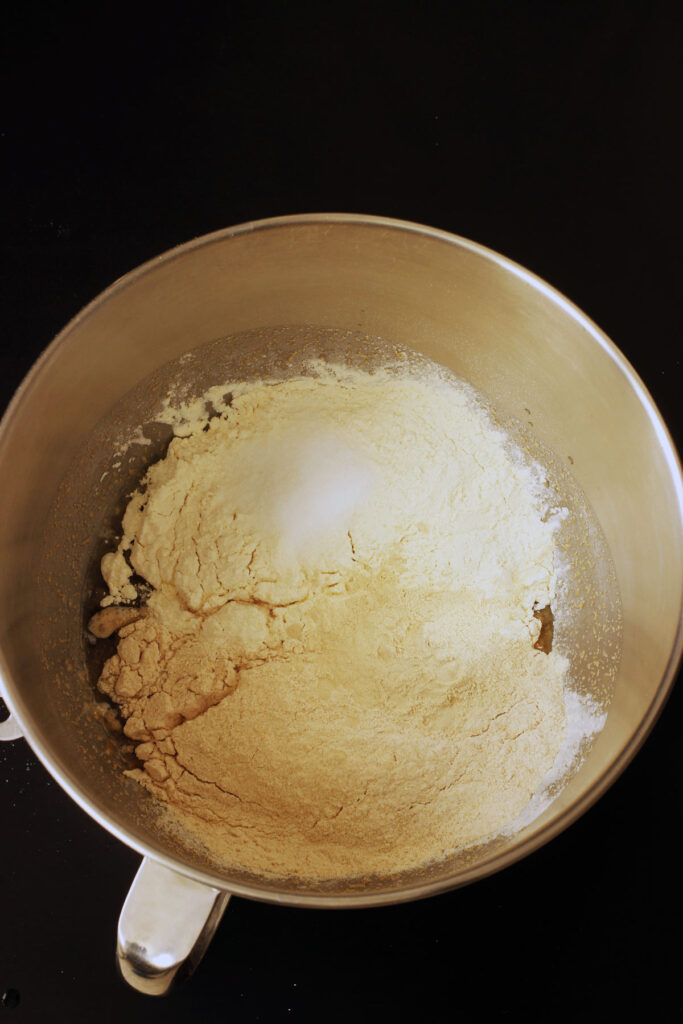
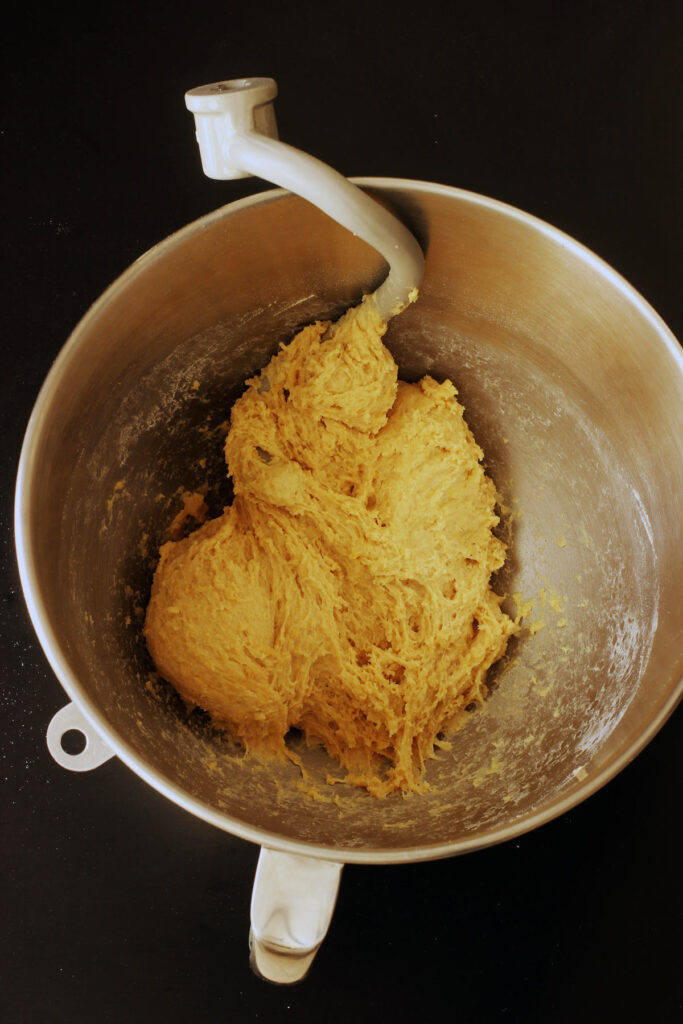
Instructions
You can make these sub rolls by mixing the dough by hand, in a stand mixer, or in a bread machine. I started out my baking career with a bread machine. You can let it handle the dough while you practice your dough shaping skills. Once you’ve got that mastered, you can tackle making the dough in a stand mixer or by hand.
This recipe is an adaptation of one from Beth Hensperger’s awesome cookbook, The Bread-Lover’s Bread Machine Cookbook, a book that taught me so much about baking.
No matter how you mix it up, though, homemade sub rolls can’t be beat.
Bread machine instructions
Combine all the ingredients in the pan of your bread machine, according to the manufacturer’s instructions. Set to dough cycle and start the machine.
Stand mixer or hand mixing instructions
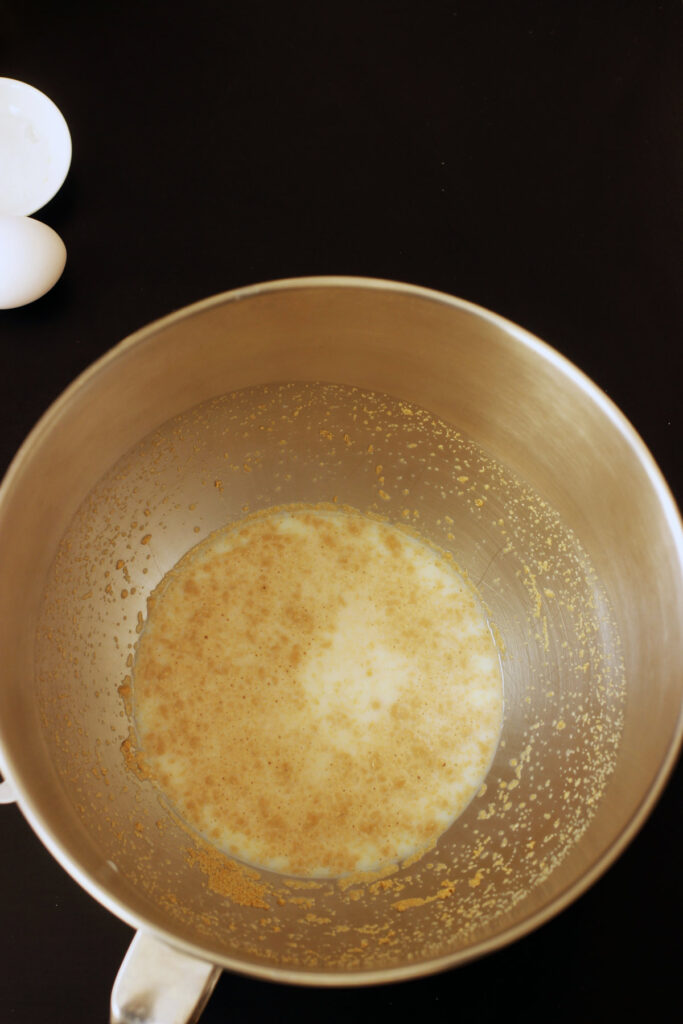
- Place the warm milk and sugar in your mixing bowl. Add the yeast and allow it to proof for 5 minutes. It should bubbly and foam a bit.
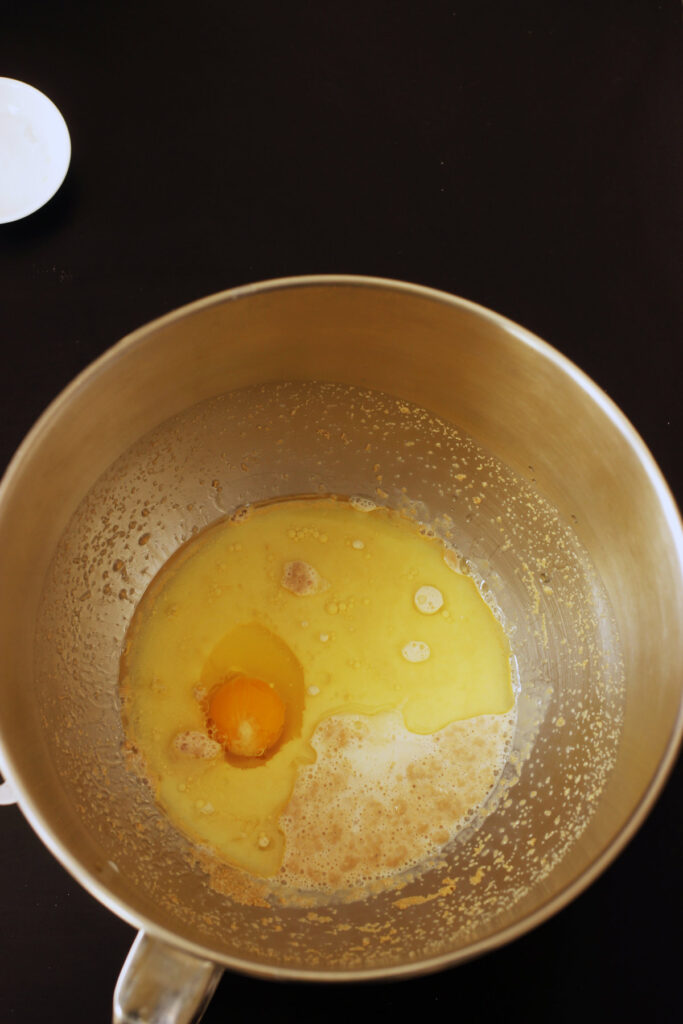
- Add the egg and oil as well the flours, vital wheat gluten, and salt. Stir well to combine.
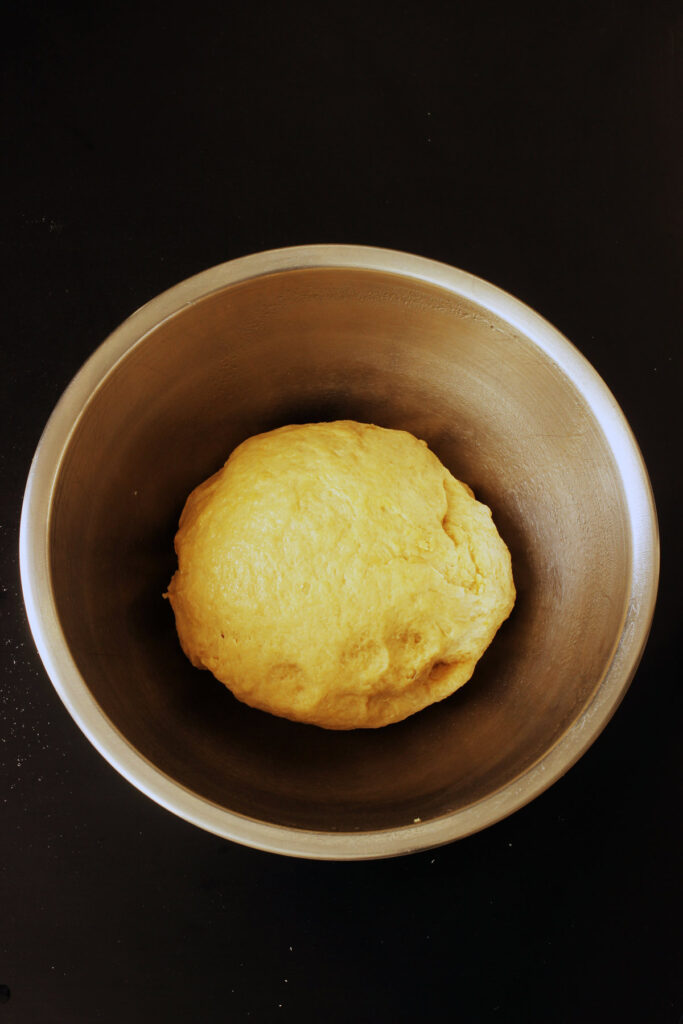
- Knead with the dough hook or your hands until a smooth elastic dough is formed.
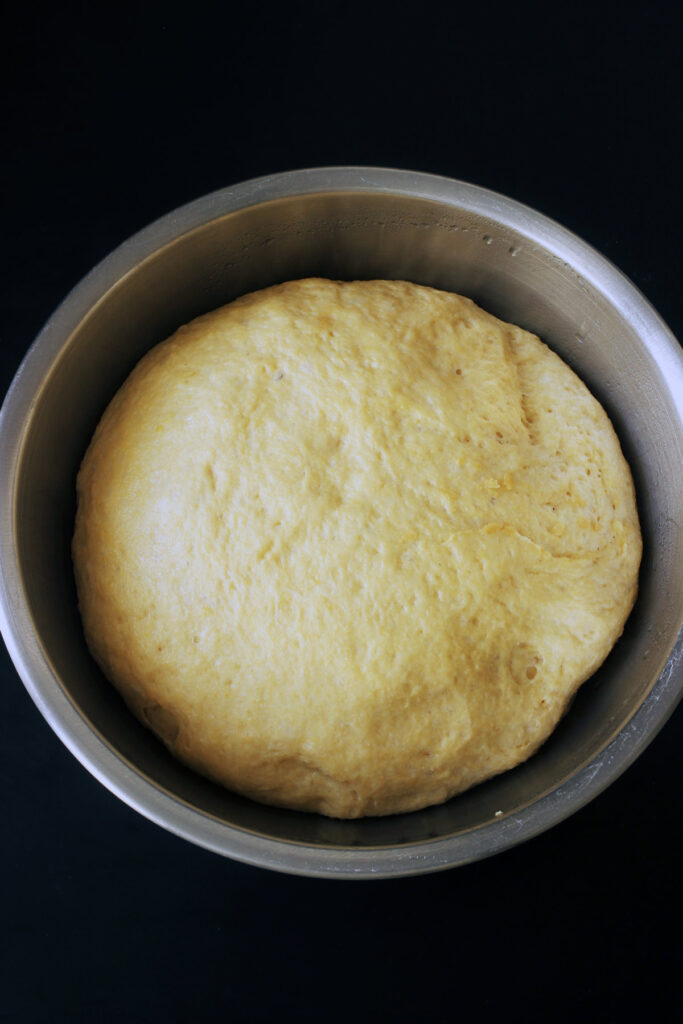
- Transfer the dough to a greased bowl and turn the dough ball to coat. Cover and allow the dough to rise until doubled in bulk, about 1 hour.
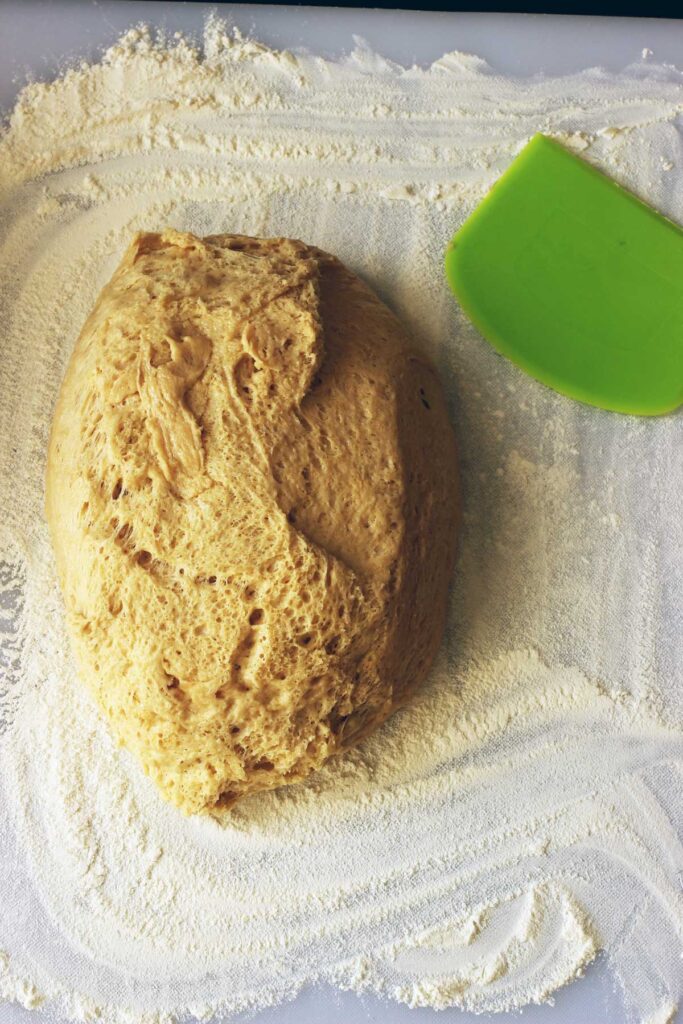
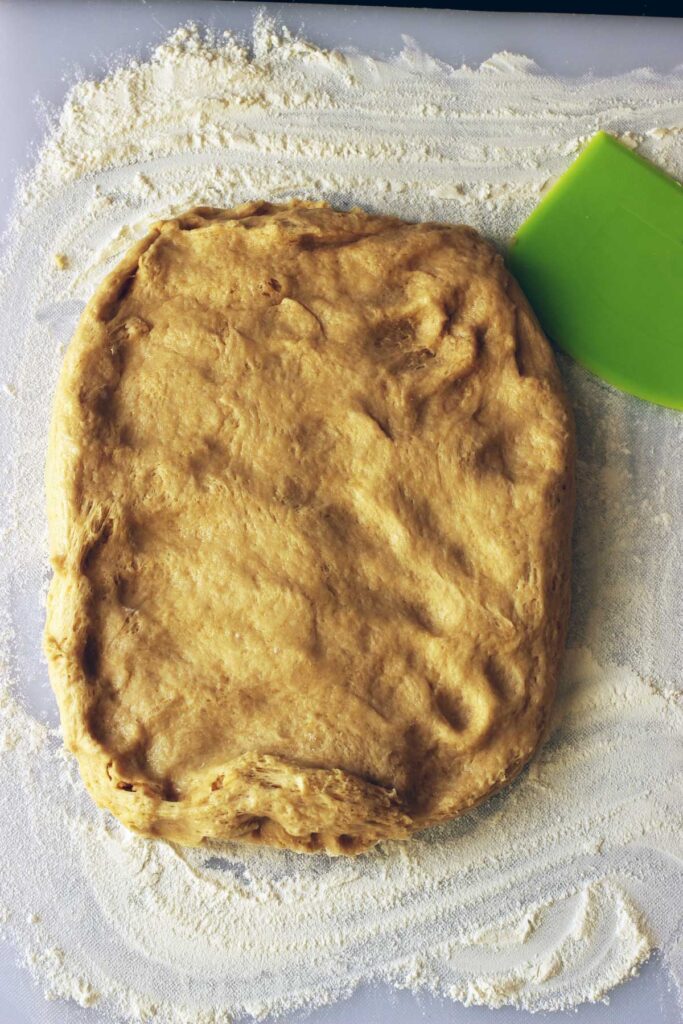
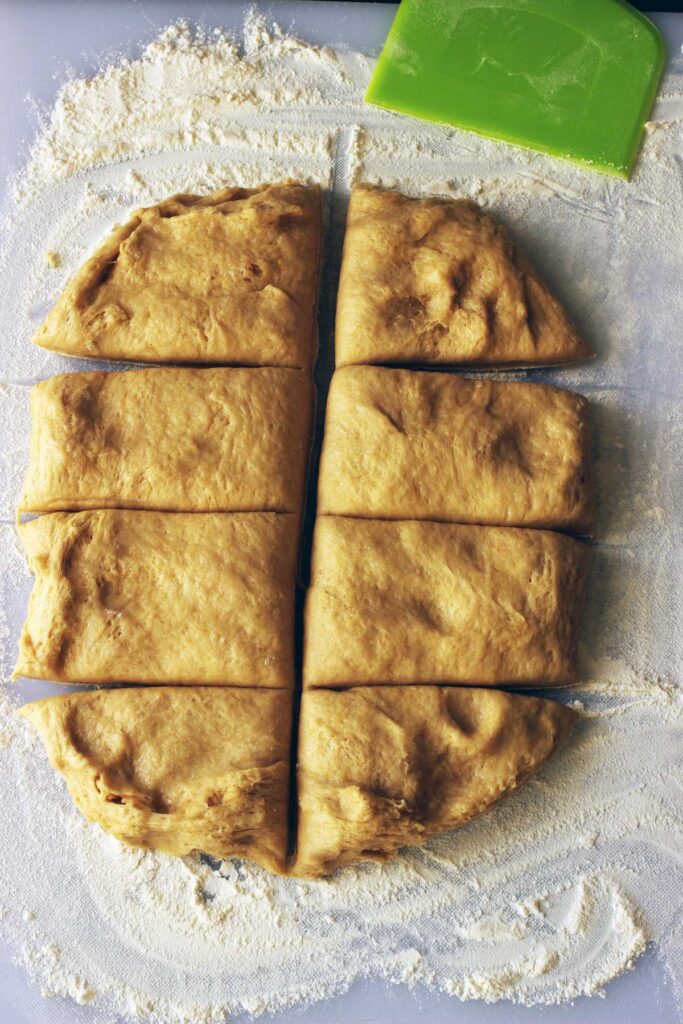
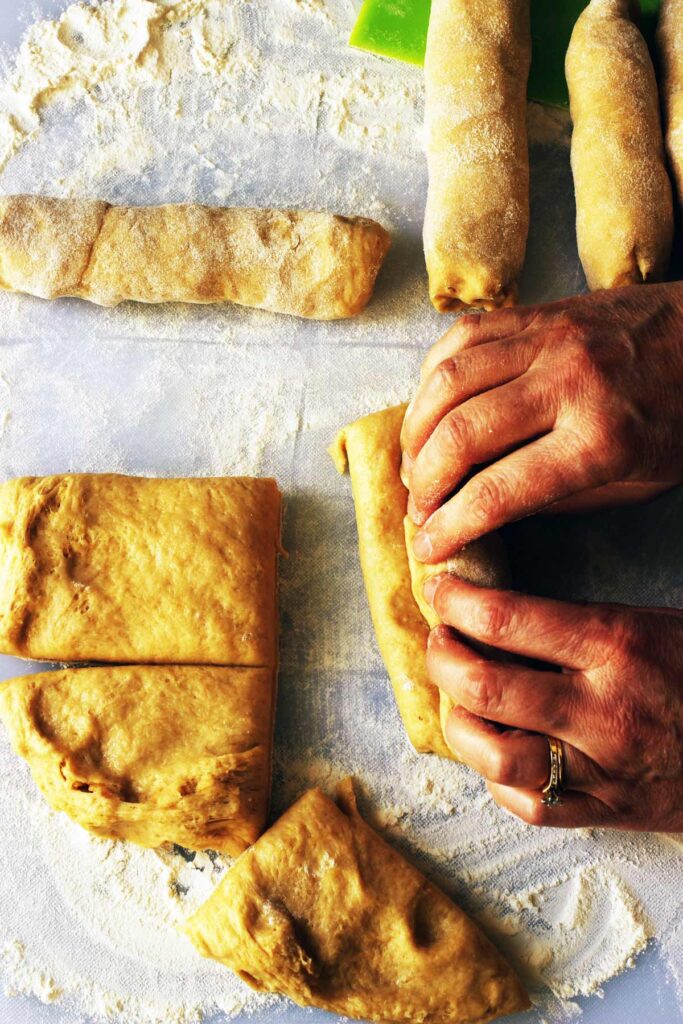
Shaping instructions
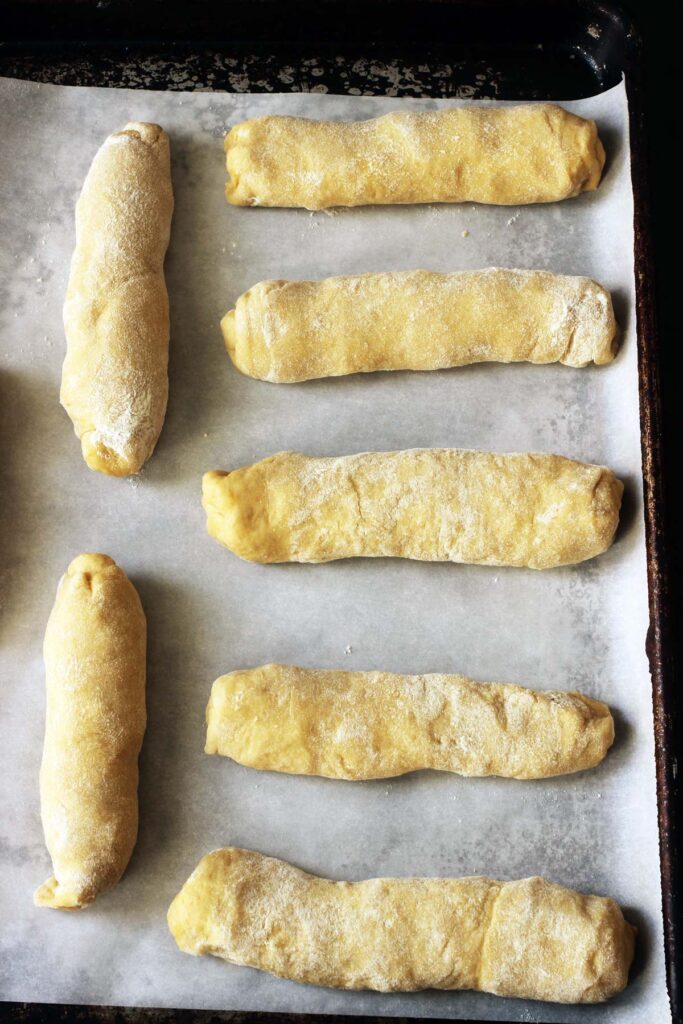
Once the dough has risen and doubled in bulk, you’re going to shape the rolls.
- Transfer the dough to a lightly floured surface and flatten it out into a rectangle.
- Divide the dough into 8 equal portions. It’s okay if it’s not perfect.
- Flatten each portion and roll it up tightly.
- Line a baking sheet with parchment paper and place the rolled dough on the tray, allowing space for them to rise.
- Allow the rolls to rise for 20 minutes or longer, until doubled in bulk.
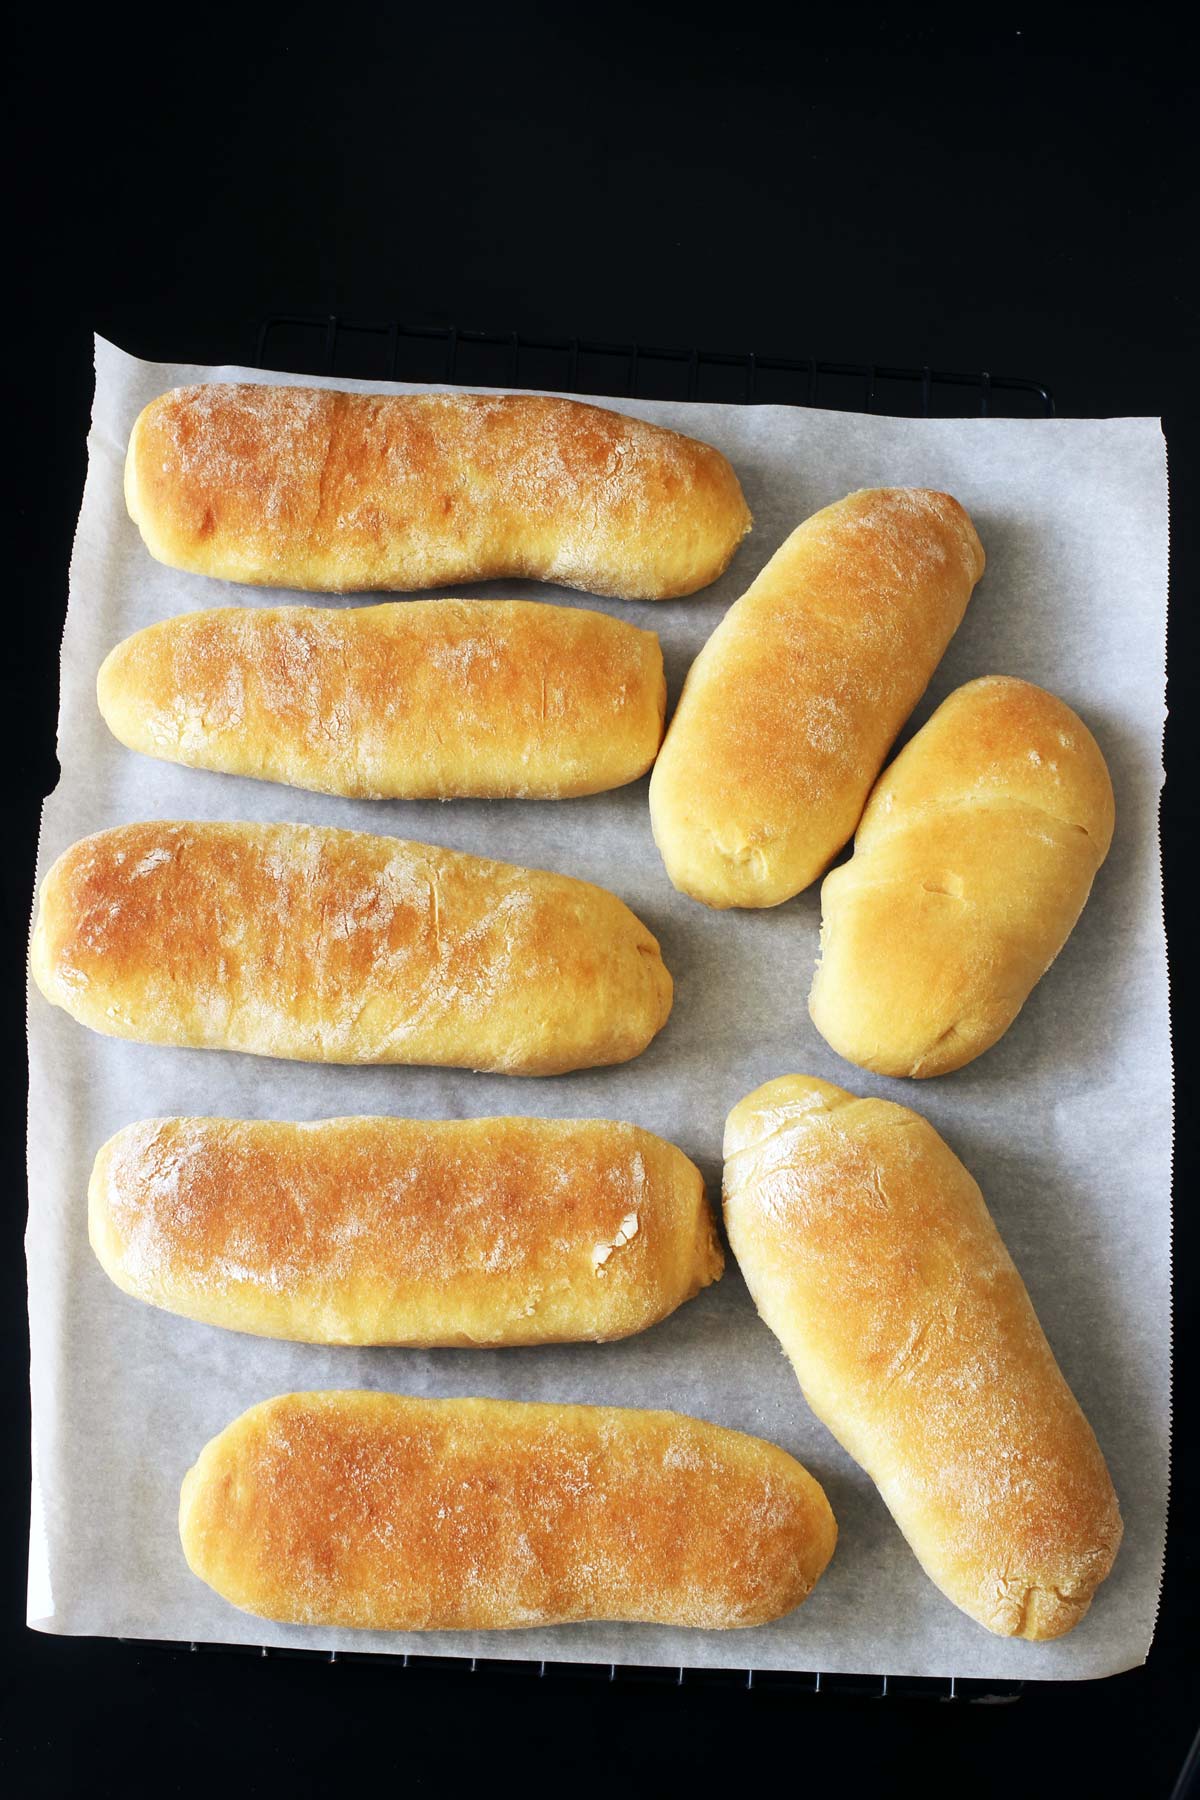
- Bake for 15 to 20 minutes at 350 degrees, until golden brown. Cool on a rack before serving.
Storage
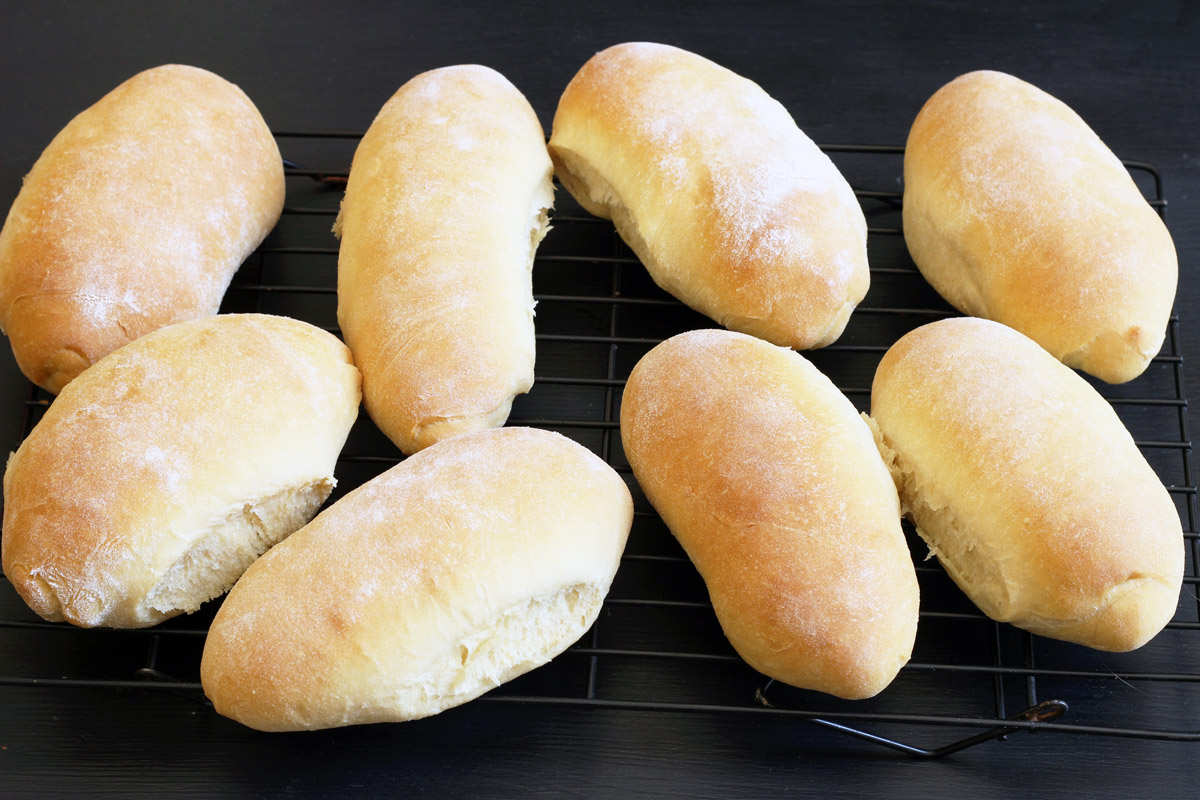
Store the cooled rolls in an airtight container for up to three days. Freeze for longer storage.
Recipe costs
Knowing how much it costs you to prepare a recipe can help you decide if it’s the type of recipe to make regularly or one you might want to save for special occasions. Let’s crunch some numbers and see how this recipe pencils out.
- milk $0.21
- sugar $0.04
- yeast $0.33
- egg $0.16
- oil $0.11
- white whole wheat flour $0.44
- all-purpose flour $0.30
- salt $0.01
- vital wheat gluten $0.11
Total for a batch of 8 rolls is $1.71/batch or $0.21 each!
Note: when I first developed this recipe in 2013, I priced it out at $2.10/batch. What a pleasant surprise to see that some things have gone down in price!
Conversely, both then and now, store-bought white sub rolls cost about 50 cents a piece. The purchased rolls don’t have as good ingredients as these do, so homemade wins.
Remember that the prices quoted here are from a midrange grocery store at non-sale prices. You’ll save even more when you follow the Good Cheap Eats System.
Kitchen equipment
This recipe really couldn’t be easier than it is, but having the right kitchen tools can really make your time in the kitchen more enjoyable. Over time, I’ve honed my collection so that they are perfect for my needs.
- stainless steel mixing bowls or Oster Bread Machine or stand mixer, depending on what method you’re going to use to make the dough
- glass measuring cup – good for measuring liquids
- rubber spatula – scrape everything down well so as not to waste anything
- dough knife – makes it easy to cut the dough into portions
- large plastic cutting board – for rolling out dough if you don’t have a built-in smooth surface
- sheet pans – I LOVE my set of steel sheet pans. They make such a difference in baking and meal prep.
- parchment paper – makes for easy cleanup
Homemade Sub Rolls Recipe
Ingredients
- 1 ¼ cup milk warmed
- 3 tablespoon granulated sugar
- 1 tablespoon active dry yeast
- 1 egg beaten
- ⅓ cup neutral oil
- 2 cup white whole wheat flour
- 2 cup unbleached, all-purpose flour
- 1 tablespoon vital wheat gluten
- 2 teaspoon salt
Instructions
To make the dough in a bread machine
- Combine the milk, egg, oil, sugar, flours, vital wheat gluten, salt, and yeast in the pan of your bread machine according to the manufacturer’s directions. Set on the dough cycle and start the machine.
To make the dough by hand or a stand mixer
- Place the milk, sugar and yeast in a large bowl or the bowl of a stand mixer. Stir and allow the yeast to proof for 5 minutes.
- Add the egg, oil, flours, vital wheat gluten, and the salt. Stir to combine well.
- Knead by hand or with a dough hook to create a smooth, elastic dough, adding more of the all-purpose flour as necessary.
- Transfer the dough ball to a greased bowl and turn it to coat. Cover and allow it to rise until doubled in bulk, about 1 hour.
To form the sub rolls
- Line a large baking sheet with parchment paper or a silicone baking mat.
- When the machine beeps or the dough has doubled in bulk, remove the dough from the pan and divide it into eight equal parts. Form each part into a long, thin oval and place equidistant apart on the prepared baking sheet.
- Allow the rolls to rise for 20 minutes or longer, until doubled in bulk.
- Preheat the oven to 350ºF.
- Bake the rolls for 15 to 20 minutes until golden brown. Cool on a rack before serving.
Notes
Nutrition
This post was part of the DIY Convenience Foods series. It was originally published on October 13, 2013. It has been updated for content and clarity.




Alice
Can you replace the all purpose flour with bread flour instead of using vital gluten?
Jessica Fisher
Yes, that’s a very workable option.
Jackie
Is there a way to make these using sourdough starter discard?
Jessica Fisher
I’ve not tested this particular recipe to use sourdough starter, but this post may help.
Tom Jones
Yes, just make as any other sourdough bread. Your discard is simply excess starter.
Tiffany V
I made this with 4 cups of unbleached all purpose flour and no vital wheat gluten and they turned out amazing. They were soft, yet firm. Yum yum yum.
Sarah
Perfect. Thank you, making this with unbleached flour and have no vital wheat gluten.
Mom to 10
Mari
Thank you! I was wondering about those changes myself!
Denise
Subs rolls – worked well , large will try 10 per recipe next time .
Did not use gluten .
Used spelt instead of whole wheat
Great recipe for burgers or subs
Jessica Fisher
Thanks for sharing how you adapted it for spelt, Denise. Glad to hear it was a hit!
Steph
Hi. In place of active dry yeast would you use 1 tbsp of bread machine yeast?
Jessica Fisher
Yes, that is fine.
Dane
Have you tried freezing before cooking?
Jessica Fisher
It’s not my favorite method, but it can be done. Just don’t let it rise. Freeze on a tray as soon as the rolls are formed. Once hard, bag them up. Allow to thaw and rise on a tray before baking.
Amanda
Could you make the dough the night ahead of time and cook for dinner the next night?
Jessica Fisher
You could. I sometimes have inconsistent results with rising when I do that. Alternatively, you could bake them the night before. They’ll still be good for a few days after baking. And you can freeze them for longer storage.
Kelly
What are you substituting for the sugar during your sugar fast? Honey? How much? Thanks!
Jessica Fisher
Typically an equal amount of honey. Unless it’s a lot of honey, then I adjust the liquid in the recipe a bit. For this, 3 tablespoons of honey is fine.
Karin
Greetings again! I had a few questions, and hope I can pick your brain. I made these yesterday and they were delicious, but denser than i thought it would be. From the picture though, the inside texture looks very similar. I made your meatball recipe with ground turkey, and your pizza sauce, and had myself a nice meatball sub! 🙂
I do not have a bread maker and had to do this by hand. I’m not sure if you have experience with hand kneading, but how do you know when you’re done? I feel like the dough never fully formed. I would knead, it would get sticky. I’d add flour, knead, sticky. I kept doing this (6 or 7 times), but the dough continued to absorb the flour like a bottomless pit. I just stopped at one point, out of fear of over kneading. Luckily, the bread was not tough whatsoever.
Perhaps this resulted in a denser bread? Or does a bread machine require using less flour than when making by hand?
Jessica Fisher
I think the extra flour is probably what contributed to the density. It’s true that hand-kneading will call for a little more. Since the bread machine kneads it in a non-stick pan, there’s rarely a need to add more flour. When I used to knead by hand, I would sometimes do it on a greased surface with oily hands. You could try that, though I have no idea if it will get you the result you want. I hope that helps!
Sarah Dickison
It takes 8 minutes to develop gluten, so you knead yeast based recipes for 8 minutes.
Mom of Ten
Ana
A months ago i discover your site. We love your hamburger or hot dog bread recipe. This weeked I serve my kiddos bread from the store and they refused to eat the bread. They only want homemade bread that you share in your site. Thanks for sharing these recipes
Jessica Fisher
It’s good, isn’t it? Thanks for sharing your success story!
Joanne T Ferguson
G’day Your rolls look wonderful today, true!
I have never used wheat gluten…is that like bread improver too?
Cheers! Joanne
Jessica Fisher
I’ve never used bread improver, so I don’t know. 😉
Rachel
Thanks for this recipe. I’ll have to try it out with my Bosch.
Melissa
Would the vital wheat gluten be with the spices or with the flour at Walmart?
Jessica Fisher
Typically with the flour.
Brandette W.
I buy it at Walmart and it is usually next to the yeast by the flours. Here is a link to it, so you can see what the box looks like: http://www.hodgsonmillstore.com/en/baking-aids/vital-wheat-gluten-w-vitamin-c–71518-00810-001_group
It isn’t terribly expensive, but like Jessica said it most definitely does make a difference in the texture of the bread. I always have a box in my fridge!
Melissa
Thank you!
Claire
I am looking forward to making these. I haven’t mastered hamburger/hot dog buns yet, so this will be a good challenge 🙂 The rolls will give me a reason to make meatball subs 😀
Nia
The interesting thing about these rolls in the picture is the color. I’m using a bucket of flour that I mixed unbleached AP flour with organic corn flour at a 3:1 ratio and my breads come very close in color to the ones pictured above.