Making press in pie crust from scratch is like kid’s play when you use my Gramma John’s Pat in Pan Pie Crust recipe. It’s simple and delicious and easy for kids and adults alike!
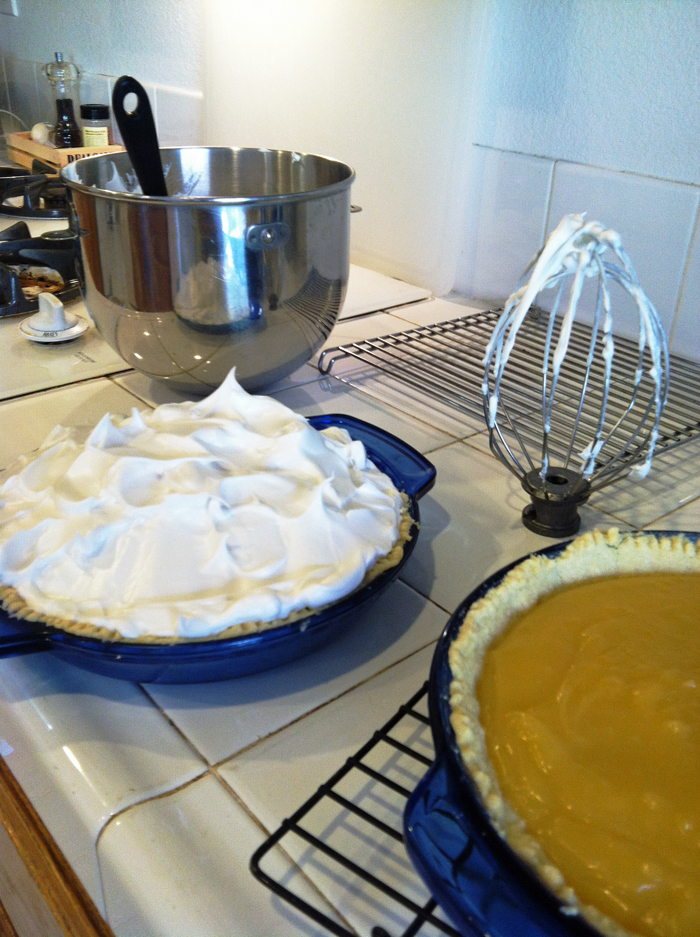
Use this as the base for all your favorite Homemade Pies, including Lemon Meringue Pie and Homemade Chocolate Cream Pie, but also in quiche, like Quiche Florentine.
Want to save this post?
Enter your email below and get it sent straight to your inbox. Plus, I’ll send you budget recipes and money-saving tips every week!
Making your own pie crust can sound like a challenge you think you can’t tackle. But I promise you can. Homemade pie crust that is easy is not a unicorn in your kitchen.
Let me introduce you to the easiest homemade pie crust there is. This press in the pan pie crust.
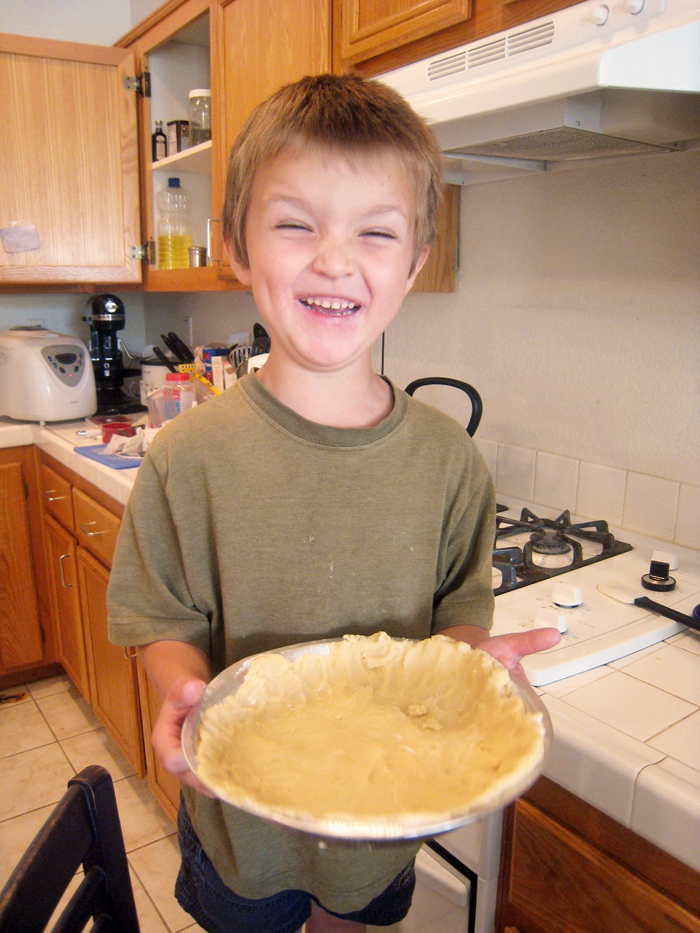
Do you see how HAPPY that child is? He just made his first pie crust. He’s so incredibly proud of doing it himself.
You’ll be that happy, too, when you learn our family secret for an easy, pat-in-pan pie crust.
You see, for years I was hesitant/resistant to ever pick up a rolling pin. First, it intimidated me that I’d mess up. I didn’t like dough sticking to the work surface or tearing when I tried to pick it up.
Secondly, I didn’t really need to! I had my Gramma John’s recipe for pat in the pan pie crust!
Press In Pie Crust
Pat in Pan Pie Crust is the easiest, most foolproof recipe you could use for pie dough. Its pat-in-pan nature makes it simple for kids to help — and easy for everyone to master.
My preschoolers always loved this recipe when we made pies together. Don’t worry if it doesn’t look perfect. You can smooth out the crust after letting them have a go at it. It’s what Gramma John always did for me.
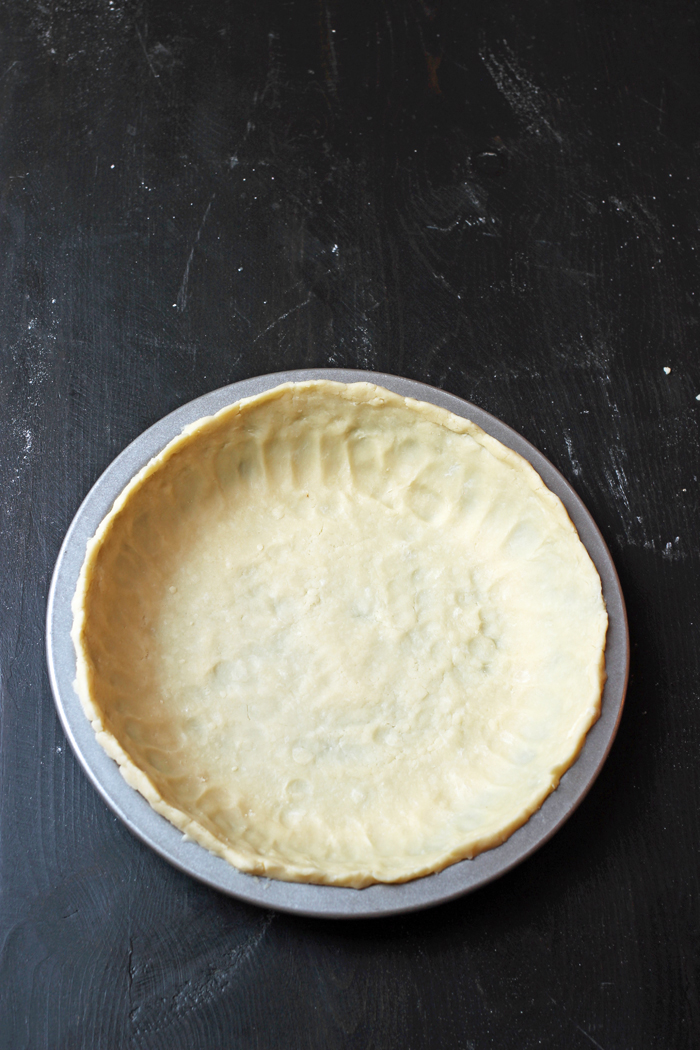
What is a no-roll or press in pie crust?
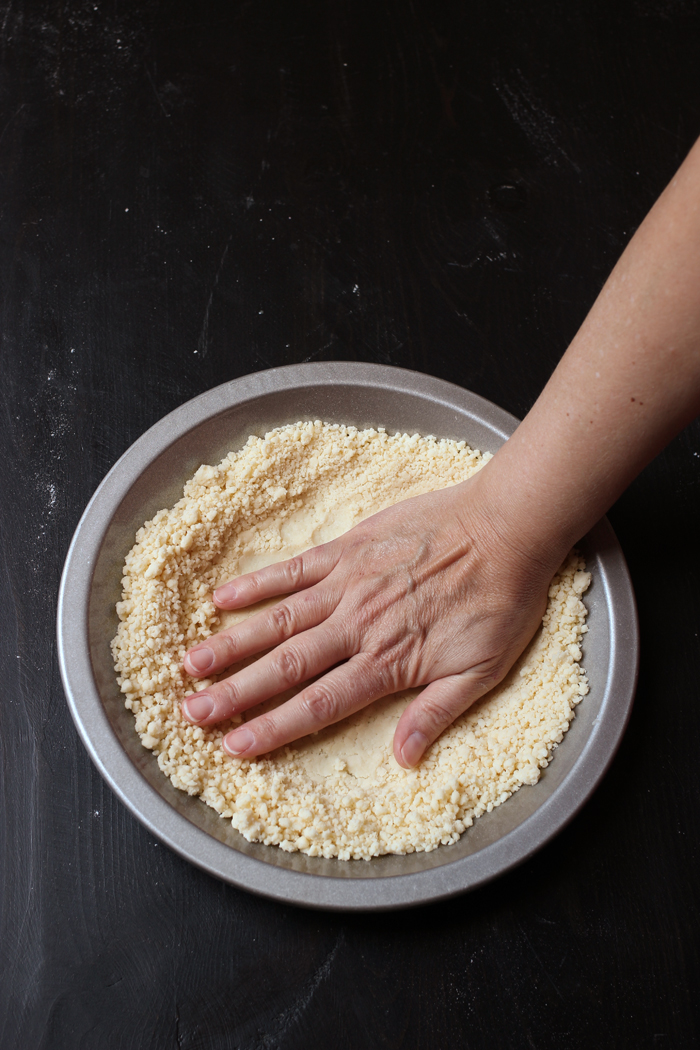
A no-roll or pat-in-pan pie crust is just that. You don’t roll out the dough. You simply pat (and smush) it into the pan, spreading it with your fingers and the palm of your hand to get it to take shape.
This pie crust works for any number of dessert pies, provided you don’t need to roll out a top crust. The ratio of butter to flour makes for a very tender crust that will tear easily if you roll it out.
Stick to pies with bottom crusts only, for best results, such as:
- Lemon Meringue Pie
- Gramma John’s Blue Ribbon Apple Pie
- Slab Apple Pie
- Homemade Chocolate Cream Pie
- Mini Apple Pies in Jelly Jars
If you need a double pie crust or want to roll out shapes, use this traditional recipe for homemade pie crust.
Do you have to grease the pie plate first?
No, you don’t have to grease the pie plate before placing in the dough. There’s enough butter in this pie dough to allow it to easily release from the pan after baking.
However, if you want to be doubly sure, you can rub the butter side of the butter wrapper across the dish or use a nonstick pie plate. I have this one from USA pans. Slices of pie practically fly right out of it.
How do you make press in pie crust?
The method for making a pat in the pan pie crust is basically the same as for a traditional roll-out dough, only this dough has a little more butter in it.
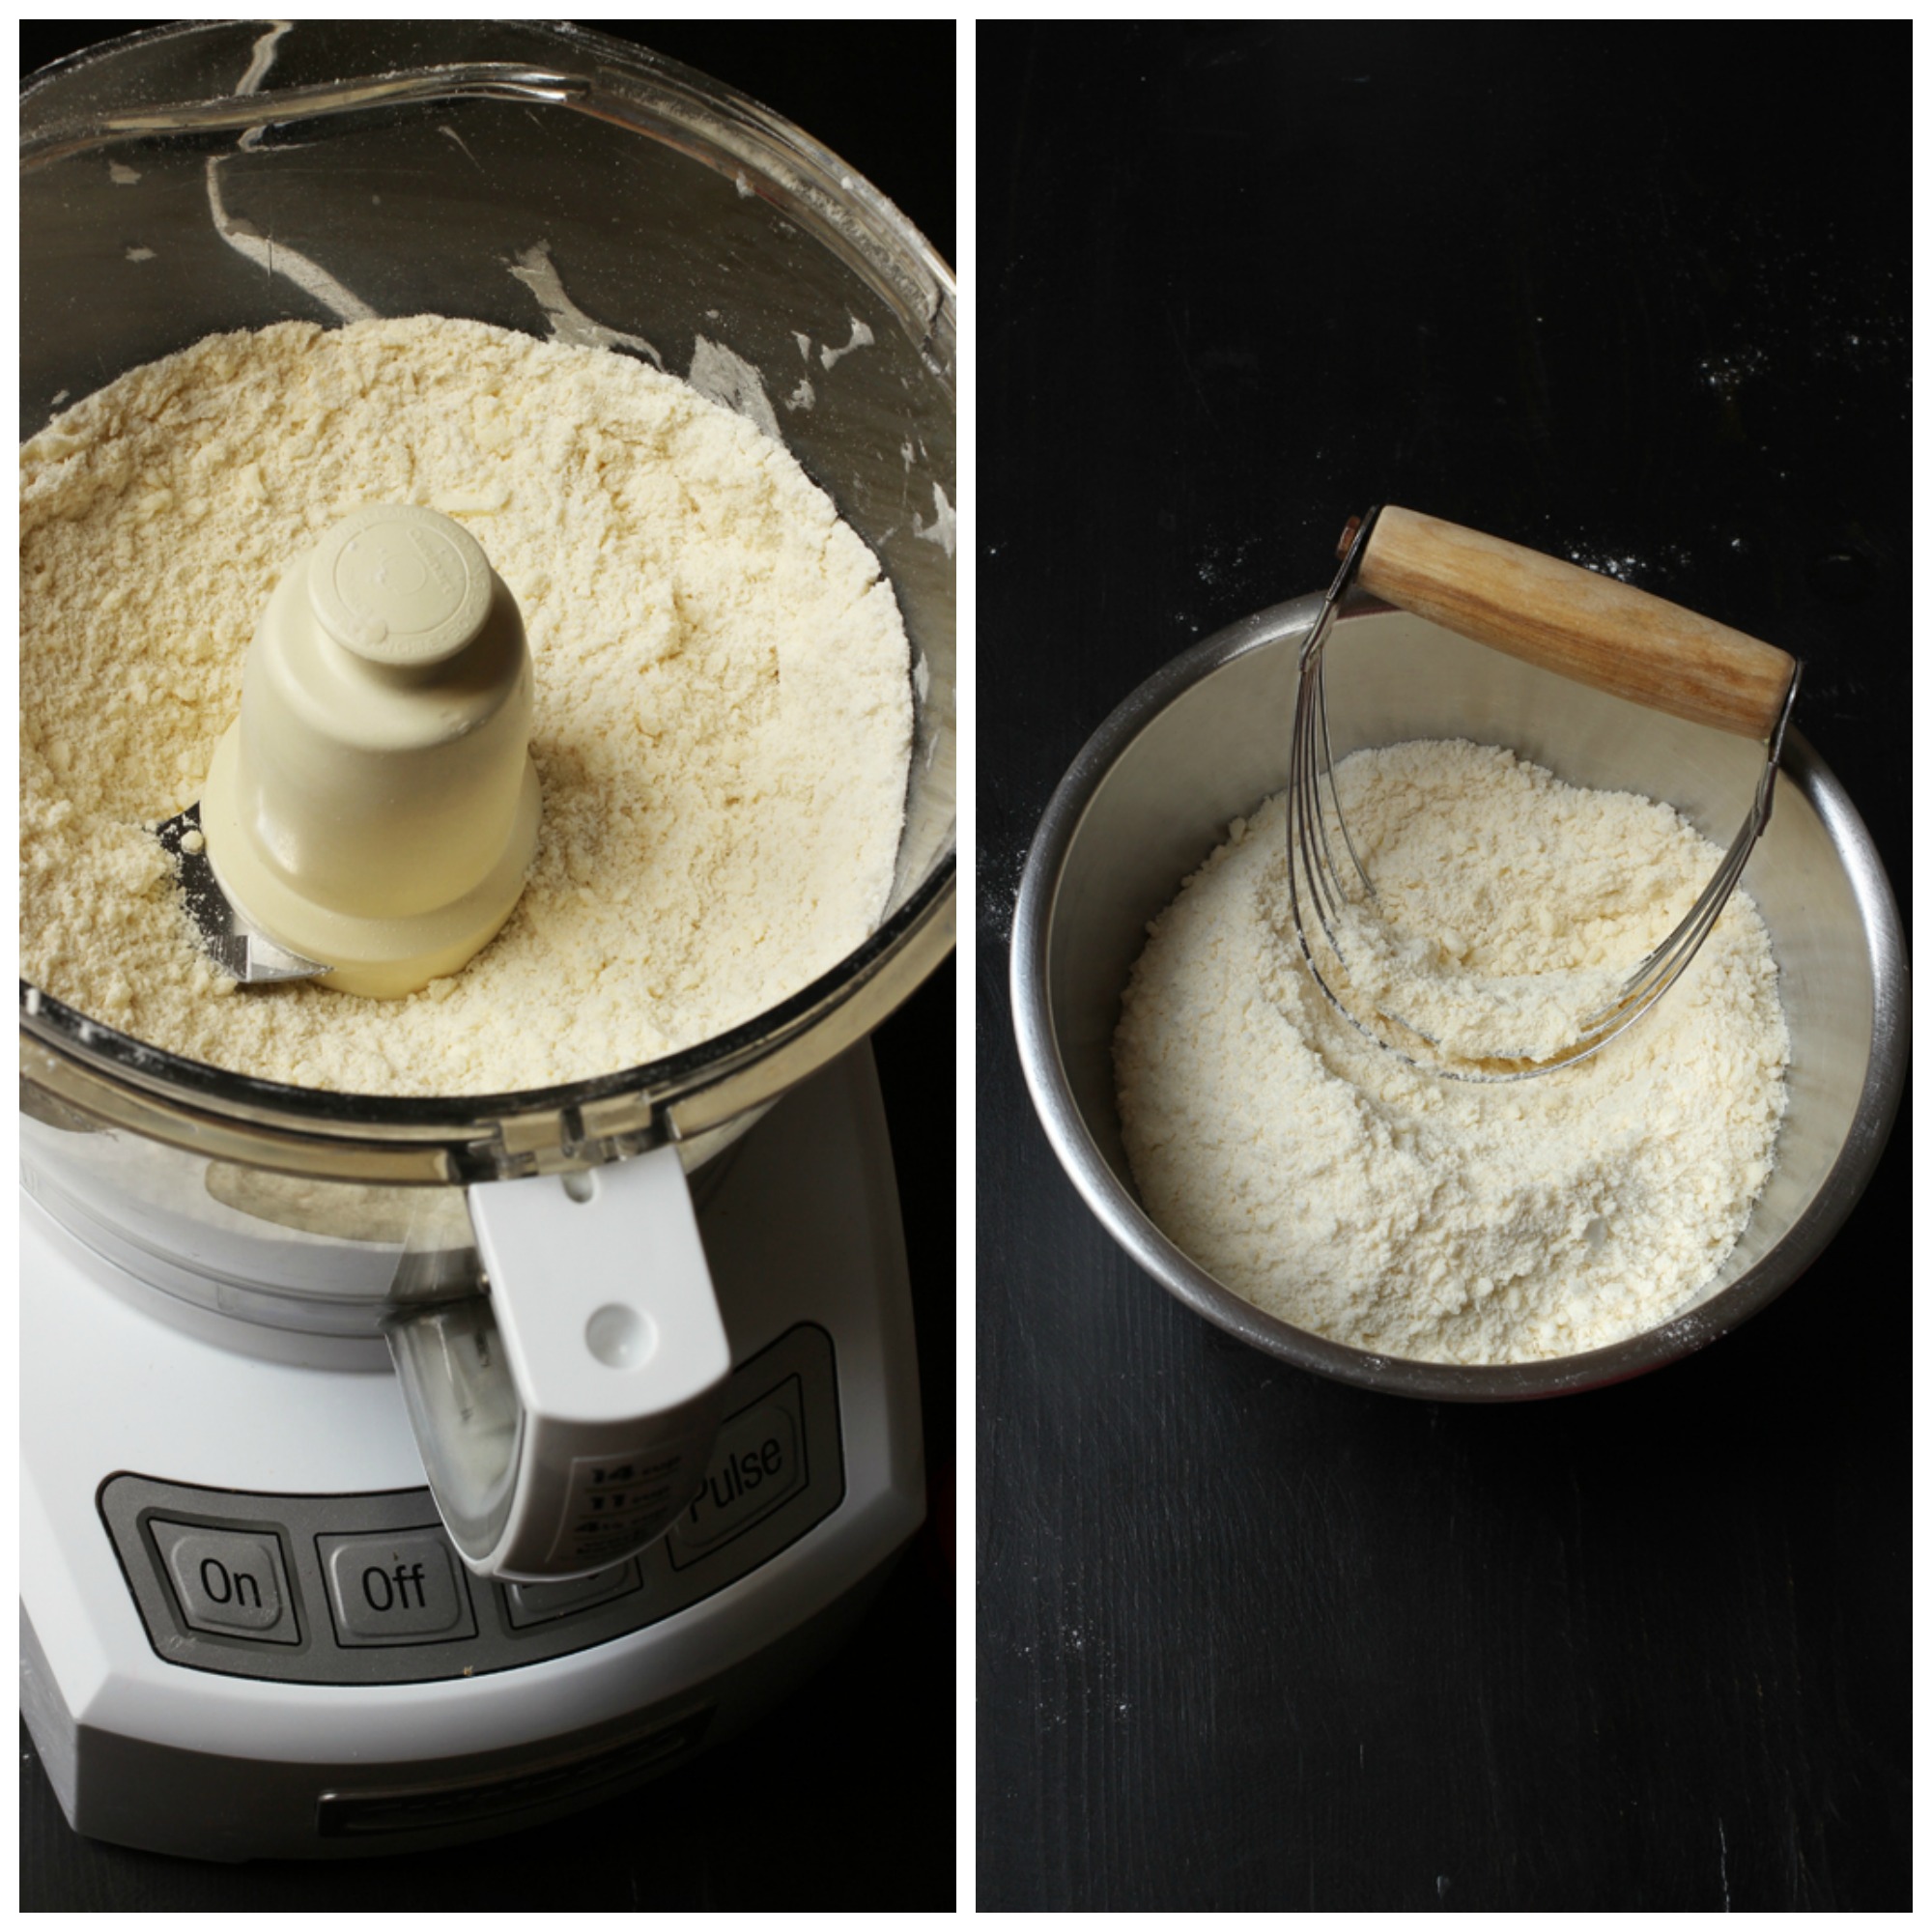
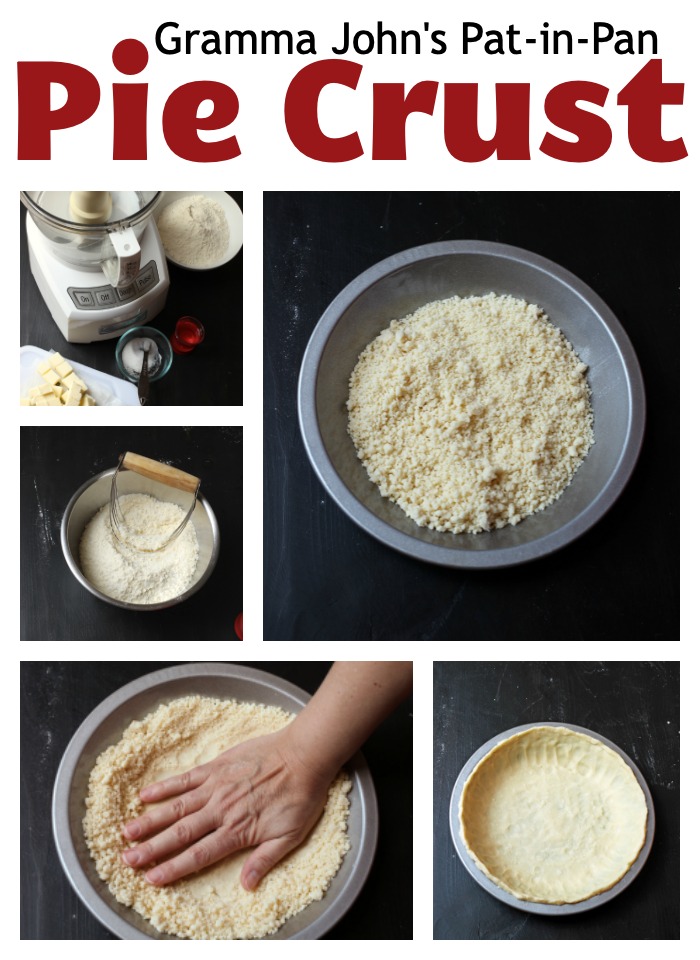
Combine the flour and salt in the bowl of a food processor fitted with a metal blade or in a small mixing bowl. Cut the butter into the flour mixture by pulsing it in the food processor or using a pastry blender by hand. Continue this process until coarse crumbs form.
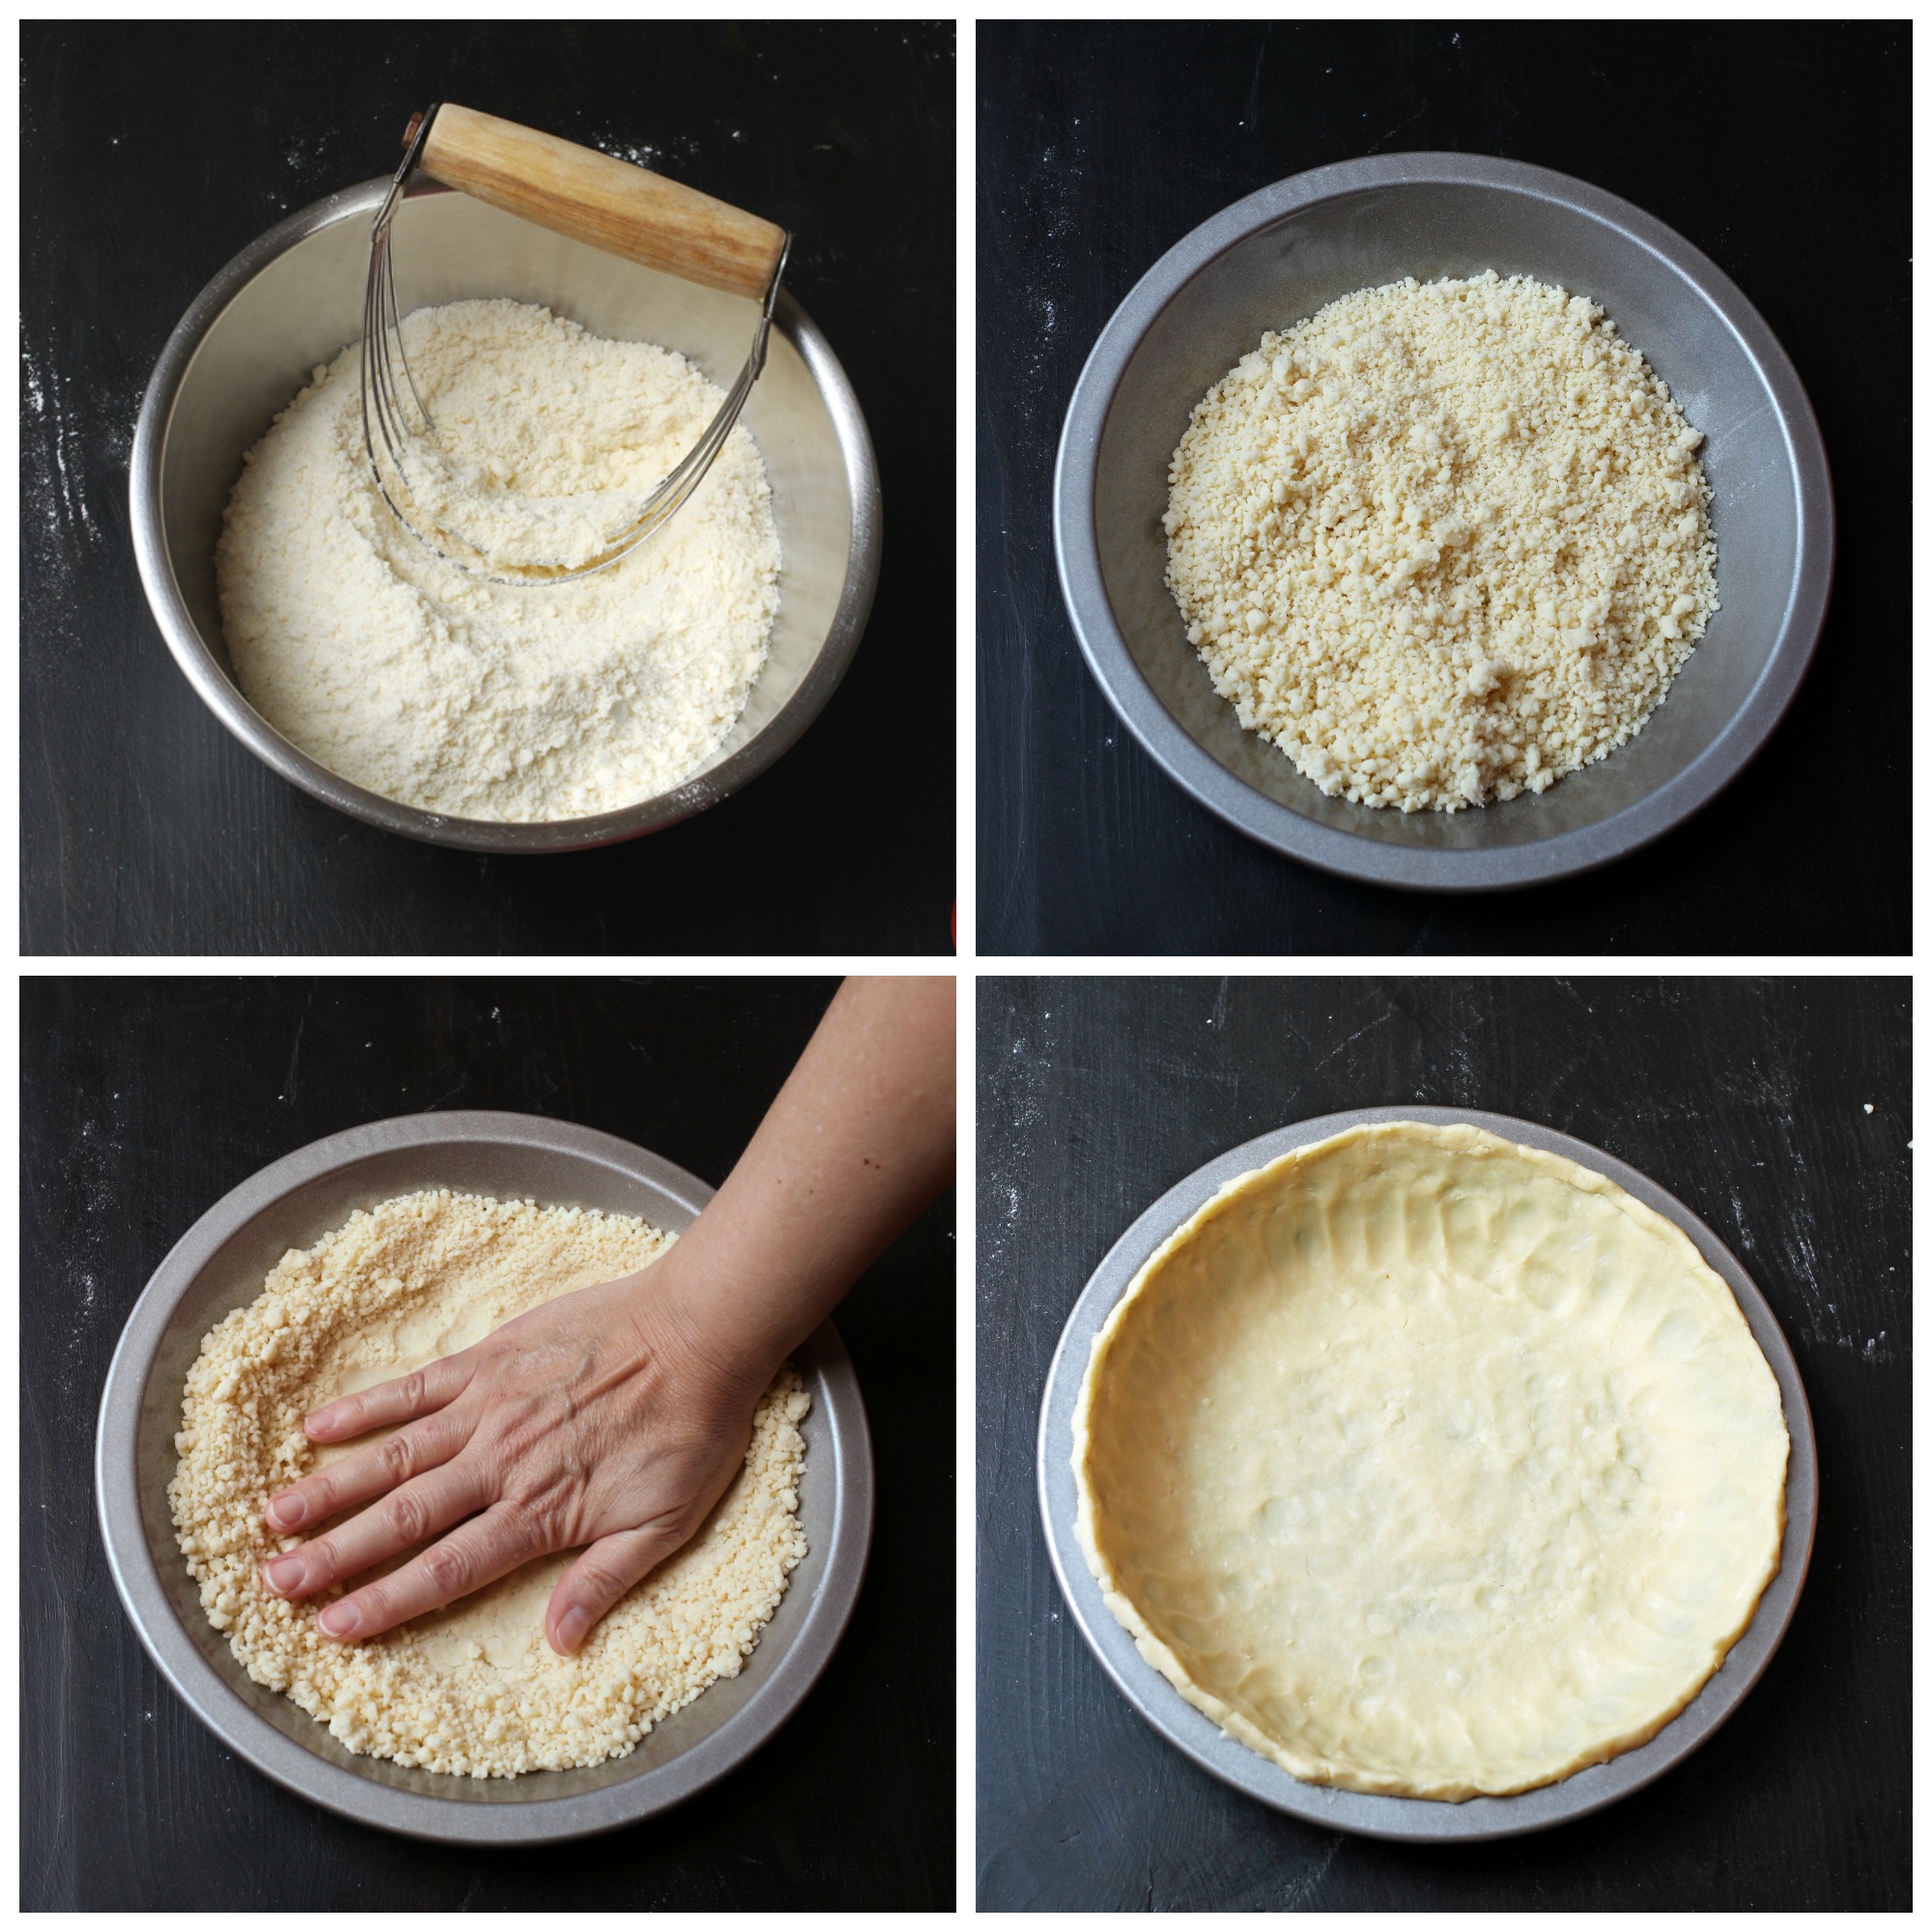
Add the cold water a bit at a time, mixing well, until pea-size balls are formed.
Transfer the dough bits to a pie plate, spreading to cover the bottom of the pan. With the palm of your hand press the dough quickly into the pan, squishing it up the sides of the pan, until the dough covers the entire bottom and sides of the pie plate.
Crimp or trim the top rim of dough. Bake or fill according to your recipe.
Do you need special tools to make homemade pie crust?
It might seem that you need special tools to make a homemade pie crust, that’s not really true. You can totally MacGuyver if need be.
Home bakers for years have used a fork or two knives held together to act as a make-shift pastry blender. That said, there are some tools that are nice to have, including:
- food processor or pastry blender – Either of these tools make quick work of the short dough. You can do it by hand with two knives, but I prefer my food processor.
- stainless steel mixing bowl – it’s nice to have at least a couple of these on hand.
- liquid measure – these beakers are more accurate for liquids
- kitchen scale – Love this one! I have had mine for over ten years.
- pie plate – obviously
Is it expensive to make homemade pie crust?
Making a homemade pie crust, particularly this one costs very little in comparison to commercially made pie crust. Not to mention this tastes a lot better!
By my calculations, a single crust only costs about $0.80! And that’s with premium flour. So, you’re in a good place if you start making your own pie dough.
That said, there are ways to keep your costs low:
- Stock up on ingredients when they are on sale. When I find regular kitchen staples on sale, I buy a lot. I’m currently using a price book to track prices and that’s saving me money. For this recipe, keeping an eye on the price of flour and butter can help keep the price down. I buy my butter at Costco for around $2/pound and buy premium flour for about $3 to $⅘-pound bag.
- Buying in bulk – Bulk pricing can reduce your unit cost dramatically. It’s usually cheaper to buy a big bag of flour than it is a small one. I have gotten into the habit of buying cases of flour from Bob’s Red Mill or VitaCost so that I always have baking supplies on hand. Store extra flour in the freezer to extend its shelf life and protect against pests.
Press in Pie Crust
Ingredients
- 1 cup unbleached, all-purpose flour
- ½ teaspoon salt
- ½ cup cold butter cut into chunks
- 1 to 2 tablespoon water cold
Instructions
- In a medium bowl, combine together the flour and salt. Add the butter chunks and cut them into the flour mixture with a pastry blender, or two knives held together. You can also use a food processor for quicker work. Kids can do this with a fork if that is easier for them. Work these ingredients together until they form pea-sized crumbs.
- Quickly stir in the cold water a tablespoon at a time and combine until a large pea size clumps form. Transfer these to the pie plate.
- Pat the dough into a pie plate, pushing the dough across the bottom of the pie plate and up the sides.
- Use as is in recipes that call for an unbaked pie shell. For recipes that call for a pre-baked crust, bake it for 10-15 minutes at 350 degrees until light golden brown. Cool completely before pouring in your filling.
Notes
Nutrition
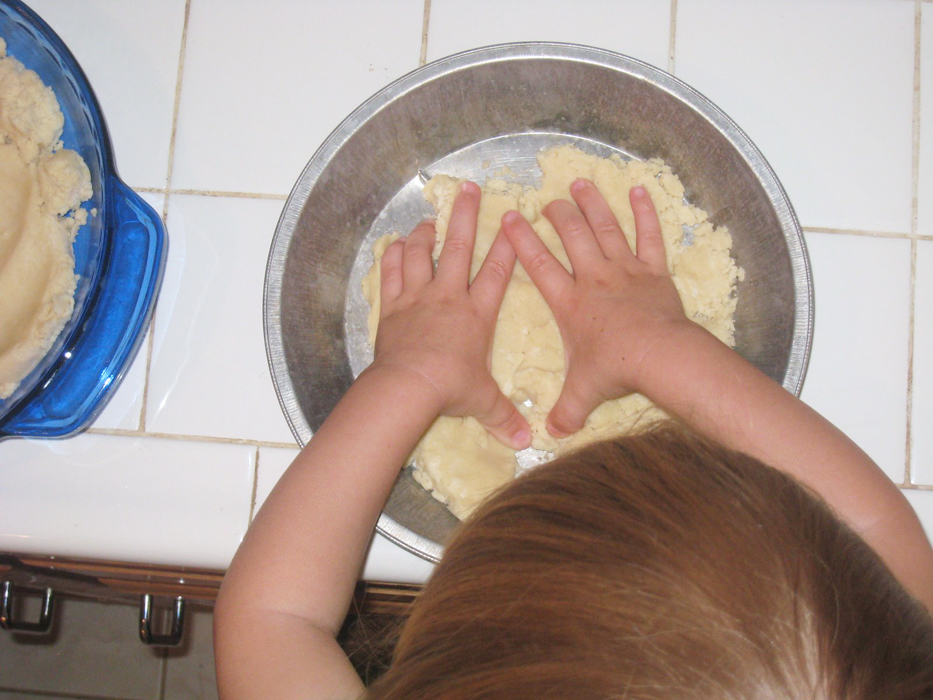
Remember making this pat in the pan pie crust is easy, and it’s okay to let the kids help!


Debbie
Hi Jessica,
Can this be made ahead of time and frozen to cook later? Also, do you know if this recipe works with gluten free flour?
Thanks!!
Jessica Fisher
I can’t remember making it with gf flour, so I’m sorry I can’t answer that. But, yes, you can make it as is, pat into the pan, and then freeze to bake later.
Denise
do I use cold butter or room temperature?
Jessica Fisher
Cold is best for pie crust.
Kathleen
This is the same crust recipe I have always used (Martha Stewart) but without refrigerating it and then rolling it out first. Making it now for a quiche. So easy!
Allen Bryant
This pie dough recipe is wonderful. My daughter had Celiac Disease and therefor cannot eat gluten. This is the only recipe for pie dough that I have found (and I’ve tried several} that easily converts to gluten free. Thanks so much.
Jessica Fisher
Good to know. Thank you for your feedback!
Gayla
I made this and it completely crumbled once cooked and did not hold together
Jessica Fisher
I’m sorry to hear that. It sounds like there was a problem with your ingredients. I’m happy to troubleshoot with you if you’d like to figure out what went wrong.
Gayla
I think it may have been too much butter so it fell apart. I will try it again. It still tastes great but just crumbles.
Jessica Fisher
I’m sorry to hear you were having trouble. It should be very flaky, but not crumbly. Perhaps add a bit more water?
john
Could you press a second crust in a pie pan. And dump it on top of a pie for a top crust?
Jessica Fisher
It would probably stick. If you want to roll it out, you can. Just flour the surface really well and don’t let the dough get hot. You can also use this Easy Homemade Pie Crust recipe that is designed for rolling out.
Abeer
Hi! This is a wonderful recipe, always use it and it turns out lovely. I was wondering if it’d be okay to refrigerate it for a day before using it? I’m hoping to prepare the crust before I actually make the pie for my guests to divide the work load!
Jessica Fisher
Yep! You can definitely refrigerate it a day or two in advance. You can also freeze it.
Lauri
Would this covert over to gluten free? just change the flour type?
Jessica Fisher
I do not have experience on that one, but my friend Lynn does. Head here: https://www.lynnskitchenadventures.com/?s=gluten+free+pie+crust
Ms. B
I realize this is an old post but I found it today and am so inspired! I’ve never thought to freeze a pie for a quick, delicious dessert and am excited to try this out, along with your chicken pot pie recipe. Thank you for sharing it with us!