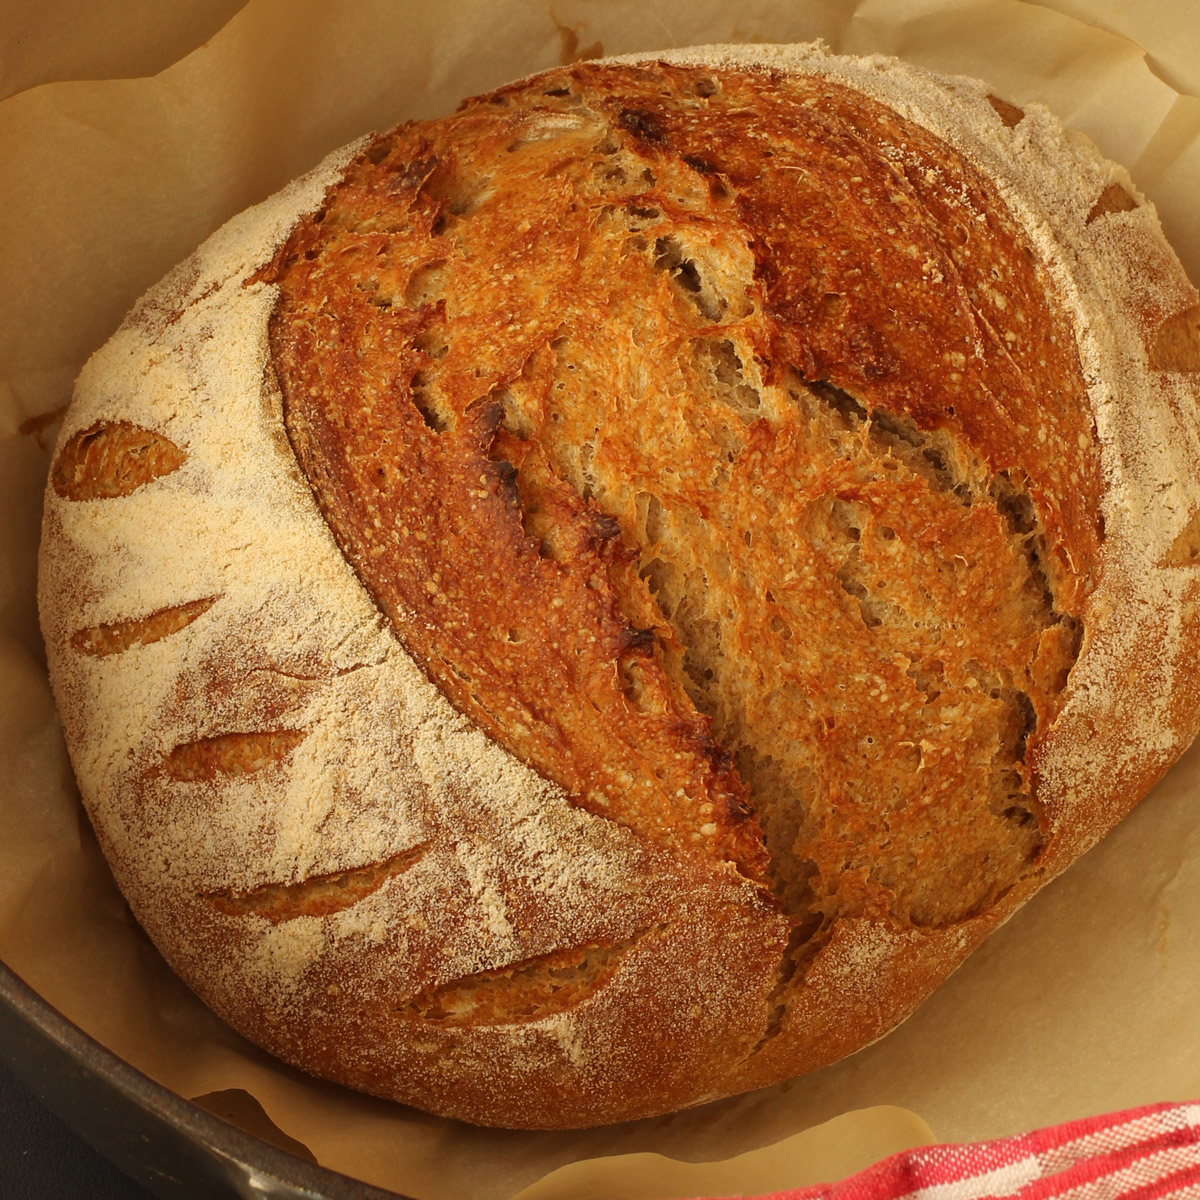
With just five ingredients, you can bake up a fantastic loaf of homemade Sourdough Rye Bread. You’ll be so pleased to bake a traditional sandwich bread yourself!
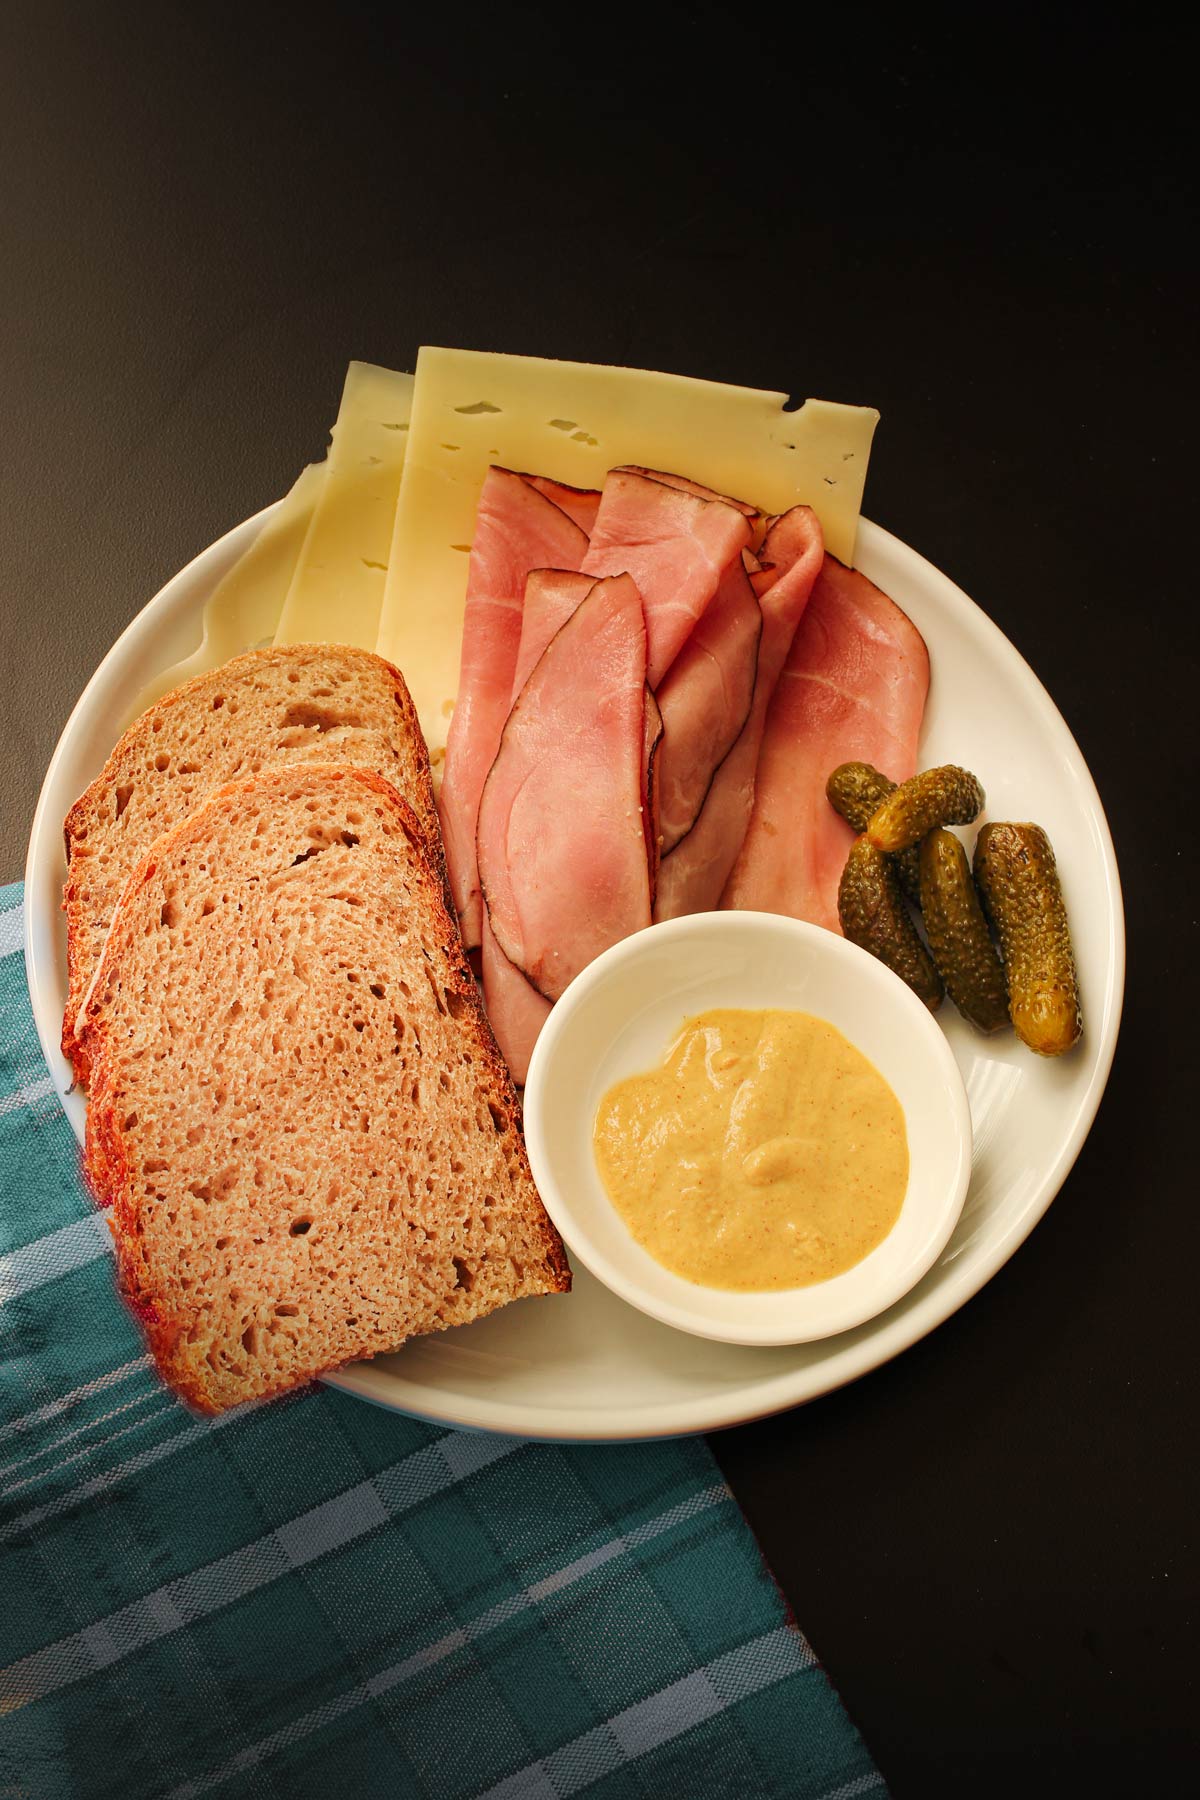
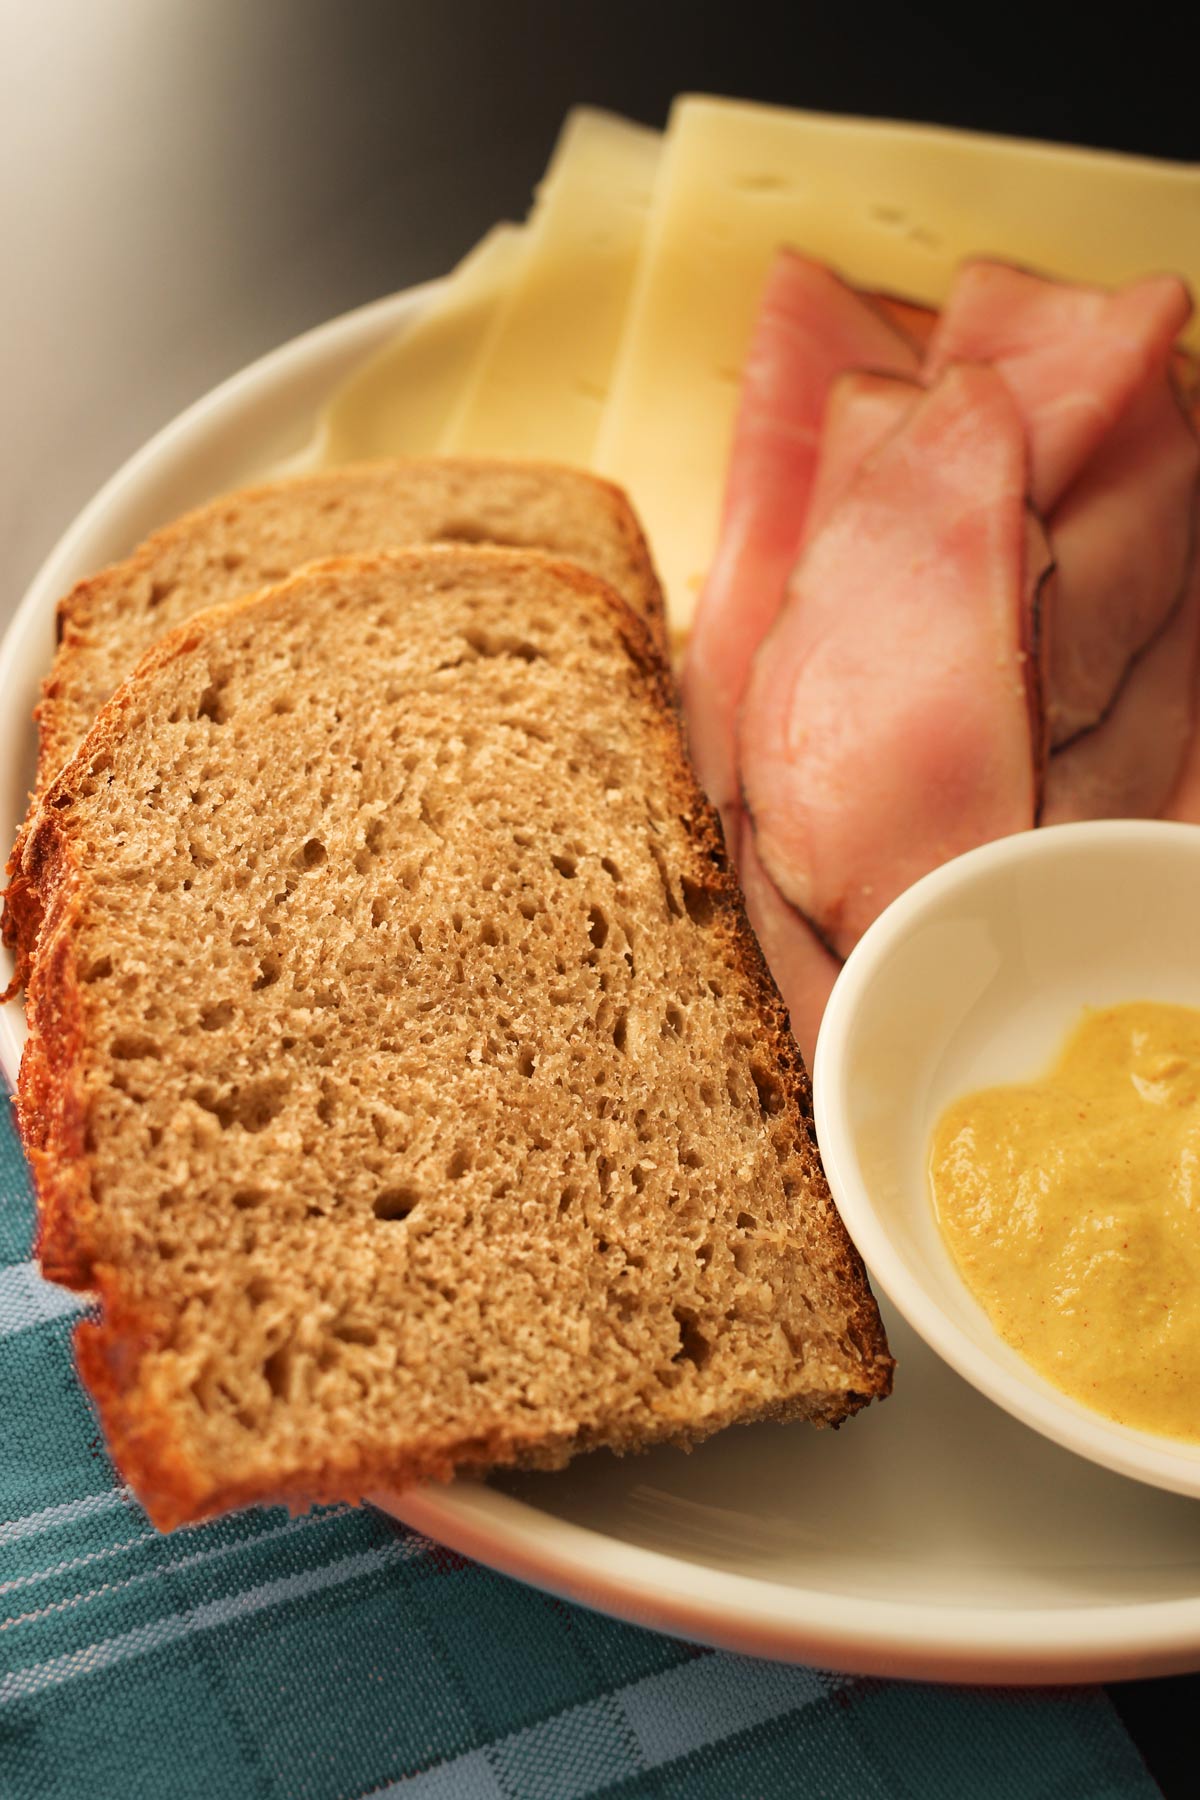
Delicious in a Turkey Cheddar Melt with Grilled Onions and Spicy Mayo or a Reuben-Style Patty Melt, this rye bread is fantastic for sandwiches. Included in a The Ploughman’s Lunch, it’s great for snacking, but it also makes the perfect side for a Shepherd’s Pie.
Want to save this post?
Enter your email below and get it sent straight to your inbox. Plus, I’ll send you budget recipes and money-saving tips every week!
Jump to:
If you’ve got sourdough starter, rye and bread flours, salt, and water, you’ve got the makings of a simple, no-knead bread that tastes fantastic in the bread basket or piled high with sandwich fillings.
Sourdough Rye Bread, popular in Nordic and Germanic countries, was brought to the US by European migrants and continues to be a favorite here in the states. While a commercial loaf can easily cost $4 to 6, you can bake your own for so much less – less than two bucks a loaf!
Why Make This
It’s delicious. It goes without saying that sourdough rye bread is a fantastic bread to add to your baking repertoire. It’s hearty and flavorful and absolutely delicious tucked into the bread basket or layered with sandwich fillings.
It’s easy. If you’re a lazy bread baker (raises hand), then this is the bread for you. Most of the prep is passive, allowing the dough time to rise. It takes about five minutes to measure and mix up (wait), five minutes to form into a boule (wait) and another five to ten minutes getting it in the oven to bake.
It will take a little time and attention to master the craft, but it’s totally worth it. I feel odd buying bread at the store these days, and I’m always disappointed when I do.
It’s freezer-friendly. I regularly bake two to four loaves of this sourdough rye bread. Once it cools, I slice it and freeze it for easy sandwiches all week long. Leftovers are great in Sourdough French Toast!
Ingredients
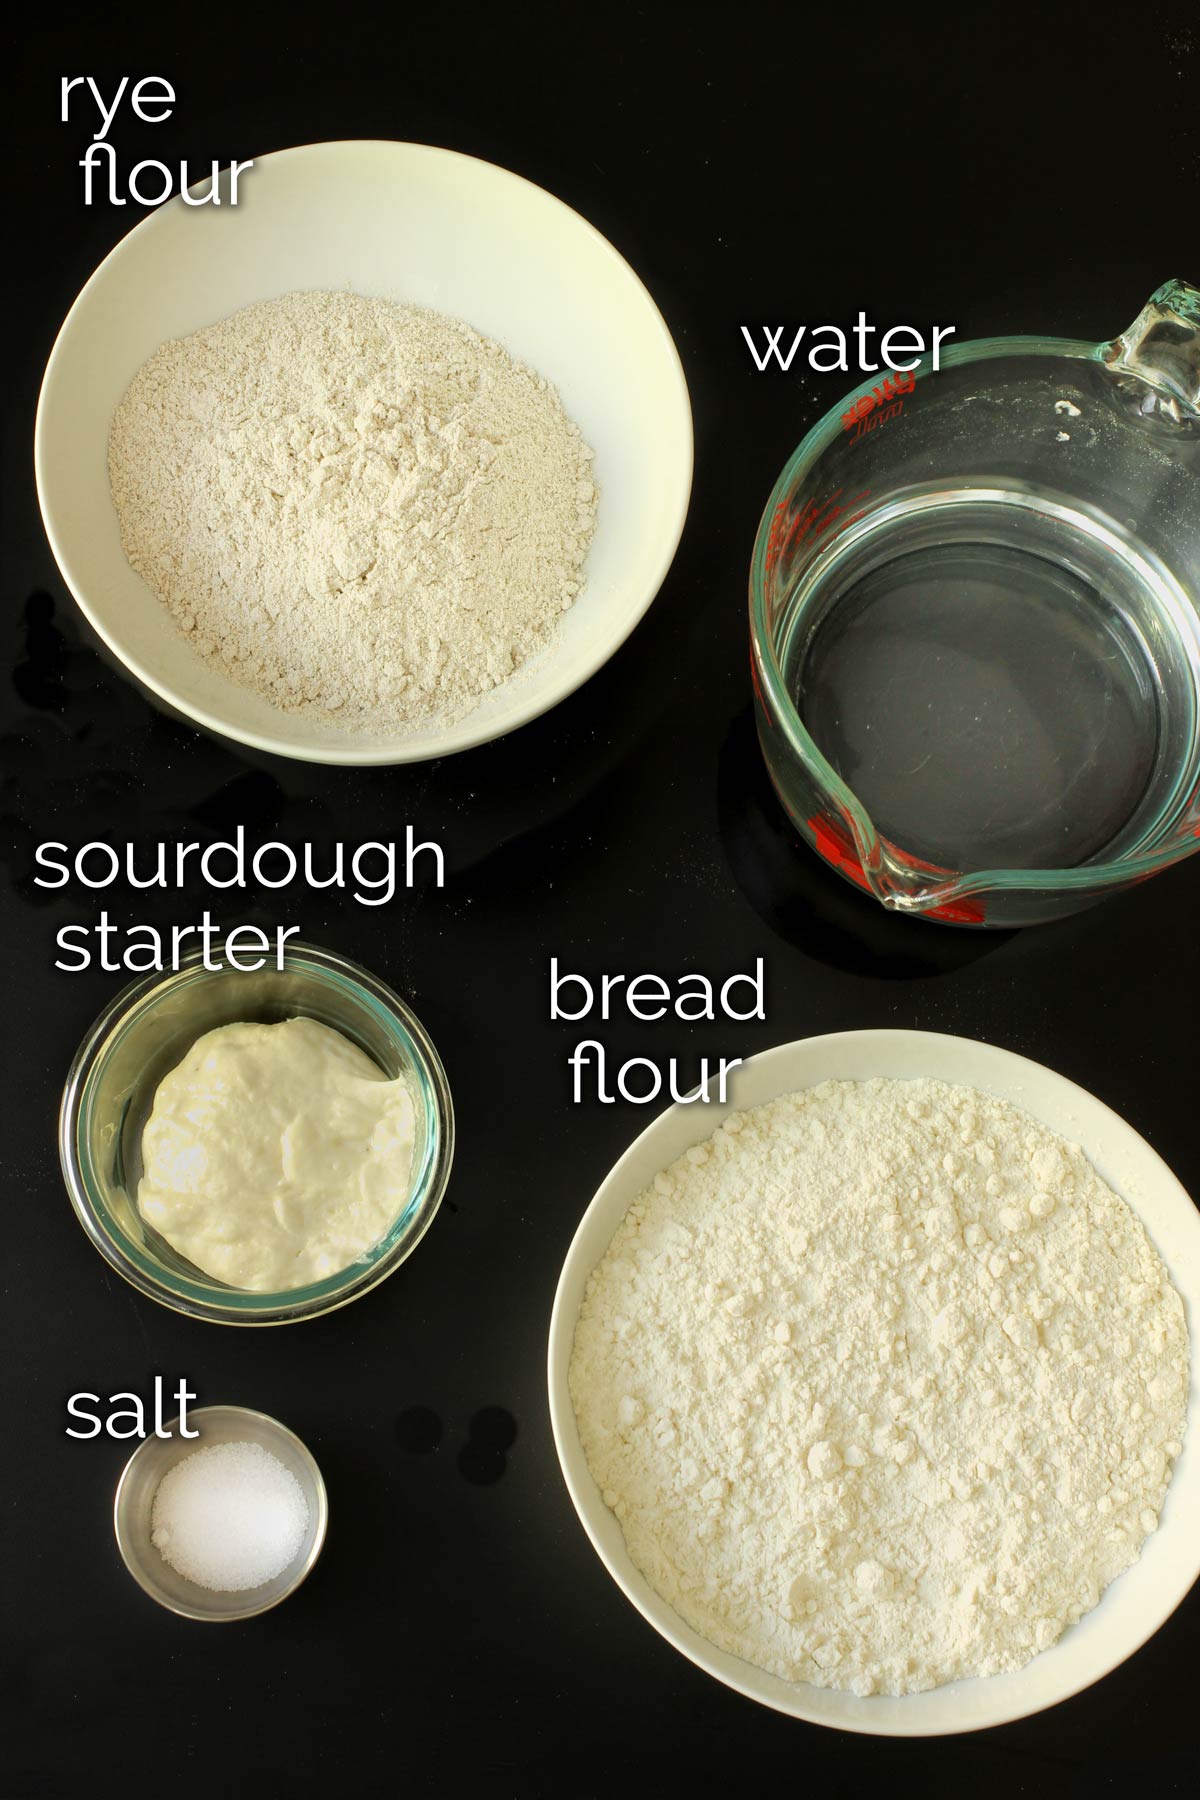
This recipe for sourdough rye bread seriously couldn’t get easier. It’s got only five ingredients! Here’s what you need:
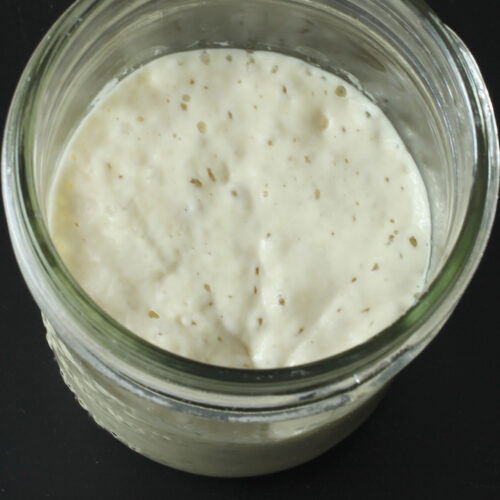
sourdough starter – Follow my tips for Sourdough Starter – How to Feed & Maintain It and you’ll be set for unlimited loaves of sourdough rye bread.
bread flour – Use the best quality bread flour you can afford. I use Bob’s Red Mill or King Arthur brands.
rye flour – Rye flour is a little harder to find, but a natural foods grocery store should carry it. I recently found a great deal on a case of rye flour from Amazon and stashed the extra bags in the freezer.
water and salt – Pretty easy, right?
rice flour for dusting the proofing basket (not pictured) – Rice flour absorbs excess moisture better than wheat flour, making it a good candidate for dusting the proofing basket. You don’t want the dough to stick to the liner and tear the sides of your dough ball, something that can happen if you use wheat flour. A bag of rice flour lasts a really long time since you only need a bit for dusting.
A note about caraway seeds:
Many people associate caraway seeds with rye bread. Both ingredients have strong, distinctive flavors. You’ll notice the caraway in Bilbo’s Seed Cakes for sure. If you’ve never had rye bread without caraway, I encourage you to try it. It’s delicious on its own.
However, if you’d like to add caraway seeds, simply measure out 1 tablespoon seeds to add when you mix the dough.
Step-by-Step Instructions
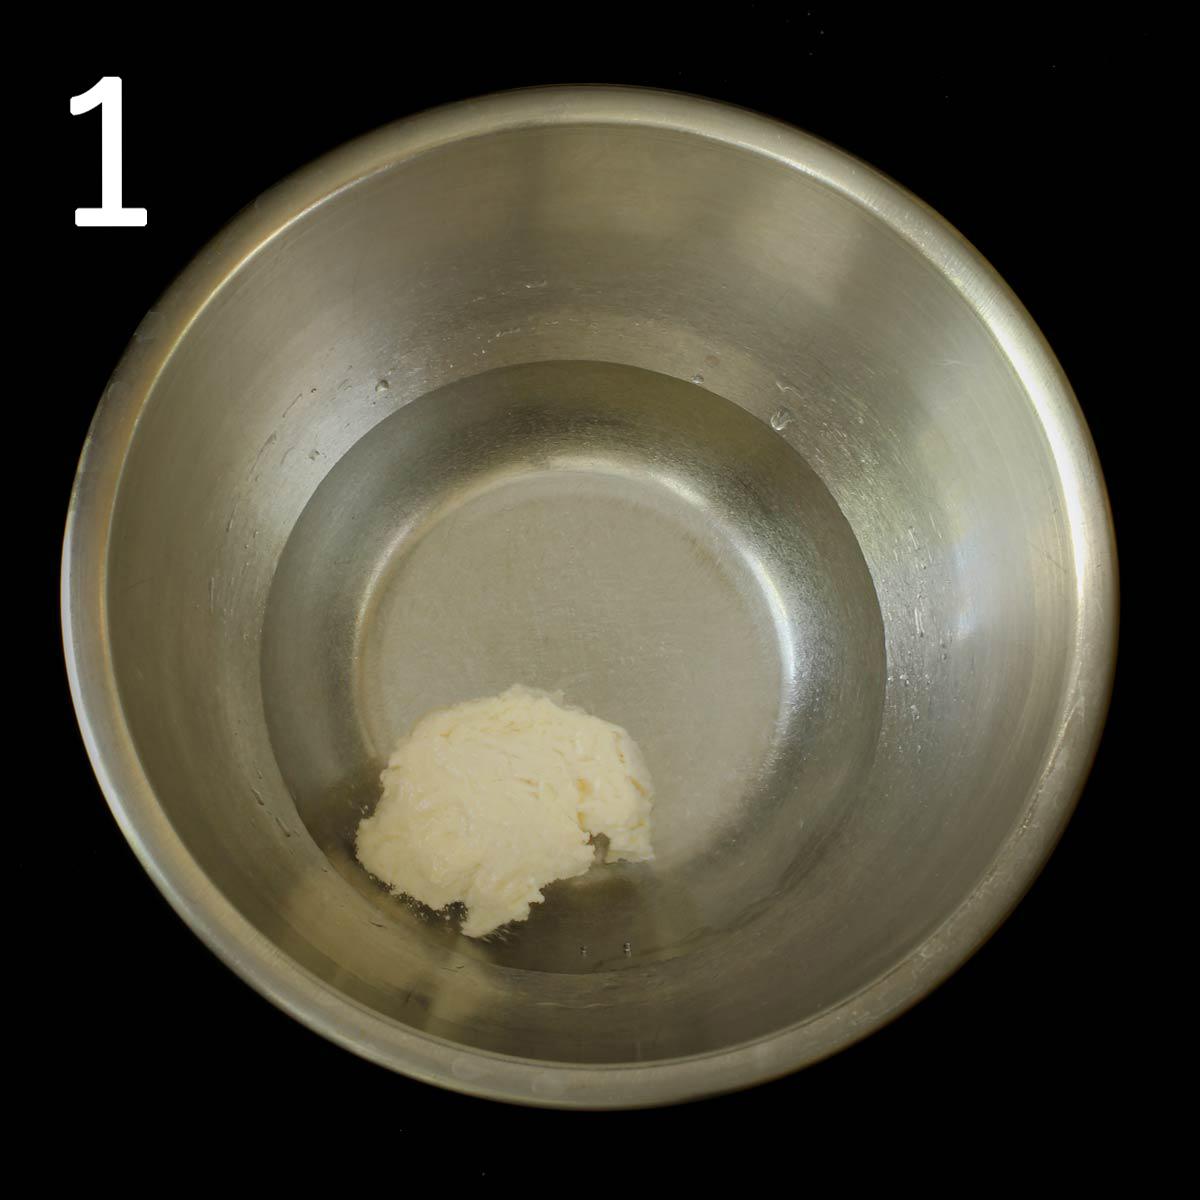
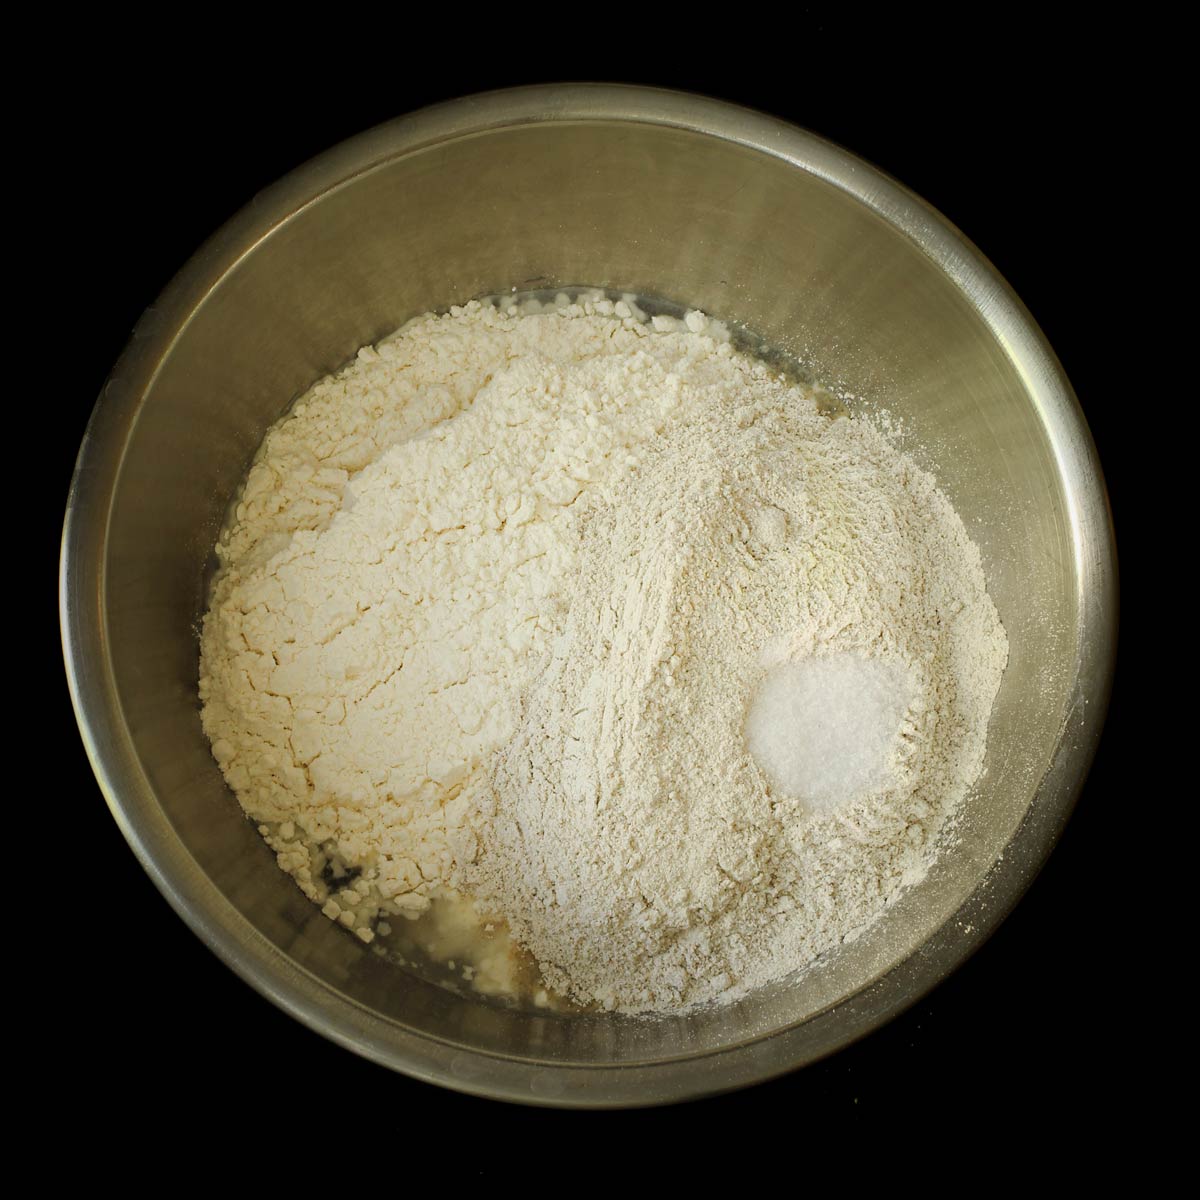
1. Weigh out the ingredients.
Since weighing is the best way to measure flour, I typically weigh all the ingredients for my sourdough rye bread. You can place the bowl straight on the food scale and keep adding ingredients and zeroing out to get accurate measurements.
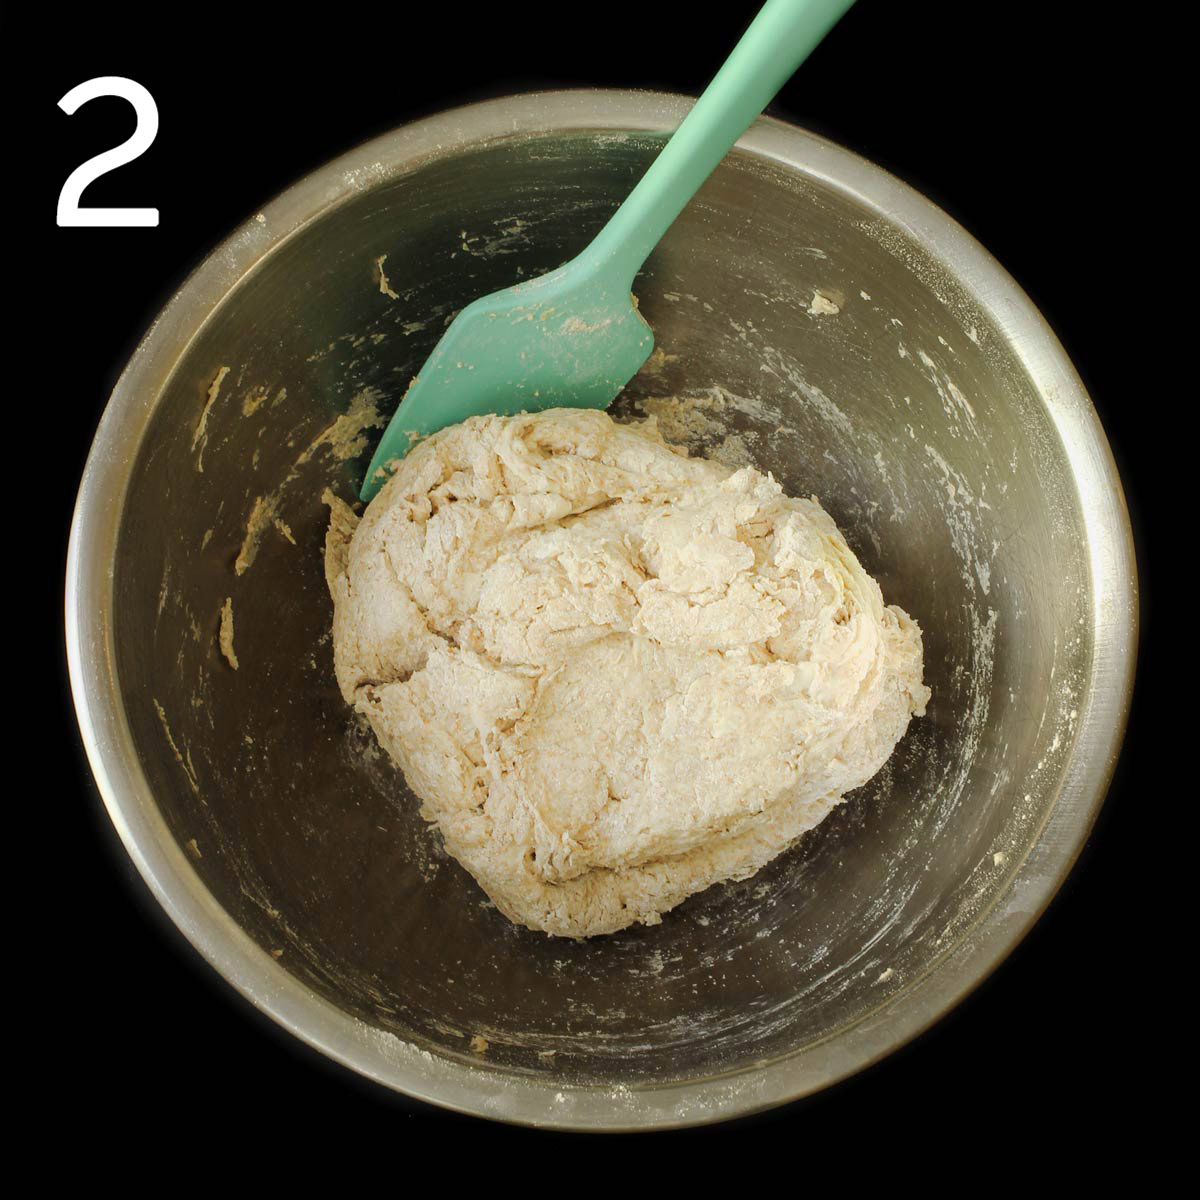
2. Stir the dough.
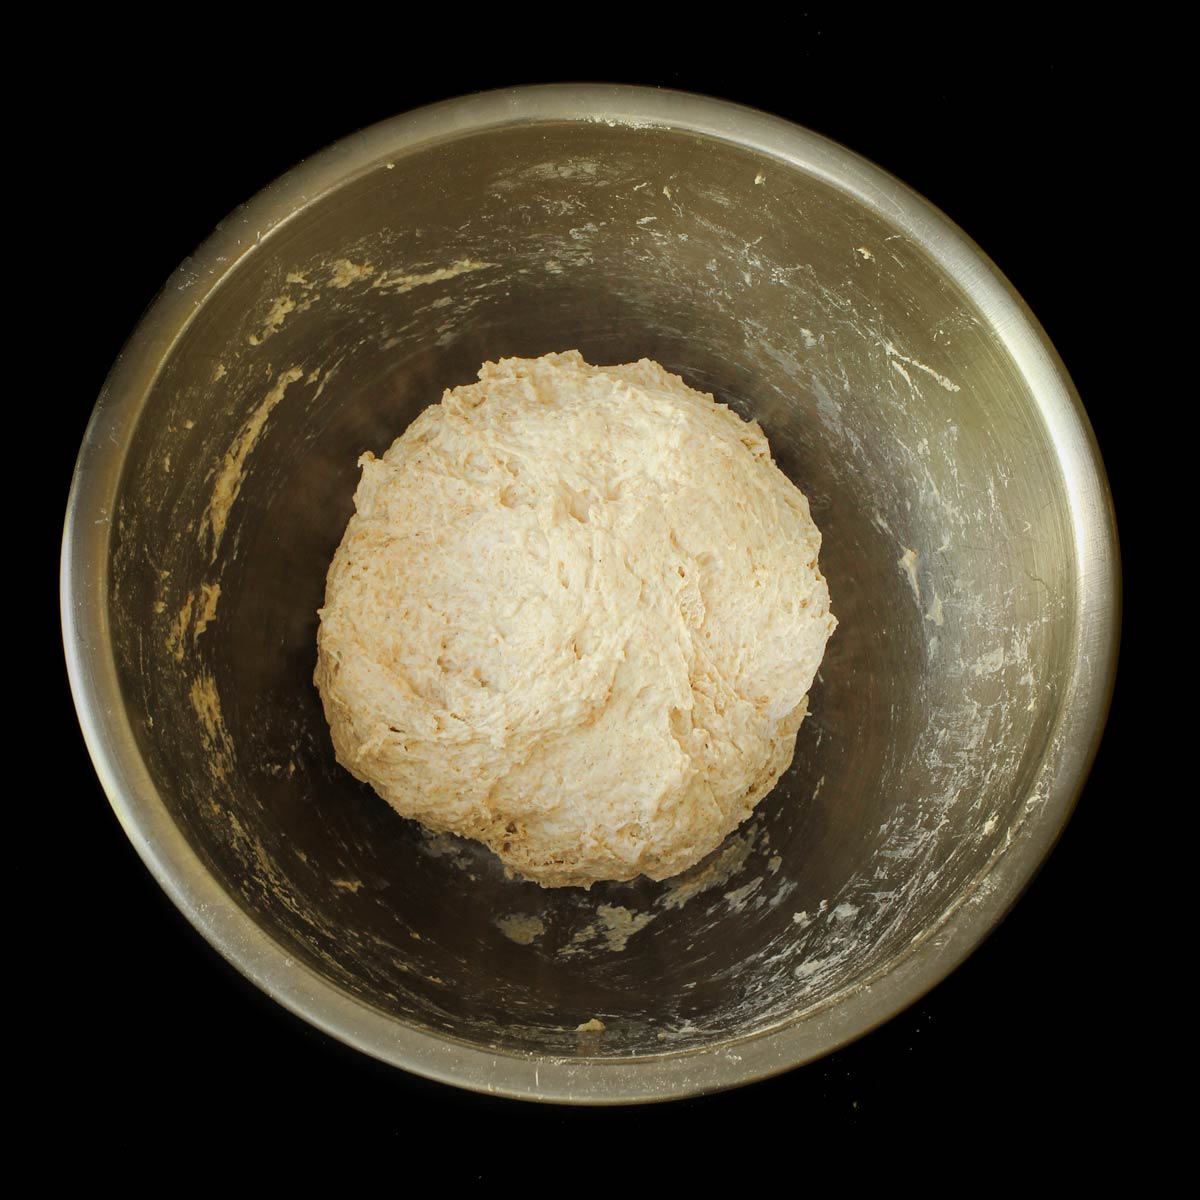
This is basically a no-knead dough. You can mix it by hand in a mixing bowl or use the stand mixer fitted with the dough hook.
Combine the water, starter, flours, and salt with a firm rubber spatula, stirring and incorporating the ingredients until a stiff dough ball forms.
- If you’d like to add caraway seeds, now’s the time to do it.
- If you’d like to make a double batch, most stand mixers can handle a double batch of dough, just don’t use a speed higher than 1 or 2.
3. Allow the dough to rise.
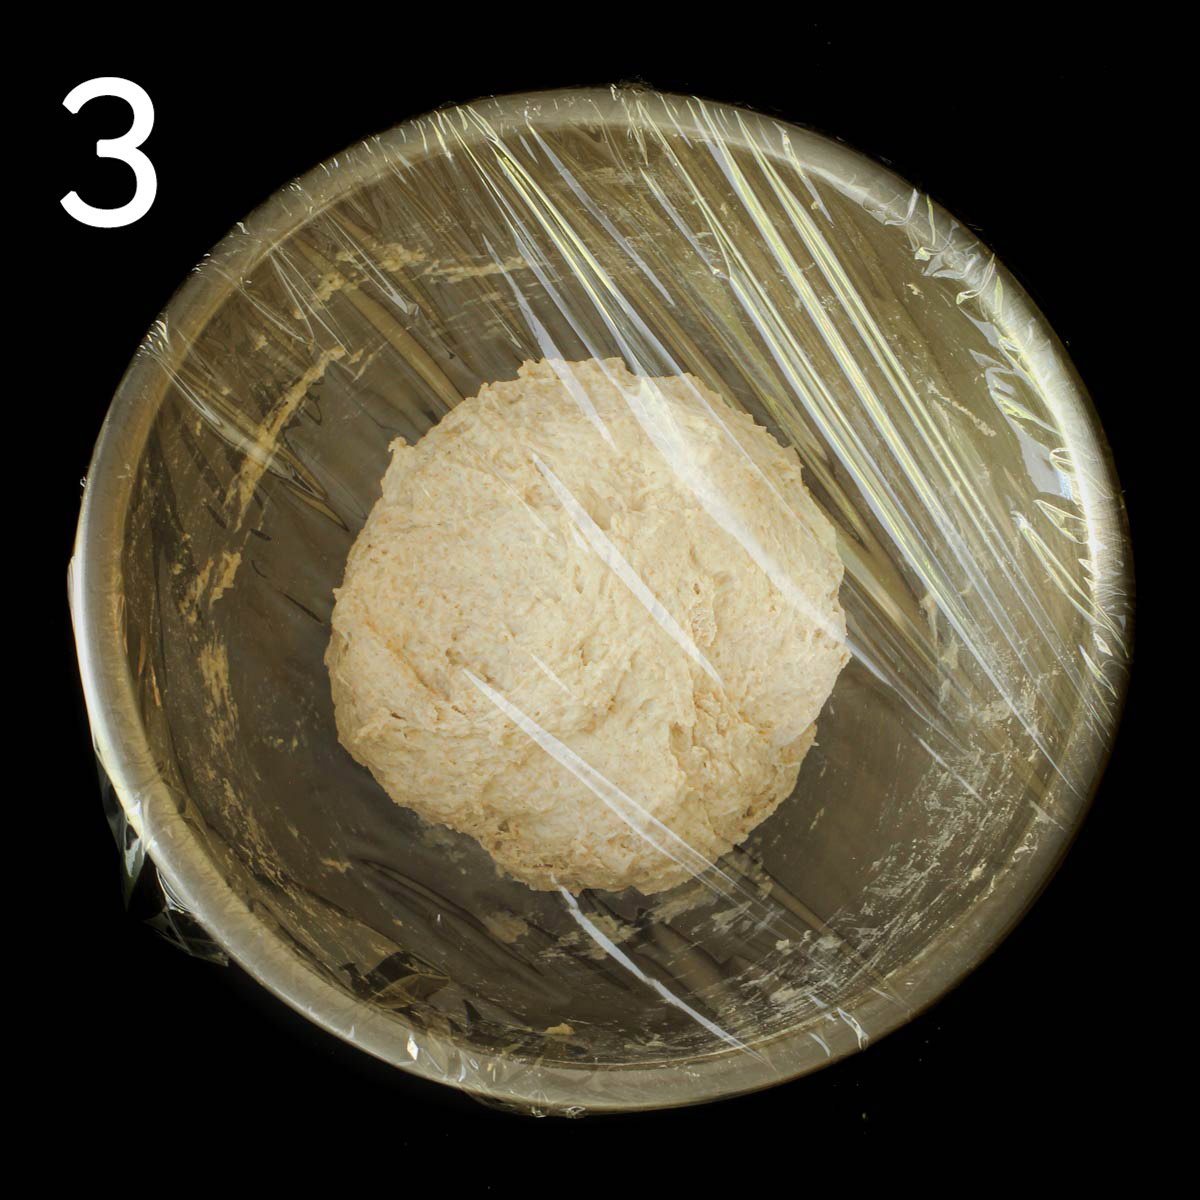
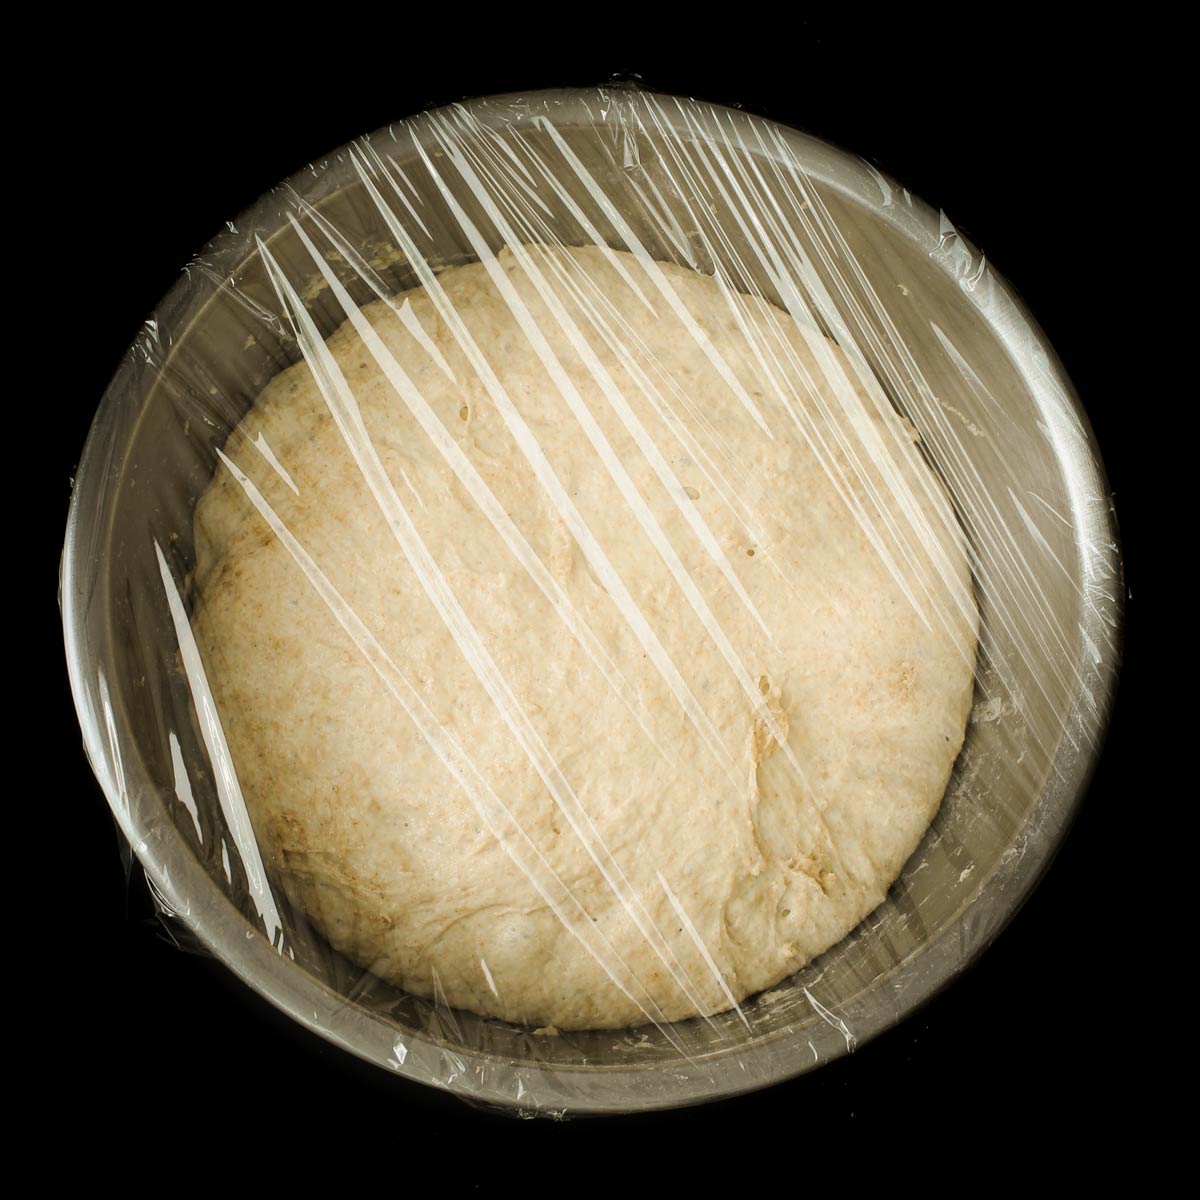
Once the dough ball has formed, cover it with plastic wrap or a lid and allow the dough to rise until doubled in bulk. Since you’re relying on the sourdough starter to give the dough a lift, this can take up to 12 hours, depending on the temperature in your kitchen.
I usually mix the dough in the morning and bake at night or mix it up right before bed and bake in the morning.
Once the dough is set to rise, feed your starter so that it’s ready for the next time.
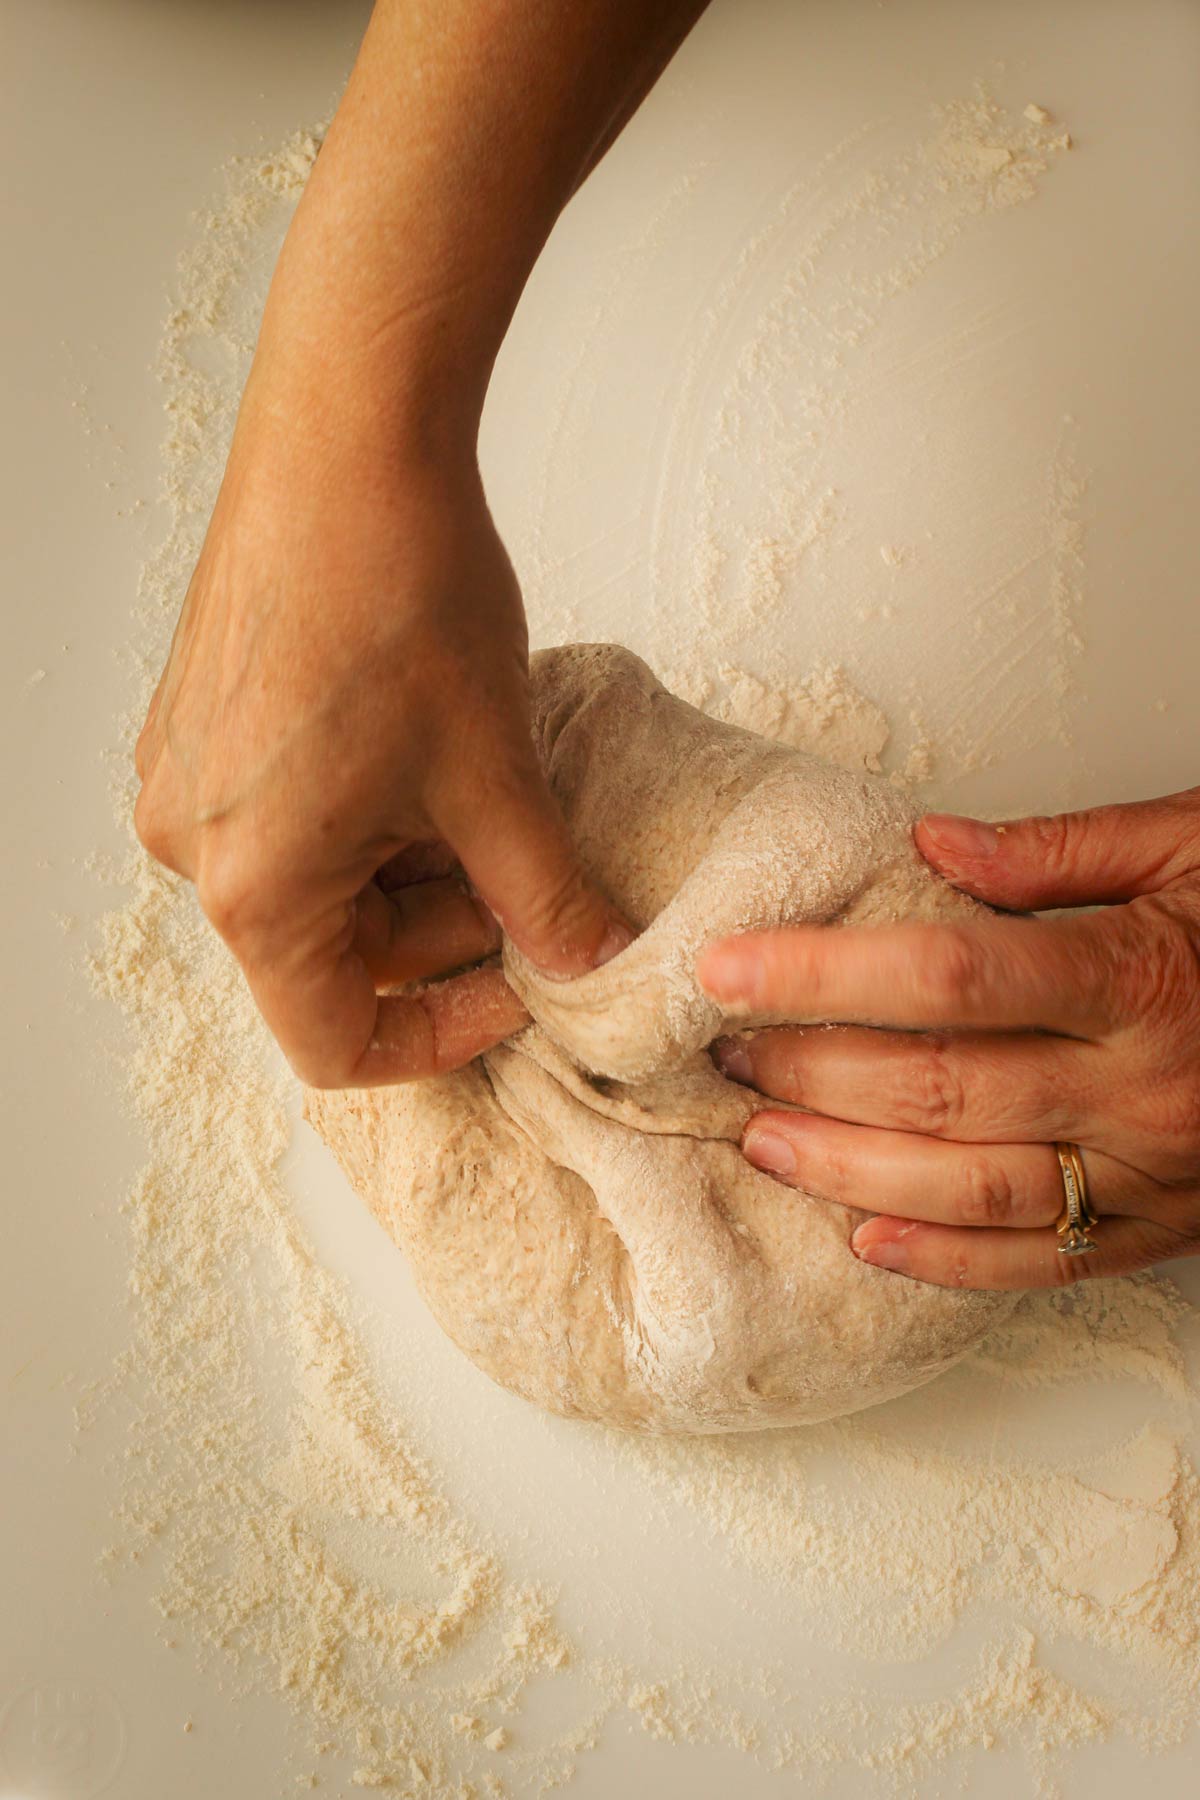
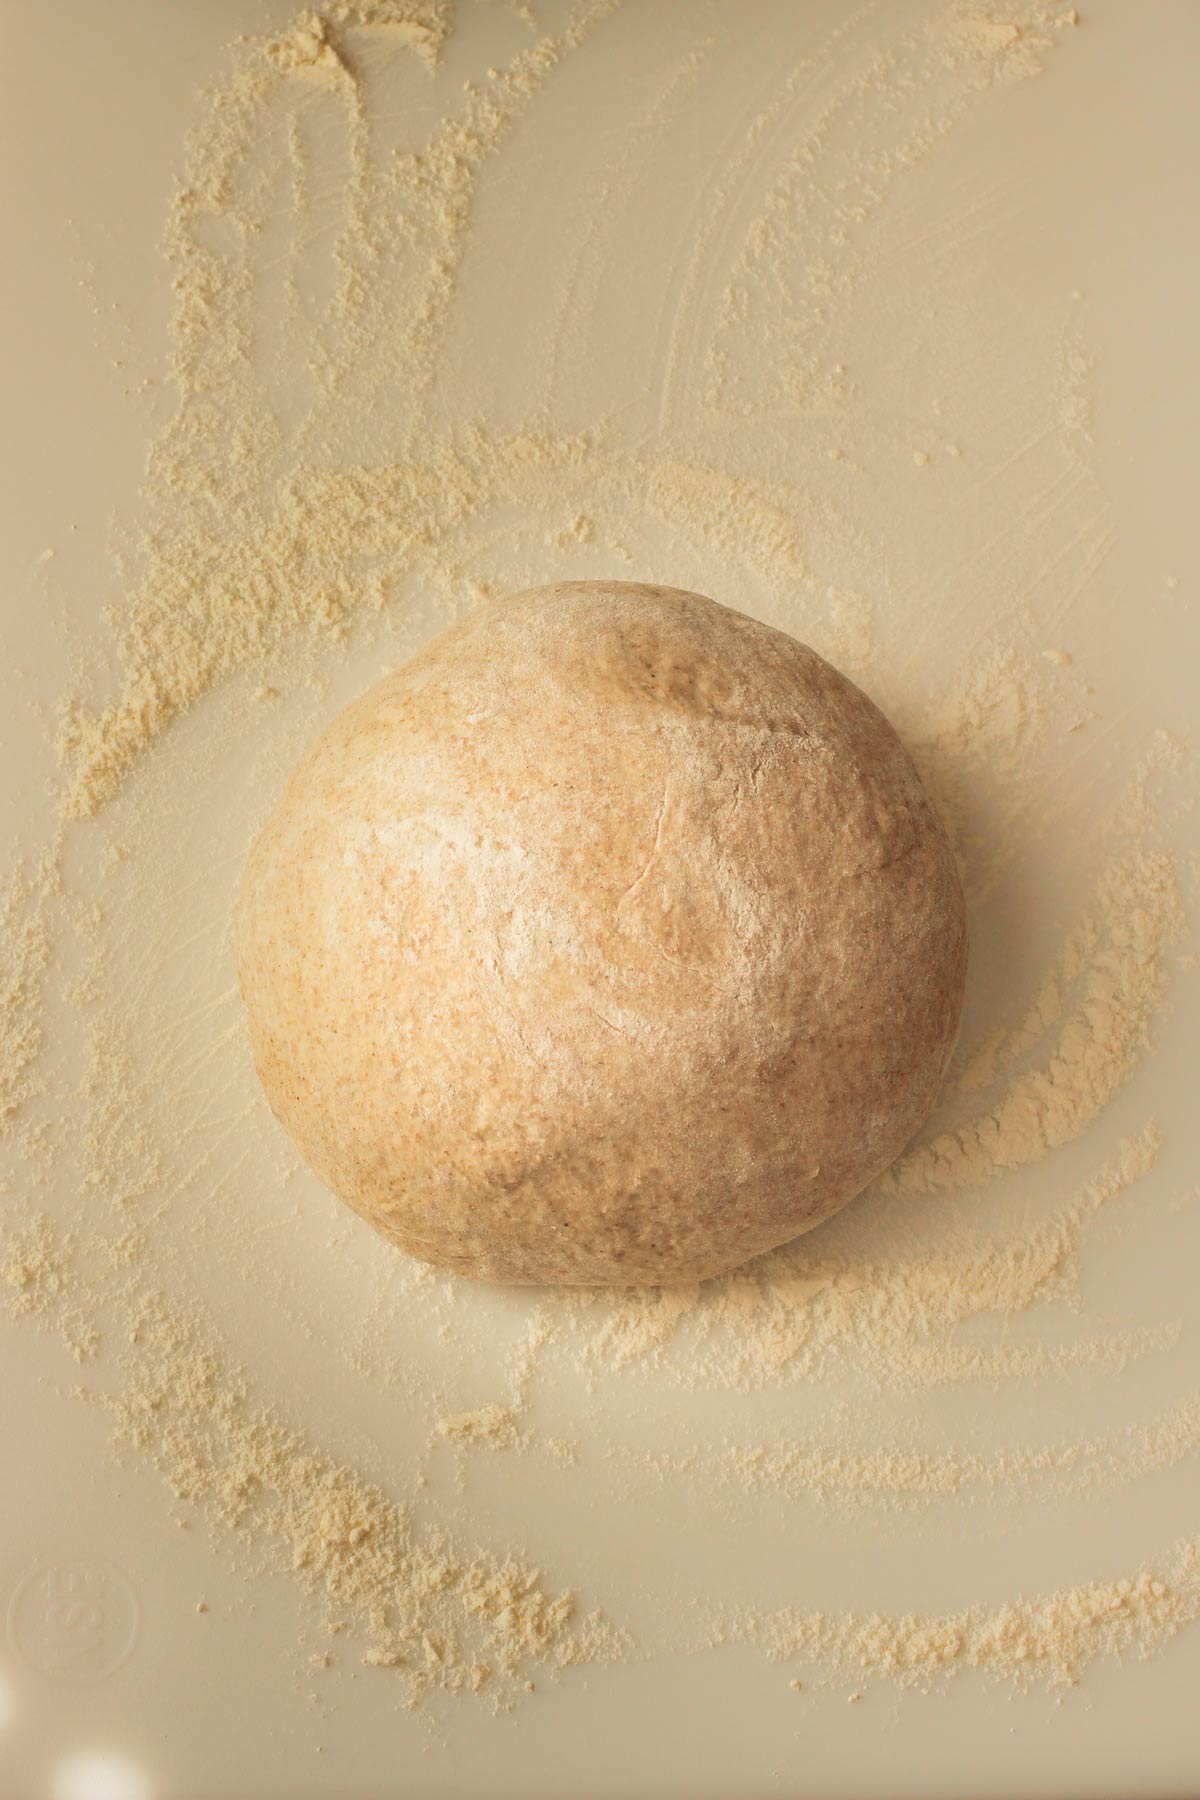
4. Shape the dough into a boule.
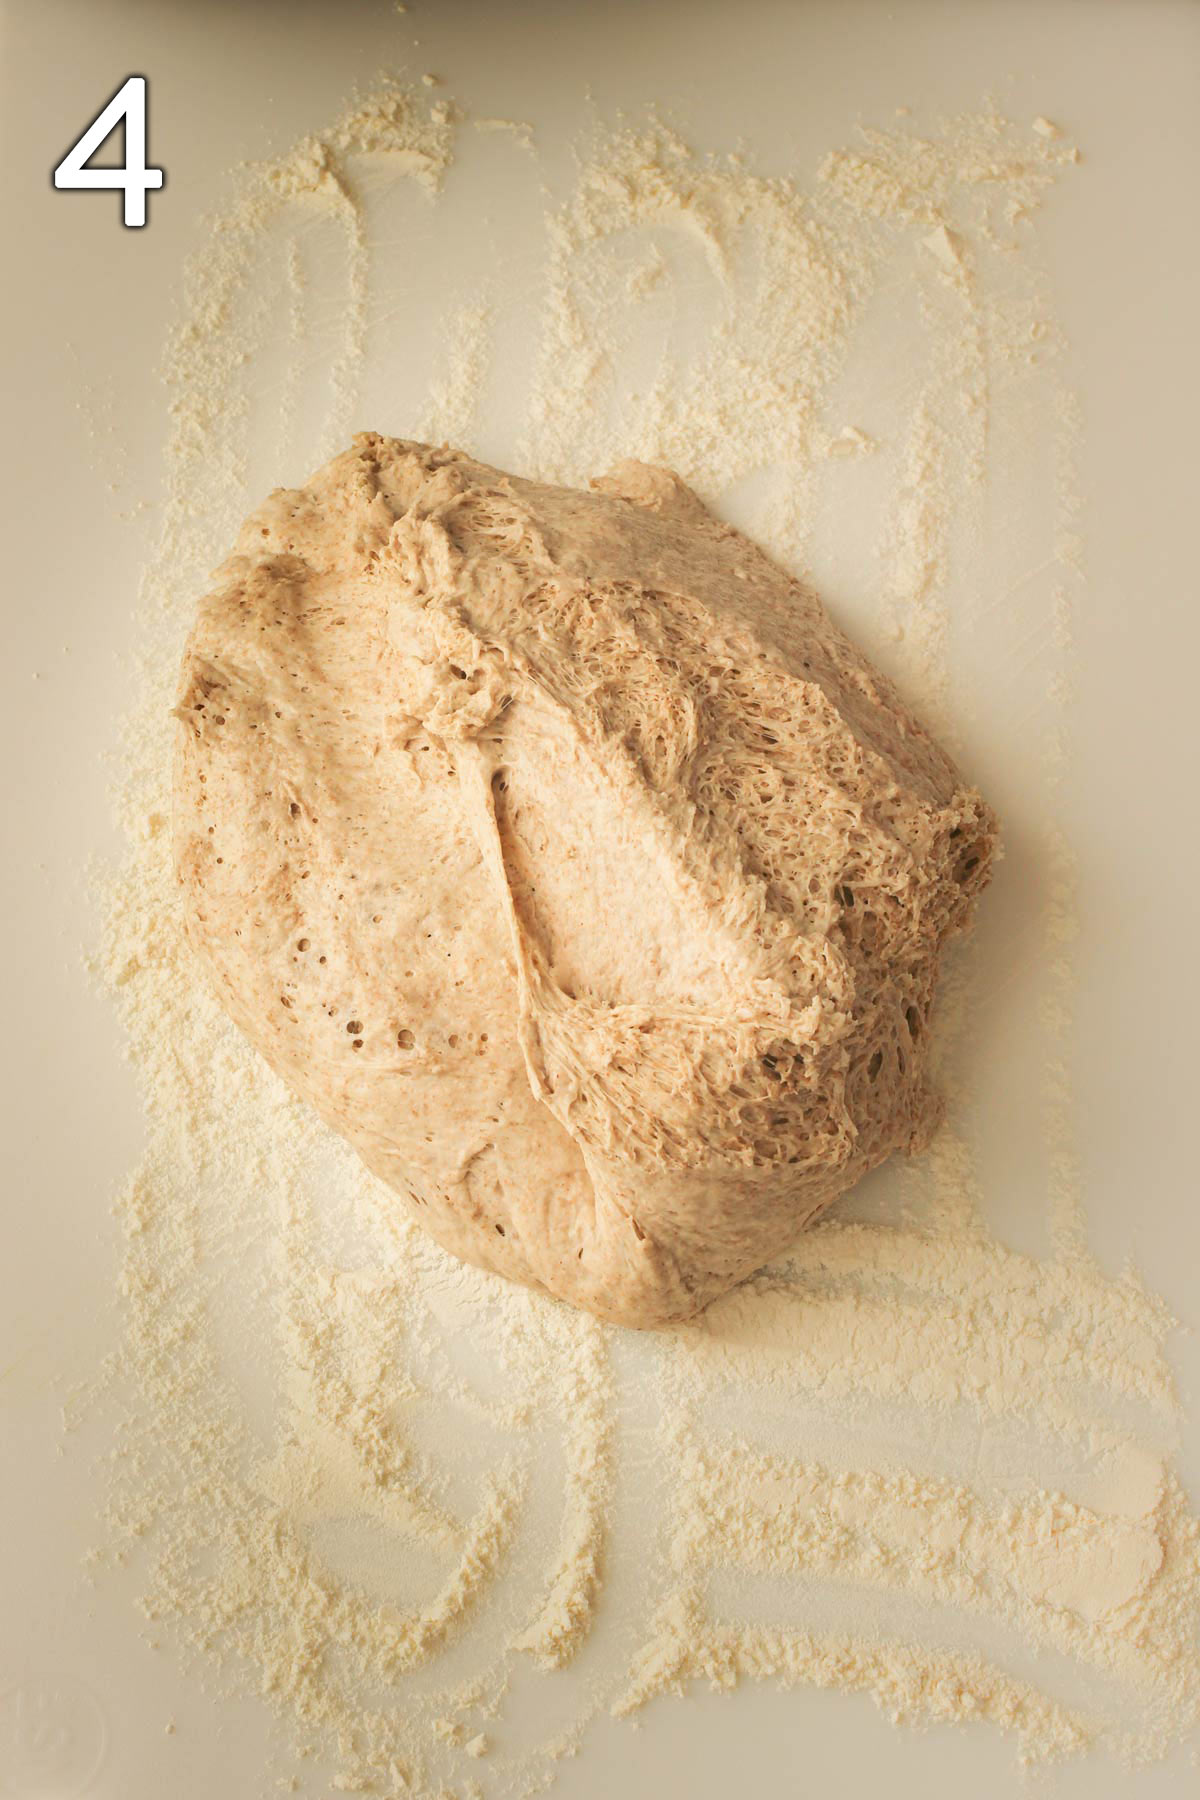
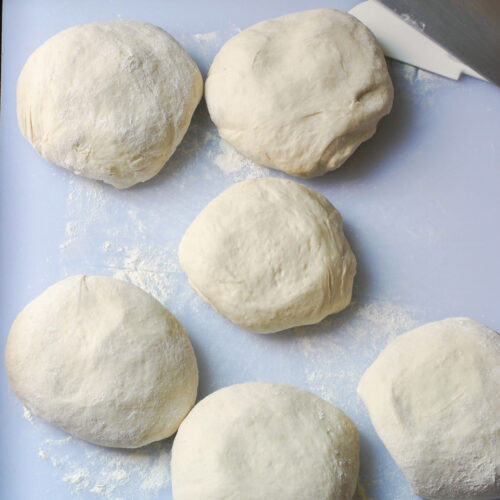
Once the dough has doubled in bulk, transfer it to a floured surface. Shape the dough into a tight boule, pulling the sides and pressing them into the center. Continue doing this until the exterior of the boule feels tight.
If the sides start to tear as you pull them to the center, that’s a signal to stop. Ideally, you want a firm tight boule without any tearing.
5. Allow the dough to rise again.
The second rise isn’t as long as the first, about an hour. This helps give the bread its shape.
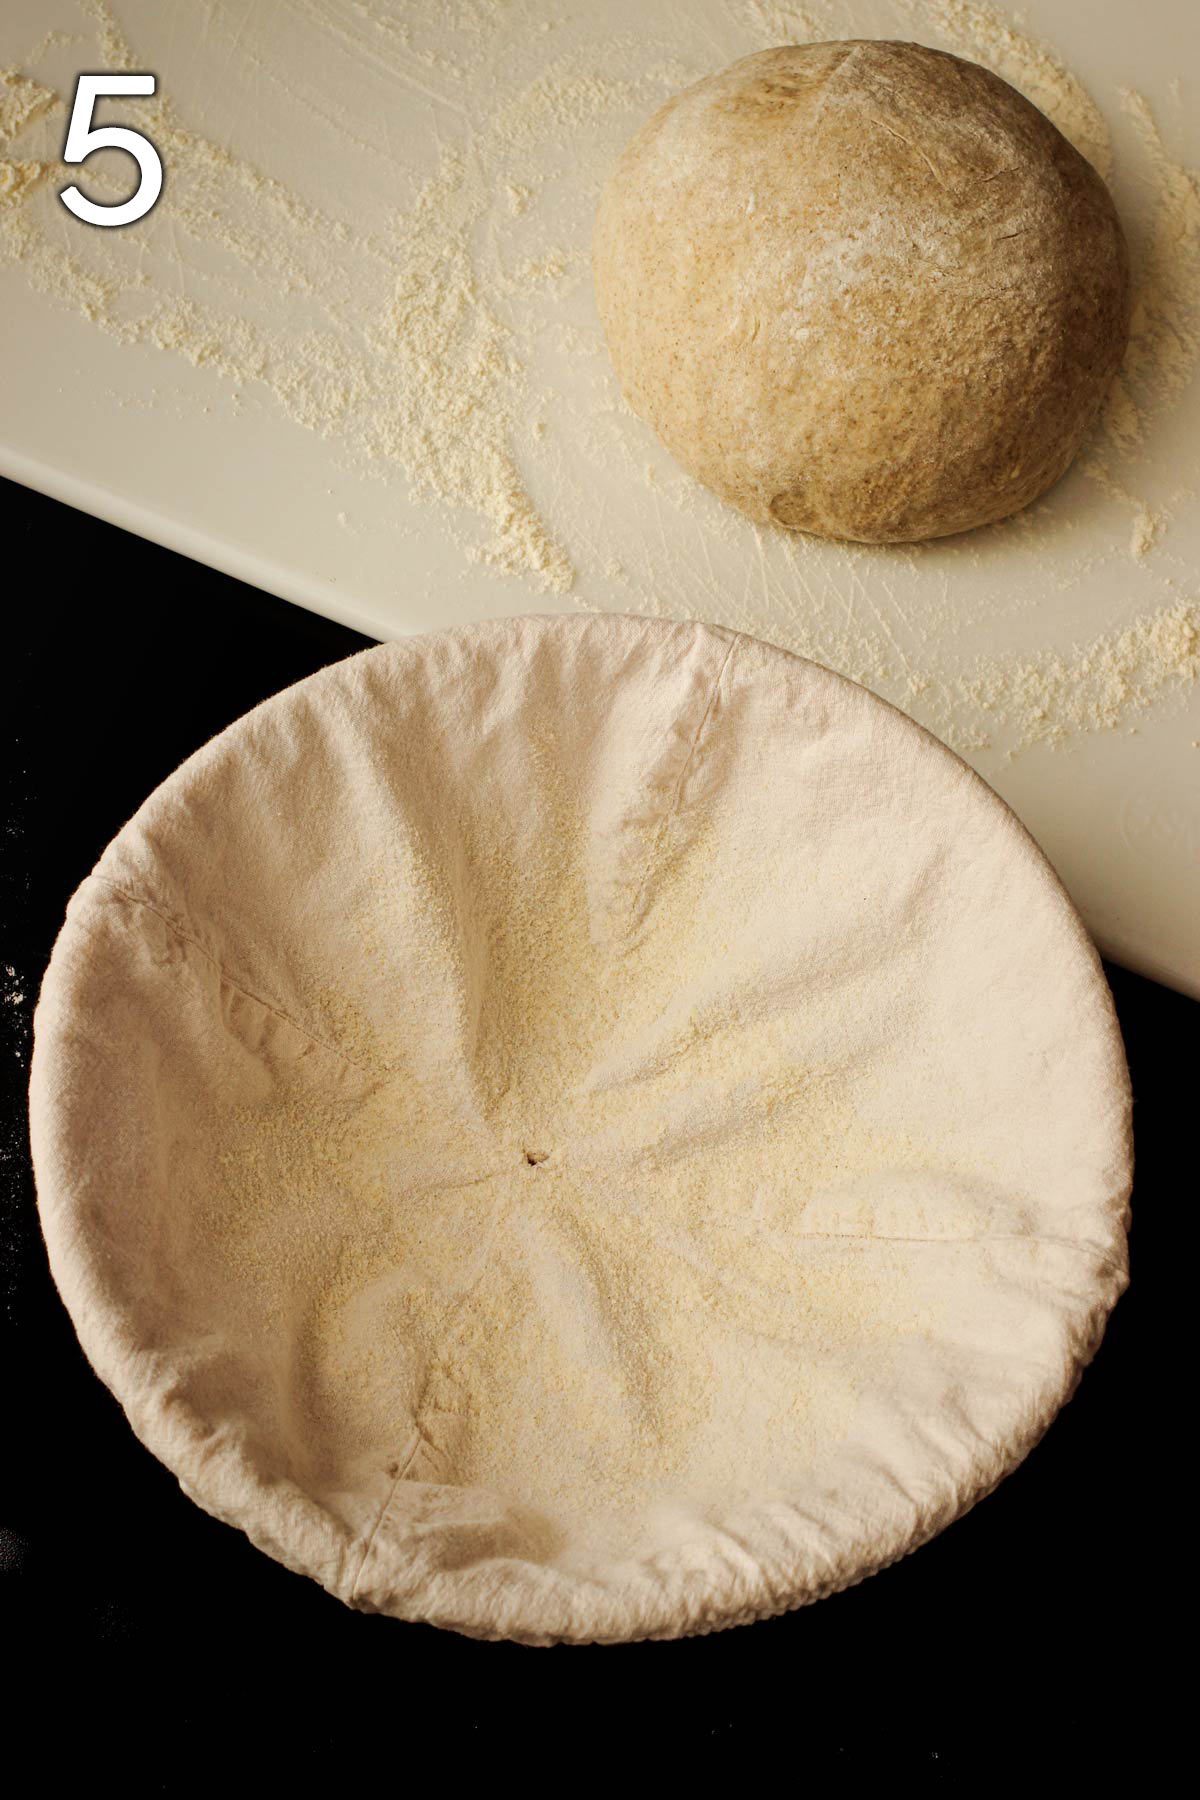
Ideally, you’ll have a proofing basket or banneton with liner for this process, but you can use a mixing bowl lined with a tea towel if you don’t.
Sprinkle the liner with rice flour. Place the boule seam side up in the basket and cover. Allow to rise one hour.
6. Prep the boule for baking.
At the end of the hour, preheat the oven to 425 degrees.
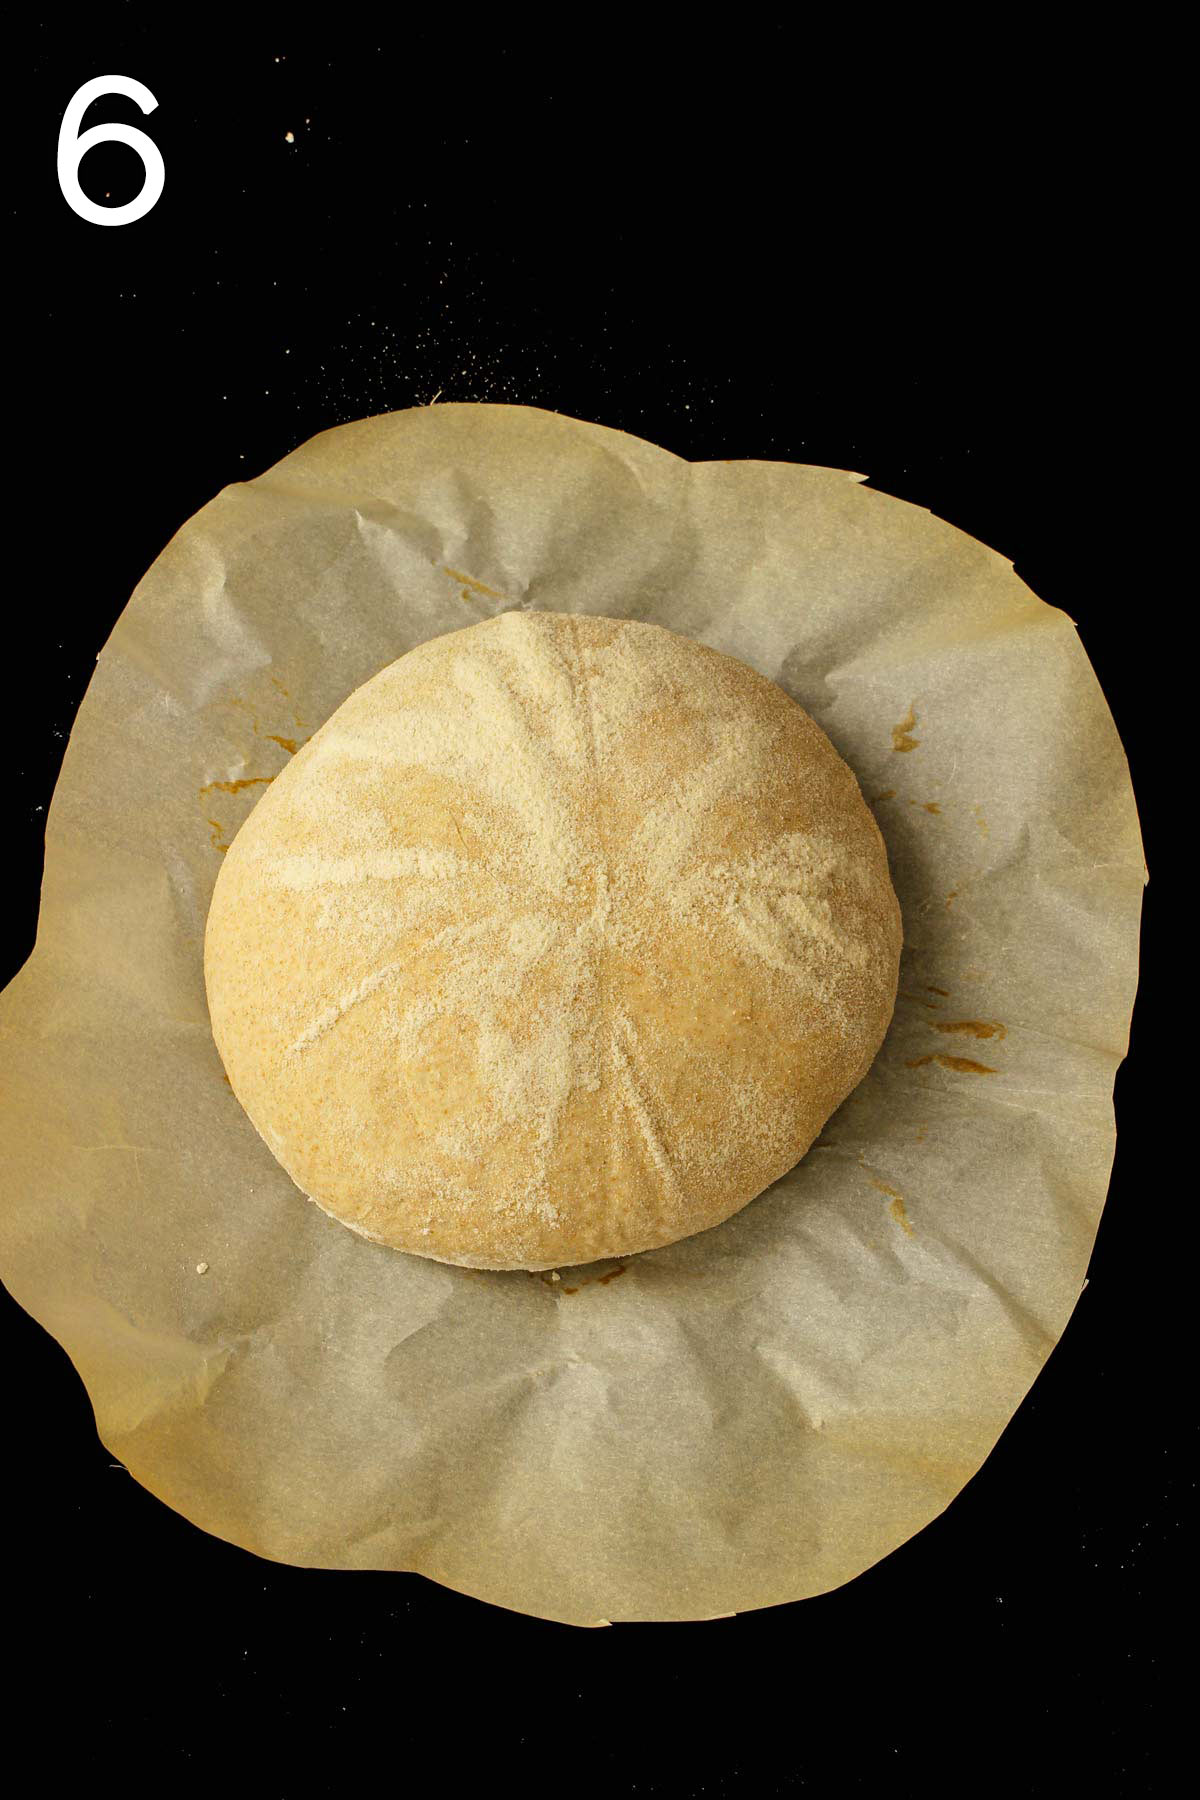
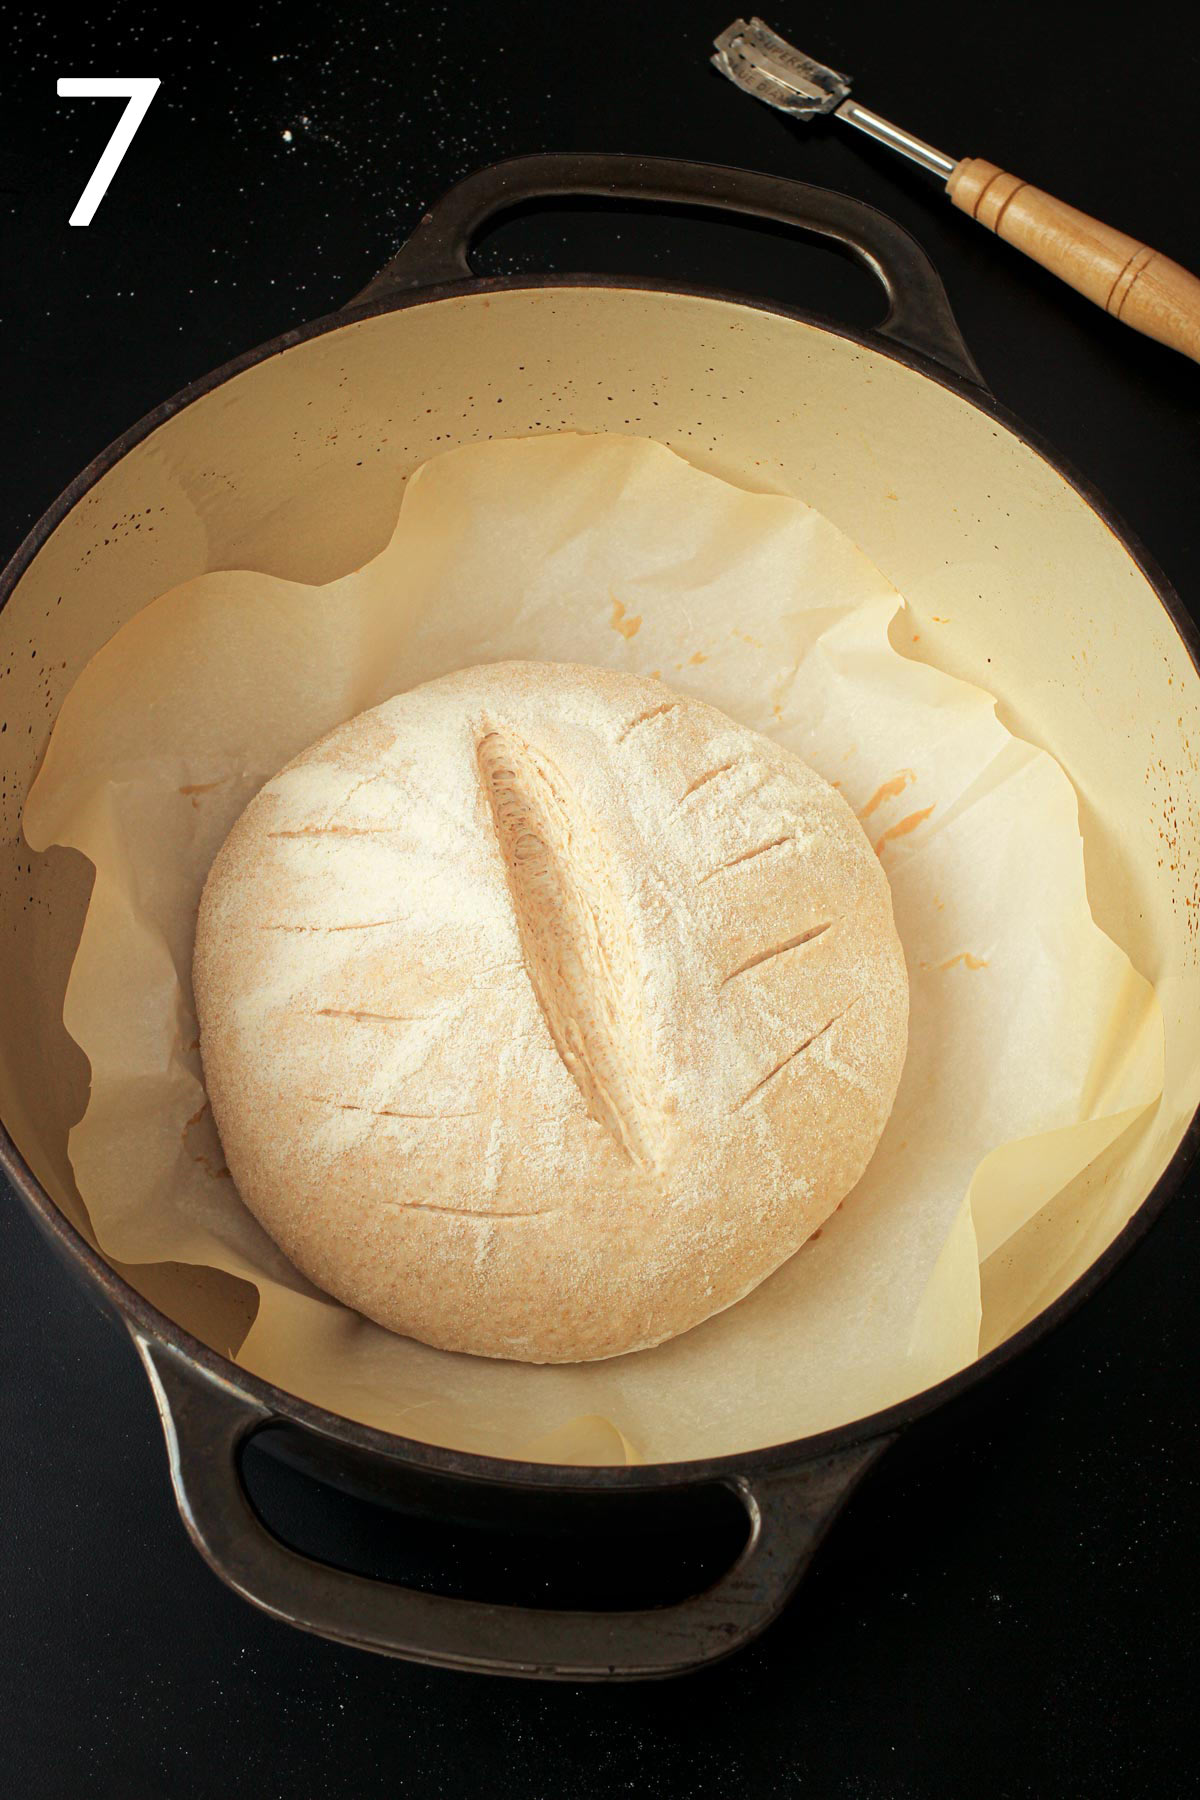
Invert the boule from the proofing basket onto a parchment paper round. Use a lame or very sharp knife, cut a deep slash into the boule, at least ¼-inch deep. Make extra decorative slashes if you like.
7. Bake the boule.
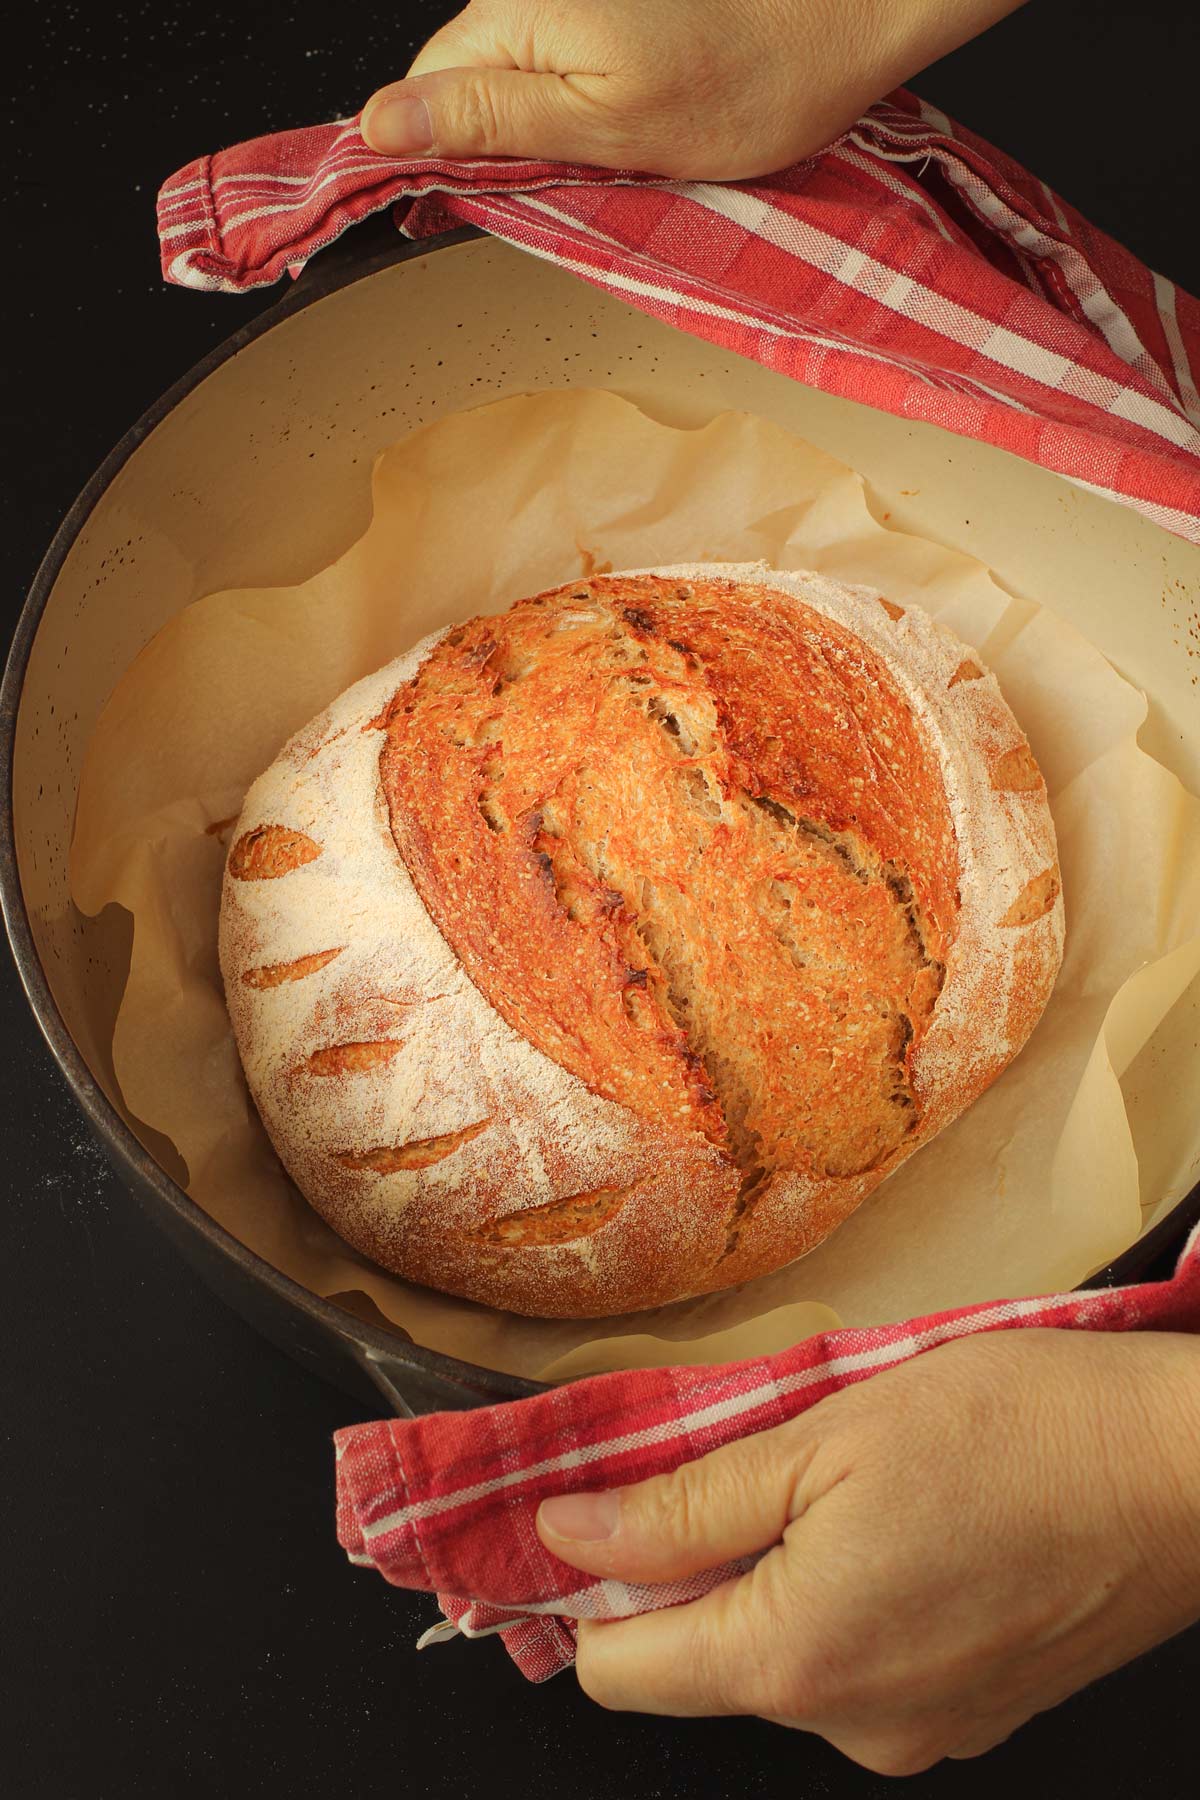
Using the parchment paper as a sling, transfer the boule to a Dutch oven. Cover and bake for 25 minutes. Covering the pot for the first part allows you to get some steam action going which contributes to a crisper crust.
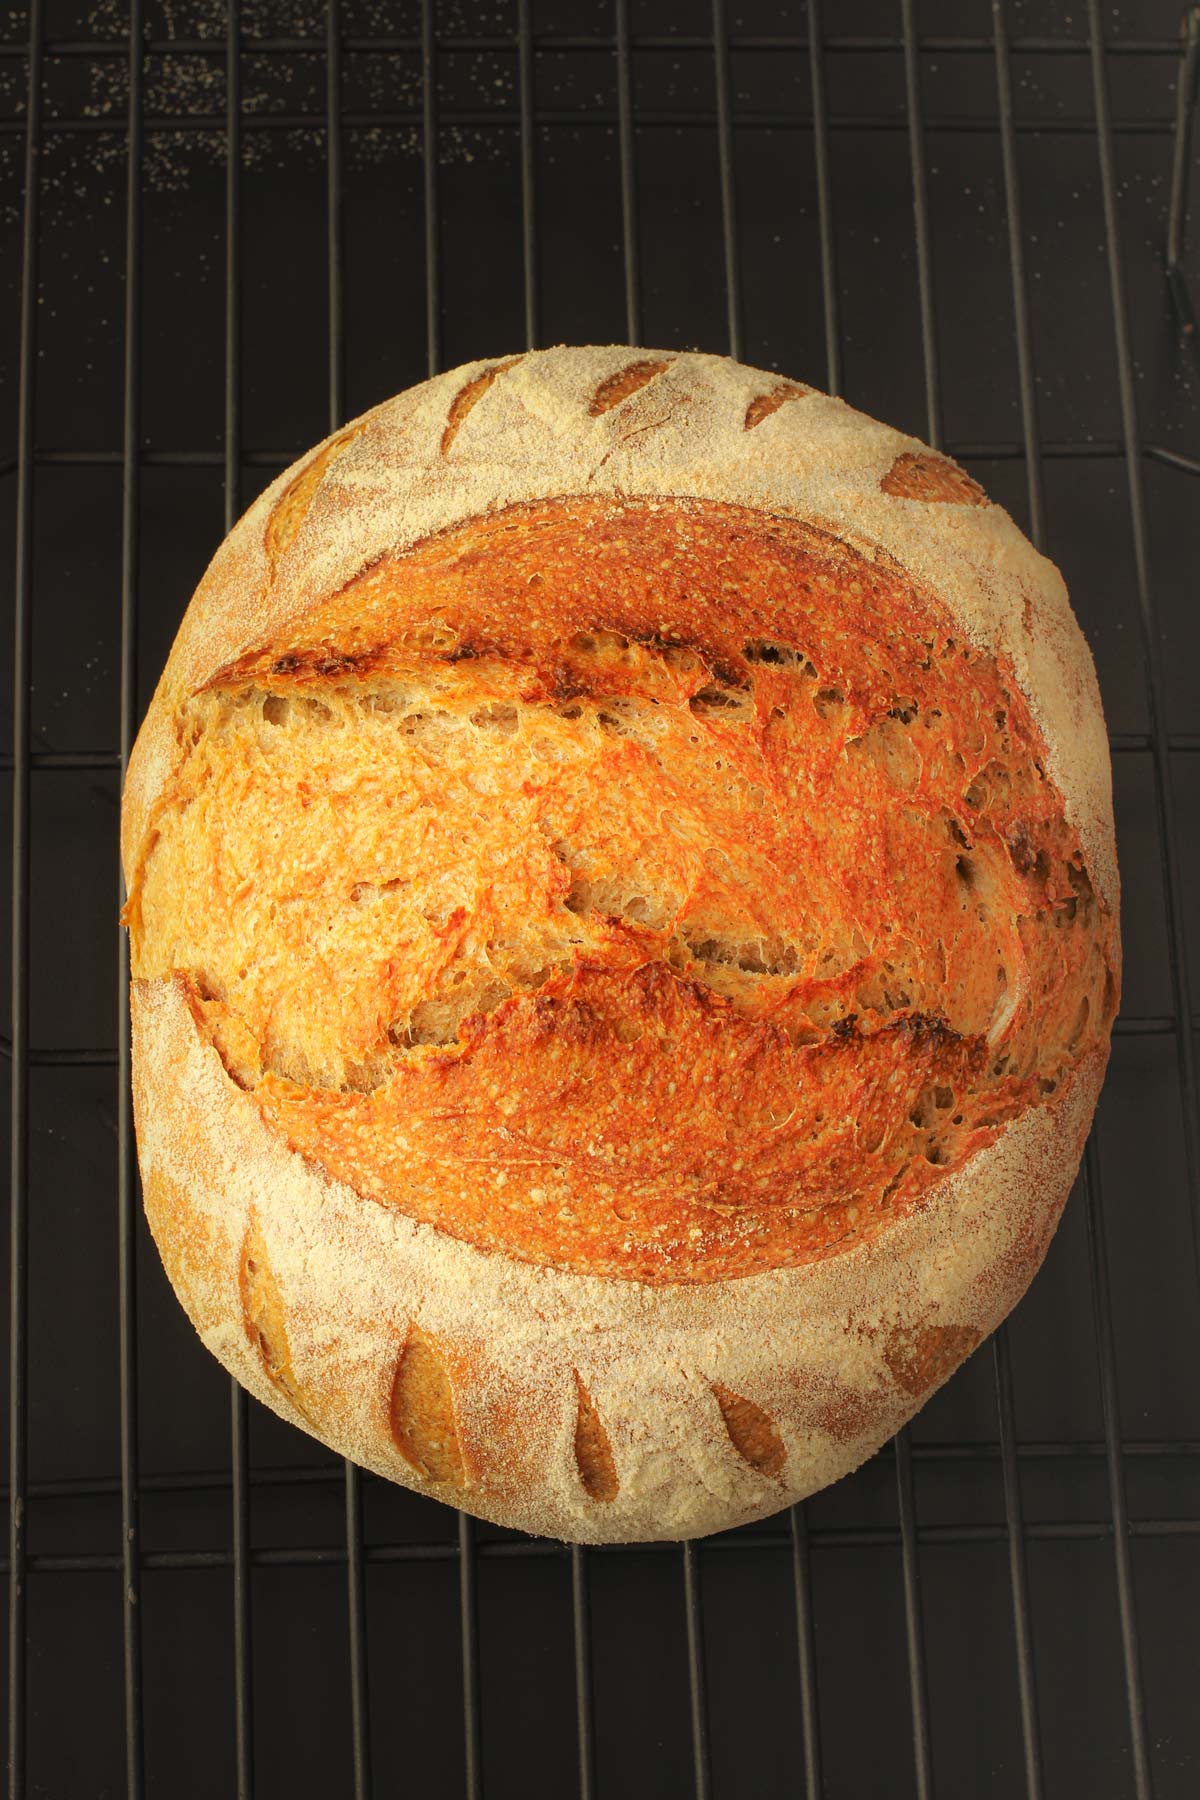
Remove the lid and bake another 20 minutes until the dough is well browned and sounds hollow when you thump the bottom of it.
Remove the boule from the Dutch oven and cool completely on a rack. Once the sourdough rye bread has cooled, you can slice and serve.
Note: my oven is just large enough to hold two Dutch ovens, so I bake two loaves at one time.
FAQs
No, both rye and wheat that are called for in this recipe contain gluten.
This recipe relies on sourdough starter instead of commercial yeast to give it a lift. This is known as wild yeast or natural yeast. It does not have the same properties as commercial yeast.
Freezing bread is a great way to extend its shelf-life and make it more convenient to enjoy home baked bread. Cool the bread completely prior to slicing, wrap it well in plastic wrap and tuck it into a ziptop freezer bag. Store in the freezer for up to 2 months.
Recipe Costs
Knowing how much it costs you to prepare a recipe can help you decide if it’s the type of recipe to make regularly or one you might want to save for special occasions. Let’s crunch some numbers and see how this recipe pencils out.
- sourdough starter – $0.05
- bread flour – $0.81
- rye flour – $0.75
- salt – $0.01
Shopping good quality flours from Amazon or mid-range grocery stores, you can expect to pay about $1.62/loaf of sourdough rye bread.
More Great Sourdough Recipes

Tell us what you think!
We love to hear your experiences with Good Cheap Eats. Click the STARS on the recipe card or leave a STARRED comment to let us know what you think of the recipe.
Sourdough Rye Bread
Equipment
- large mixing bowl
- rubber spatula
- plastic wrap
- cutting board
- banneton with liner
- parchment paper
- lame
- dutch oven
- wire rack
Ingredients
- 300 grams water
- 50 grams active, bubbly sourdough starter
- 350 grams bread flour
- 150 grams rye flour
- ½ tablespoon salt
- rice flour for dusting the banetton
Instructions
- In a large mixing bowl, place the water, sourdough starter, bread flour, rye flour, and salt. Stir with a rubber spatula, incorporating all the ingredients and pressing the, into a sticky dough ball. (Alternatively, you can do this in a stand mixer fitted with a dough hook.)300 grams water, 50 grams active, bubbly sourdough starter, 350 grams bread flour, 150 grams rye flour, ½ tablespoon salt
- Once the dough has formed a ball, set it in the bowl and cover with plastic wrap. Allow it to rise for 10 to 12 hours, or until doubled in bulk.
- Turn the dough out onto a floured work surface. Form it into a smooth dough ball, pulling the sides into the center, until the dough is tight.
- Sprinkle some rice flour into the cloth liner of the banneton. Place the dough ball seam side up in the banneton. Cover with a cloth and allow to rise another hour.rice flour for dusting the banetton
- Preheat the oven to 425 degrees. Cut a circle out of parchment paper, large enough to cover the bottom of your Dutch oven and go up the sides.
- Invert the dough ball onto the parchment paper. With the lame or a very sharp knife, cut a deep slash into the bread, about ¼-inch deep. Add decorative slashes if you prefer.
- Using the parchment paper as a sling, transfer the dough ball to the Dutch oven. Cover and place in the oven.
- Bake covered for 25 minutes. Remove the lid and bake an additional 20 minutes.
- Remove the Dutch oven from the oven and remove the boule to a rack to cool. Once cooled, slice and serve.




David K
Excellent! Good crumb and nice crispy crust. Have you ever doubled the recipe? If so, bake time?
Jessica Fisher
Glad you liked it. I regularly make a double batch of dough, however, I bake them as single boules. A double-size boule was just too large to get the lift I wanted.
Bobbi
I truly love rye bread and have been looking for a sourdough rye sandwich bread. Do you think this would turn out well in a pullman pan? I’m not great at shaping boules~
Eva Weller
This sounds like an easy one to pull off. Two questions: I typically bake breas at 450 degrees and get a good crust that way. Can I bake this at 450 or will that burn it? My other question is regarding preheating the Dutch oven, which I always do. Do you not recommend it for this bread? Thank you!
Jessica Fisher
For the long baking, I found that 425 worked better for me, otherwise the crust burned. Ovens vary, though, so 450 may be just fine for you. If you have a baking style you like, then I’d go for it. Just keep in mind that whole wheat or rye will brown more quickly than a completely white flour loaf.
Linda B
Delicious!!! I’m fairly new to sourdough baking and really wanted to try rye bread. I saw this recipe a few weeks ago and have been on the search for rye flour ever since. HINT: I found it in the natural/organic food section of a large grocery. I didn’t really remember the recipe that I printed several weeks ago. When I started this recipe this morning, I was a little shocked when I turned my instruction sheet over and found there were no stretch and folds. This is by far the easiest sourdough recipe I’ve ever made. It is absolutely delicious! My kitchen was pretty warm today because I was baking other things as well. I think the dough doubled faster than it should have so I baked it after 9 hours instead of the 10-12 hours the recipe called for. Next time I will wait longer in order to get a taller loaf. The loaf is not heavy…it just isn’t as tall as it probably should have been. I will definitely make it again!!!