

Homemade Whole Grain Cinnamon Rolls are easy to make and super delicious. This recipe calls for rolled oats and whole wheat flour, making the classic baked goodie just a little bit better for you.
Take these in the direction of whimsy at the holidays with Easter Bunny Cinnamon Rolls or Cinnamon Roll Turkeys.

Want to save this post?
Enter your email below and get it sent straight to your inbox. Plus, I’ll send you budget recipes and money-saving tips every week!
Sweet baked goods are a dime a dozen, are they not? It seems that everywhere you turn you can easily find a cookie, donut, or candy to satisfy a craving.
Sweets come cheap, to be sure.
And often, as a result, lack the quality and substance that can really satisfy. A fiber-filled carb — even a sweet one — can provide more satisfaction than that cheap white flour tidbit that tastes good going down, but later fills you with regret.
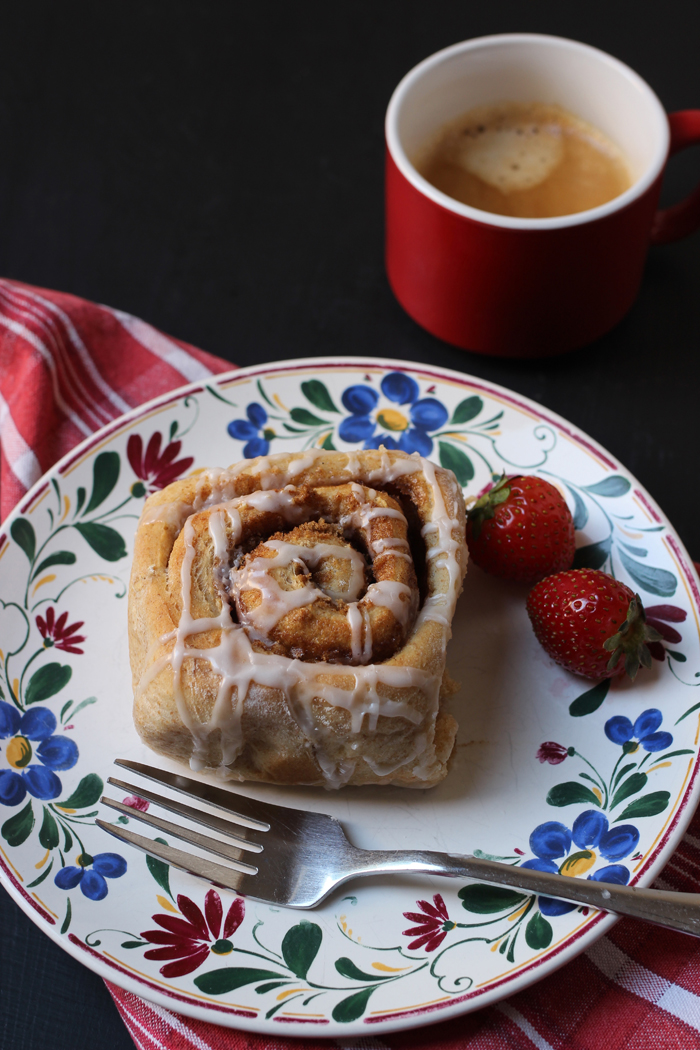
If you’d like to enjoy your baked goodie and still feel good, try these Whole Grain Cinnamon Rolls.

Cinnamon Rolls have long been a regular weekend treat at our house. A family favorite, if you will.
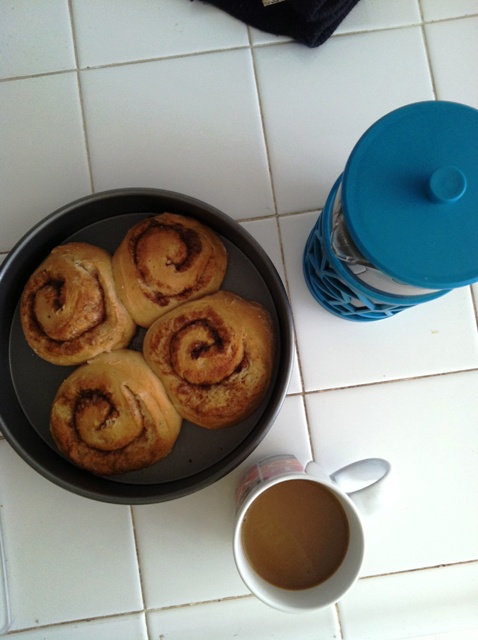
For many years, I would whip up the dough in the bread machine on Saturday night. Then fill and slice the rolls and let them rise overnight in the fridge. After a few minutes of resting on the counter in the morning, they’re ready to bake and be devoured.
Whole Grain Cinnamon Rolls
While I love my carbs with the best of them, more and more I find myself reaching for fiber-filled carbs like whole grains or fresh fruit. They taste great and feel substantial.
After we got out of debt about a decade ago, there was a lot more wiggle room in our budget for me to work quality ingredients into my pantry. While I still use white flour, I work to add some kind of whole grains into our favorite baked goods.
Case in point: our weekend cinnamon rolls.

I’ve tried this recipe with rolled oats (both quick and old-fashioned) as well as All-Bran cereal which I got for free awhile back with a good sale and coupons.
I’ve increased the amount of whole grains as well as decreased the amount of butter and sugar you’d normally find in a cinnamon roll recipe. There are so many great oat recipes for you to try after this one!
I feel a little better feeding these Whole Grain Cinnamon Rolls to my kids, knowing that some of their carbs are a little more complex than plain ol’ sugar and white flour.
They’re also super cute made into Cinnamon Roll Turkeys for Thanksgiving!

What goes well with cinnamon rolls?
We love to serve cinnamon rolls as part of a brunch with an egg dish and fresh fruit, but they are just as good on their own alongside a good cup of coffee, tea, or hot cocoa.
Can you freeze homemade cinnamon rolls?
One of the beauties about cinnamon rolls is that you can easily freeze them! Learn how to make cinnamon rolls to freeze, making them super convenient without buying the canned kind.
Can I use quick oats instead of old-fashioned oats in this recipe?
While I recommend old-fashioned rolled oats for their better nutritional content, you can use quick oats instead if that’s what you have.

How do you make whole grain cinnamon rolls?
Cinnamon rolls aren’t difficult, but the process will take a couple hours from start to finish.
- Gather your ingredients.
- Warm the milk and melt the butter. Add the sugar and vanilla and yeast to this mixture and allow to rest five minutes. The yeast will start to bubble up.
- Add the flours, oats, and salt. Knead for several minutes until a smooth dough forms.
- Place the dough in a greased bowl and cover with plastic wrap. Allow it to double in bulk, about 1 hour.
- Turn the dough out onto a lightly floured surface and roll it into a 12×18-inch rectangle. Spread softened butter over the surface.
- Combine brown sugar and cinnamon and spread this mixture over the butter layer, leaving a margin on one long end.
- Starting with the opposite long end, roll up the dough, jelly-roll style. Crimp the edge to seal.
- Use unflavored dental floss to cut the rolls into thick slices.
- Line a baking pan with parchment paper. Place the sliced rounds in the prepared pan. Allow to rise 30 minutes.
- Bake in a 350 degree oven for 20 to 25 minutes. Place the pan on a rack and allow to cool. Glaze if desired.

How to make this good and cheap:
You know I don’t typically want to make something if I can’t make it good as well as cheap. Here are some of the strategies you can use to make this recipe more economical:
- Stock up on ingredients when they are on sale. When I find regular kitchen staples on sale, I buy a lot. I’m currently using a price book to track prices and that’s saving me money. For this recipe, keeping an eye on the price of flour, butter, and sugars can help keep the price down.
- Buying in bulk – It’s rare that I would buy a small bag of flour. I hedge my bets by buying in bulk. I also have gotten into the habit of buying cases of flour from Bob’s Red Mill or VitaCost so that I always have baking supplies on hand.
- Load up on post-holiday clearance specials. You’ll find great deals on baking ingredients after holidays. There are lots of ways to use holiday baking items creatively.

How I make this recipe easy:
This recipe really couldn’t be easier than it is, but having the right kitchen tools can really make your time in the kitchen more enjoyable. Over time, I’ve honed my collection so that they are perfect for my needs.
Here are the tools that I use for this recipe:
- stand mixer or bread machine – Either of these tools make quick work of making the dough. You can do it by hand, but I prefer a machine.
- unflavored dental floss – A must-have for cutting cinnamon roll dough easily.
- parchment paper – I hate washing pans. Parchment paper makes clean up a breeze.
- sheet pans – I LOVE my set of steel sheet pans. They make such a difference in baking.

More Whole Grain Recipes
Tell us what you think!
We love to hear your experiences with Good Cheap Eats. Click the STARS on the recipe card or leave a STARRED comment to let us know what you think of the recipe.
Whole Grain Cinnamon Rolls
Ingredients
For the dough
- 2 cup milk
- 4 ½ tablespoon butter
- ½ tablespoon vanilla extract
- ½ cup rolled oats
- 2 cup whole wheat flour
- 2 to 3 cup unbleached, all-purpose flour
- ¼ cup granulated sugar
- 1 ¾ teaspoon salt
- 3 ¾ teaspoon active dry yeast
For the filling
- 3 ½ tablespoon butter softened
- ¾ cup dark brown sugar
- 1 tablespoon ground cinnamon
For the glaze
- ¾ cup powdered sugar
- 1 – 2 tablespoon milk
Instructions
To make the dough in a bread machine:
- Combine dough ingredients in the bread machine according to manufacturer’s instructions. Use 4 cups of flour to start. Add more flour in case the dough is too wet. Program for Dough and allow the machine to do its magic.
To make the dough by hand:
- Warm the milk slightly and melt the 4 ½ tablespoons butter in a medium saucepan. Transfer this mixture to a mixing bowl. Add the granulated sugar, vanilla, and yeast, stirring to combine. Let that rest for 5 minutes.
- Add the flours, oats, and salt. Stir until you have a sticky dough but all the flour is incorporated. Turn it onto a floured surface and knead until the dough becomes smooth and elastic. Set into a greased bowl and allow to rise until doubled in bulk, about an hour.
To make the dough in a stand mixer:
- Warm the milk slightly and melt the 4 ½ tablespoons butter in a medium saucepan. Transfer this mixture to the mixing bowl of a stand mixer fitted with a dough hook. Add the granulated sugar, vanilla, and yeast, stirring to combine. Let that rest for 5 minutes.
- Add the flours, oats, and salt. Stir until you have a sticky dough but all the flour is incorporated. Turn the machine to the next notch and knead until the dough becomes smooth and elastic. Set into a greased bowl and allow to rise until doubled in bulk, about an hour.
To form the rolls:
- When the dough is ready, roll out on a lightly floured surface until you have a 12 x 18-inch rectangle. Spread the 3 ½ tablespoons softened butter over surface.
- In a small bowl, combine the brown sugar and cinnamon. Sprinkle this over the over butter, leaving a bare margin on one long end.
- Roll up the dough, jelly-roll fashion, starting from the opposite long edge and pinching the seam to seal.
- Slice the roll into 12 equal portions and arrange evenly in a greased, 9 x 13-inch pan. You can use unflavored dental floss to neatly cut the rolls.
- Allow the rolls to rise another 30 minutes before baking.
- Preheat oven to 350°. Bake rolls until lightly browned, about 20 to 25 minutes. Remove from oven and cool on a wire rack.
- Combine the powdered sugar and 1 to 2 tablespoons milk in a small mixing bowl, stirring with a wooden spoon until combined. Glaze baked rolls with icing.
Notes
Nutrition
This post was originally published in October 2009. It has been updated for accuracy and relevancy.

Stephanie
These turned out great! I kneaded them by hand and made them vegan with some oat milk and non dairy butter.
Jessica Fisher
That’s great to hear!
Leslie
I don’t have any whole wheat flour on hand. Do I just use all purpose in place of that? Do I still add oats? Leslie
Jessica Fisher
Try the dough to our Rainbow Cinnamon Rolls. You can make a cinnamon filling instead of sprinkles if you like. That one doesn’t call for whole grains.
Ann
OMG! These are magnificent! I just wanna sink my teeth into these cinnamon rolls. I wish I could taste these right now. I’m planning to make this easy dessert next weekend and invite our neighbors in for a cup of tea or coffee. These rolls have all chances to become a family favorite treat. I’m so happy to have found this recipe.
Jessica, thank you A LOT for sharing this fab idea with us and all of your helpful recommendations. Such treasure. You’ve ALREADY answered all of my questions. Your blog is incredible, and I appreciate all the hard work that goes into it. Keep it up!
p.s. I love the photos you take!
Jessica Fisher
Thanks so much, Ann!
Kathleen Lawson
Great recipe~ ! I do not have a bread machine, nor a standing mixer, and I still found the recipe quick and easy to put together with manual mixing:))) (AKA: girl power!),and the results were so yummy! My family of six gobbled these up! I will have to make a double batch to freeze for the holiday busy days ahead! Thanks, Jessica!!!
Jessica Fisher
So glad you enjoyed it!
Jenn
This might sound silly, but I’ve never used rolled oats in a bread recipe – do you grind it into a flour first or put it in as is? Thanks! 🙂
Jessica Fisher
Just put them in. They absorb some of the liquid and cook when baked.
Jenn
Thank you!
Laura Rogers
Is this recipe for a 1 or 2 lb bread machine? Wouldn’t have thought this to be important, but lets just say I found out the hard way that it is. Looks so yummy!
Jessica Fisher
Uh oh! Good question. I have a 2-pound machine.
Karon B
If you have not tried these they are magnificent. I havent tried the gingerbread and the pumpkin ones yet but pumpkin is being made this weekend. This is not my website, it is just something wonderful I found on the internet. http://www.recipegirl.com/2011/03/01/cinnamon-roll-pancakes/
Chrissy
YUMMY! These were really good! Thanks!
Jessica
Glad you liked them!
Olivia
I never thought I’d be able to make Cinnamon Rolls, but I’ve made these twice and they are delicious! My family thinks I’m a rockstar and they say I’ve ruined canned cinnamon rolls for them forever!! Thank you so much for sharing this recipe, and many others! 🙂
Jessica
Hallelujah! 🙂
tracy
i have a lot of dough left can i put it in the freezer uncut?
Jessica
I make it all into rolls, so I’m not sure. If it hasn’t risen much, yes, you can freeze it.
Mary Beth
Could these be made a day in advance then left in the refrigerator?
Jessica
yes, you can make them the night before and refrigerate.
Fleur
When you defrost your cinnamon rolls overnight – do you place them in the fridge or just on the counter?
Jessica
@Fleur, I have done both depending on how late I’m up, how late I want to sleep, and how hot/cold the house is. You want it to thaw and rise before baking. The fridge “should” be fine.
Saralyn
Very yummy! I’ve made these twice and they’ve been a hit with the fam both times. However I did have to add about 1 cup more flour to tame the sticky dough mess that was climbing out of my bread machine pan.
Sherry
So, I was given a bread machine in 1997 because my girlfriend never used it. And I’ve never touched it either. I just googled the manual (as I have, of course, lost it), read it through, and it’s whirring my first batch of cinnamon rolls as we speak. Fingers crossed! It’s been on my to-do list since this post was originally posted!
It IS OK to not use bread machine flour, right??? The manual directions said it was a no-no, but since I’m only using it for the dough-making and since your recipe doesn’t say otherwise, I thought it was a safe bet.
Jessica
You “should” be fine. I don’t use bread flour for this recipe.
Sherry
it worked perfectly, thanks! my girls had homemade cinnamon rolls for their first day of preschool then we took them to the church office so we wouldn’t be tempted to eat too many. my empty pan was returned the same day! i think they were a hit! next step… freezer method.
hyperactivelu
yummy!!
Michelle Z
What kind of bread machine do you own? Do you or your readers have any suggestions?
I’ve been using an old machine that my mother-in-law gave me for almost 15 years, and recently the results have been getting less and less satisfactory. I took a quick look online earlier this week, but there are so many options and brands to choose from! I immediately became overwhelmed!
I could just go to the thrift store and buy the first one I find, but I do use a bread machine at least once a week (usually more), and I think I’d rather have a new one. Any suggestions?
Jessica
I am now on my third machine. I’m not sure if it is because it’s the least expensive model out there or if I just use it a lot. I have had two Osters and a Sunbeam. They’re the same machine, just two different labels. Hope that helps.
Nia
Michelle,
I think you have the right frame of mind to purchase a new one, even if like Jessica said you get the cheapest one. I’ve seen them at Wal-Mart for around $40 in S. California. I got one from my local thrift store, used it a hand full of times before the heating element wouldn’t cook my loaves of bread properly. Also, when shopping for it, I noticed most of the ones at the thrift store didn’t have owner’s manuals. I’m the person who NEEDS the manual. Some machines work differently and suggest putting ingredients in a certain order for success. Just thought I’d share.
Jessica
I roll and freeze on trays. Then once frozen, move to freezer bags. Then the night before I serve them, I pull however many I want, let them rise overnight in a greased pan and then bake in the morning.
Jessica
Thank you! Thank you!
Jessica Cusano
Ok, yes that helps thank you!! I do some bread making and do all the kneading by hand since I have neither a bread machine or a stand mixer (I’m really behind the kitchen times huh?!?). :). I am sort of new to working with yeast but it looks like it works about the same in the first basic steps. Thank you for your help and for sharing your wonderful blog with the world, I just love it! 🙂
Jessica
You’re not behind the times. Do what works for YOU!
And thanks for your kind words.
Cristi P
Adding on to this thread. I’m making these for the first time this morning. If I’m suing a stand mixer with a bread hook, does that replace the kneading? or just the mixing?? I’m brand new to bread making. these sound delicious. doing a trial now so I can be ready for Christmas.
Jessica Fisher
Yes, using the bread hook in a stand mixer replaces the kneading stage. Just be sure not to overknead. You want to see the strands of gluten that develop in the flour.
Jessica Fisher
There are images of what the dough should look like here: https://goodcheapeats.com/2015/04/orange-cinnamon-rolls/
Jessica Cusano
I do not have a bread machine… any idea on the steps I would take to attempt this delicious sounding recipe without one??? 🙂
Jessica
Well, you would follow the traditional way of making bread. Warm the milk, proof the yeast. Add the sugar and butter. Then add the dry ingredients. Stir well. Then knead until a soft dough forms. Do you have a stand mixer? You can do it with the bread hook as well. Does that help?