

Friend of the picky eater worldwide, fried chicken strips are a restaurant standard, but did you know you can make them at home? Yes!
Add these Fried Chicken Strips to your meal planning rotation and see if you don’t love them even more when you make them yourself. You don’t need any special equipment for this easy recipe, just a skillet and a few simple ingredients.

Want to save this post?
Enter your email below and get it sent straight to your inbox. Plus, I’ll send you budget recipes and money-saving tips every week!
Of all the chicken recipes you could learn, move this one to the top of your list. Not only are fried chicken strips a crowd pleaser, but this a great recipe to make at home and save money. Plus, you’ll feel so confident once you master extra crispy fried chicken tenders!
These Fried Chicken Strips are also the a great protein building block for a number of recipes, including Chicken Parmesan, fried chicken salad, chicken piccata, chicken and noodles, or just plain eatin’ with a side of sweet potato fries and some BBQ sauce.
These chicken tenders are super delicious on a Copycat Chick-fil-A Cobb Salad, too!
Therefore, it’s in your best interests to learn how to cook breaded chicken pieces yourself! Don’t ya think?
Why Make This
It’s easy. It might seem intimidating to make fried chicken strips at home, but it is honestly pretty easy. You’ll feel so good serving homemade chicken tenders you made yourself!
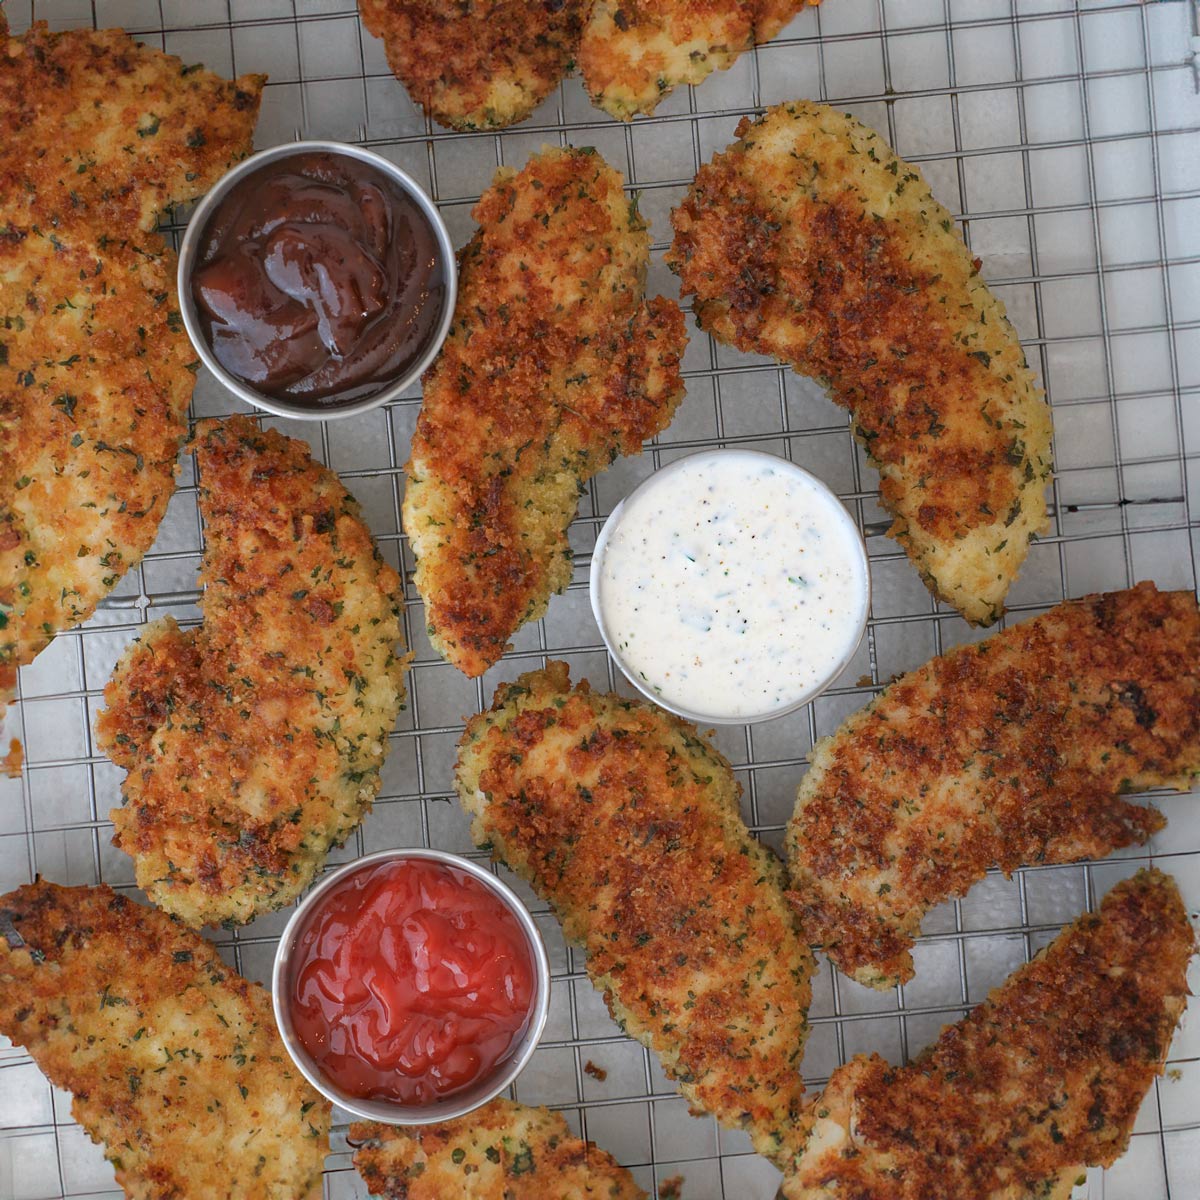
It’s delicious. Fried chicken strips are so tasty! Serve them with ranch, ketchup, or a honey mustard dipping sauce for a fun appetizer or snacky-type meal. You can mix and match different spices to get just the flavors you want.
It’s cheaper than the restaurant. These delicious chicken tenders are so much cheaper to make at home than to buy at the grocery store or order at the restaurant. Your picky eaters will be thrilled when you master it at home.
Ingredients
Here’s what you need to make the best fried chicken strips at home:
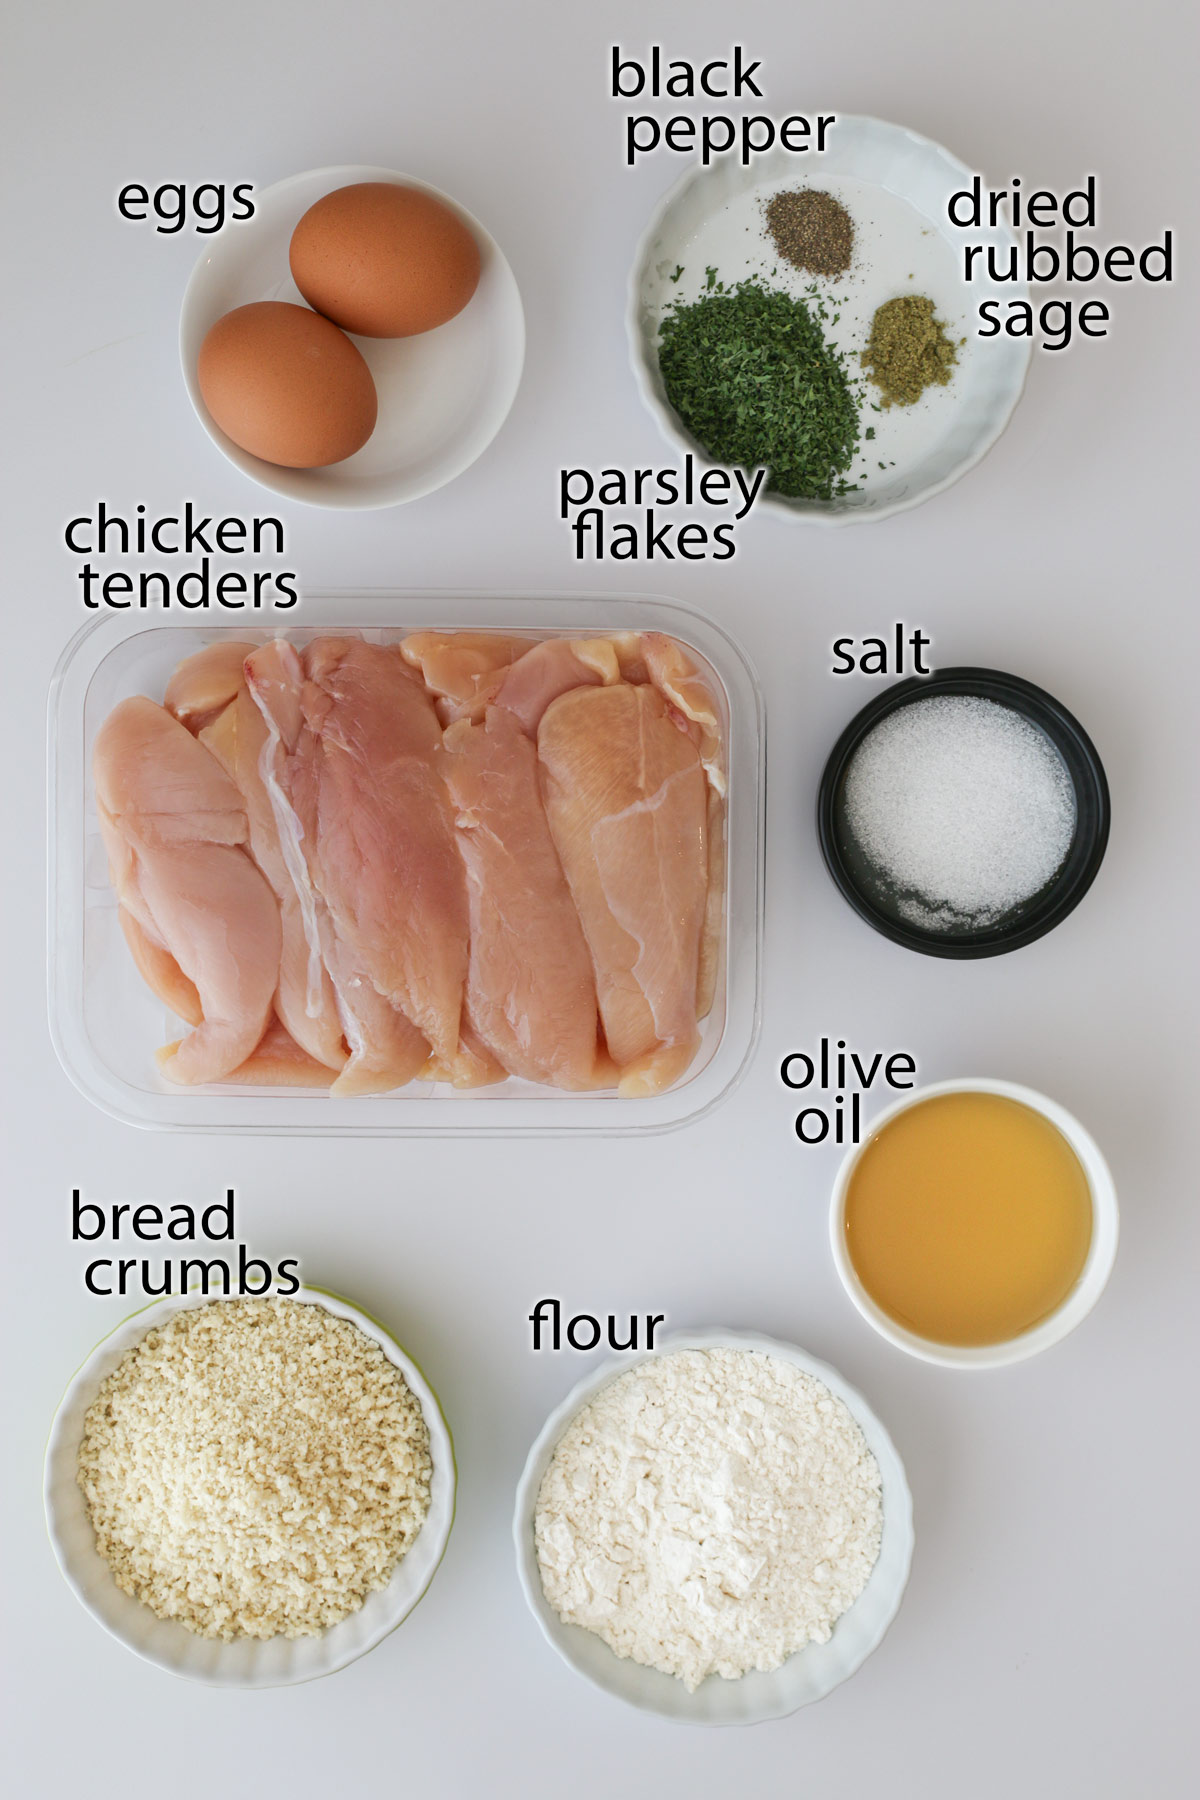
eggs – Some folks use a buttermilk mixture for marinating chicken tenders, and you can totally do that. But, I’ve found that using a beaten egg mixture works really well and is a dairy-free option for the people you’re feeding.
bread crumbs – You can use dry or fresh bread crumbs, but I’ve found that you’ll get the best texture if you use panko bread crumbs. These help you have a really crunchy texture on the chicken fingers.
flour – I combine unbleached, all-purpose flour in the breadcrumb mixture to help add texture to the coating.
herbs and spices – I like to use dry parsley flakes, salt, black pepper, and dried rubbed sage to seasong the coated chicken. You can use other seasonings as well such as onion powder, garlic powder, poultry seasoning, and cayenne pepper. It’s really up to you what direction you want to take the seasoned flour.
chicken tenders – Also called chicken tenderloins, these are the thin strips attached to the breast meat. You can also cut boneless skinless chicken breasts into 1-inch strips. And if you want to make chicken nuggets, simply cut large squares of chicken meat. Allowing the chicken to sit at room temperature for awhile prior to frying will help it cook more quickly so that the coating doesn’t burn before the chicken is cooked through.
oil for frying – Peanut, avocado, and olive oil are all fine for frying as they have a high smoke point. Since I don’t use a deep fryer, I prefer to use less oil when I can so there’s no waste. Add enough oil to fry the homemade chicken strips and add more as needed.
Instructions
Here’s how to make the best juicy chicken tenders:
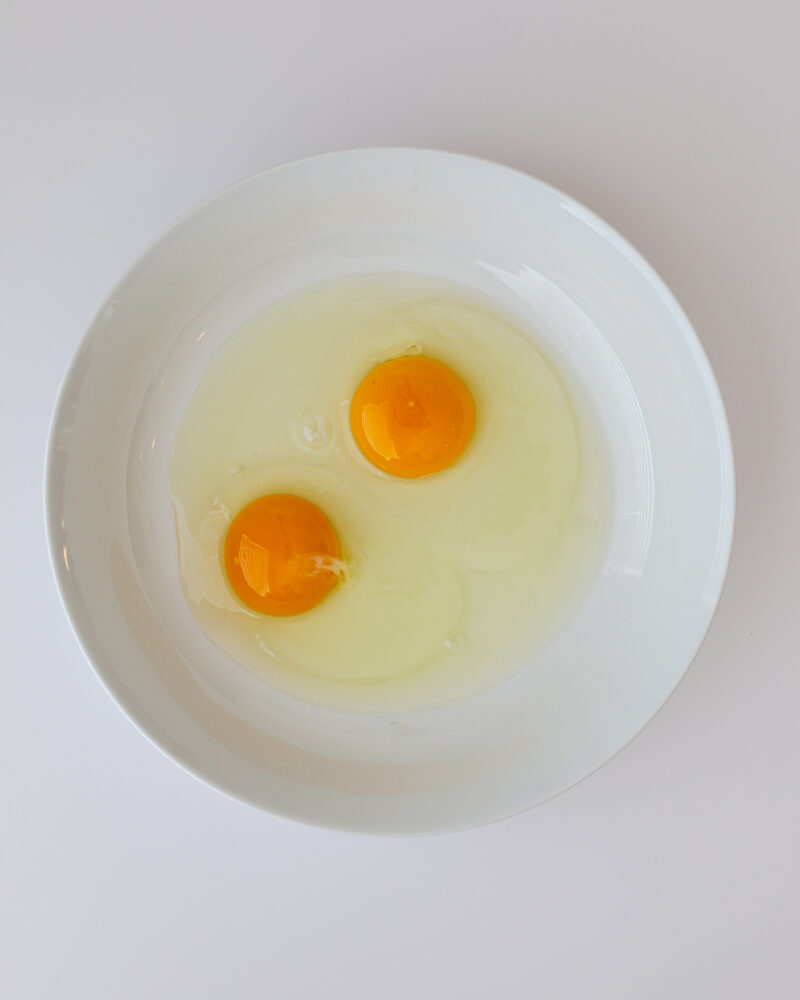
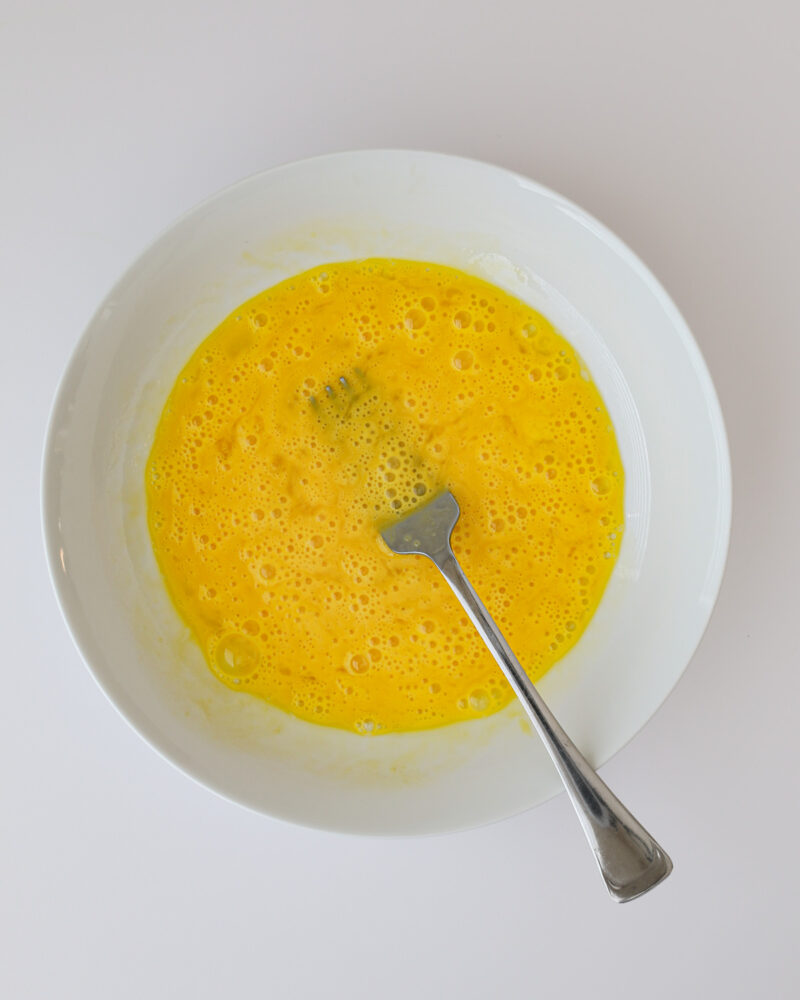
In a shallow dish, beat the eggs until well combined.
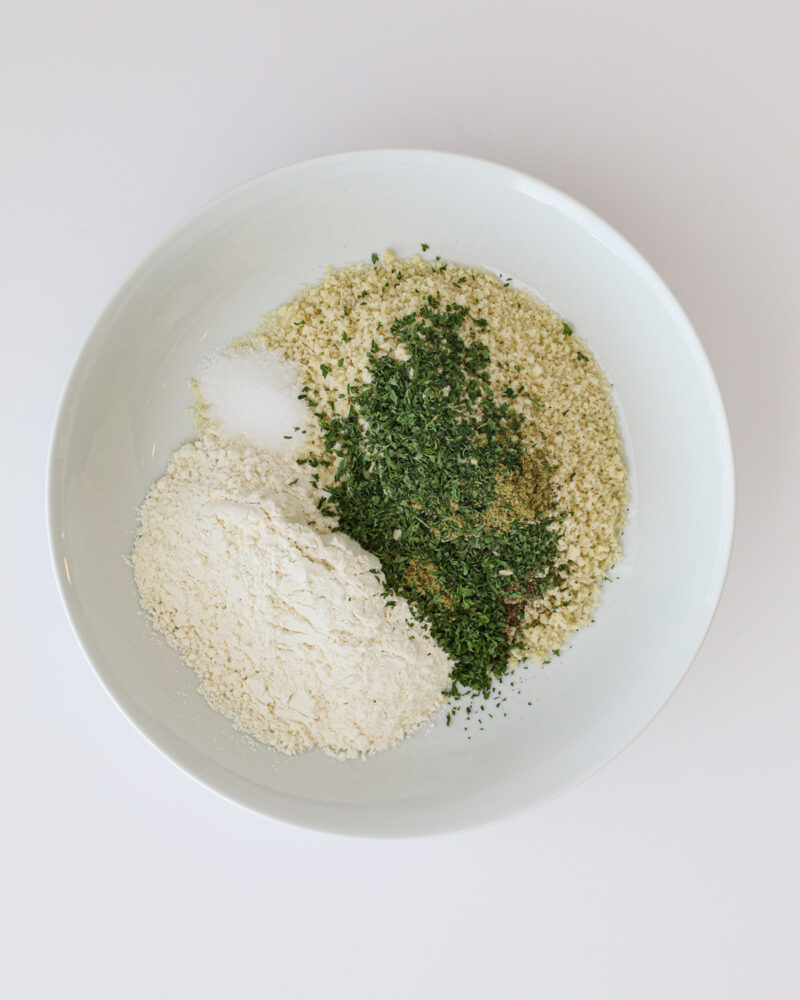
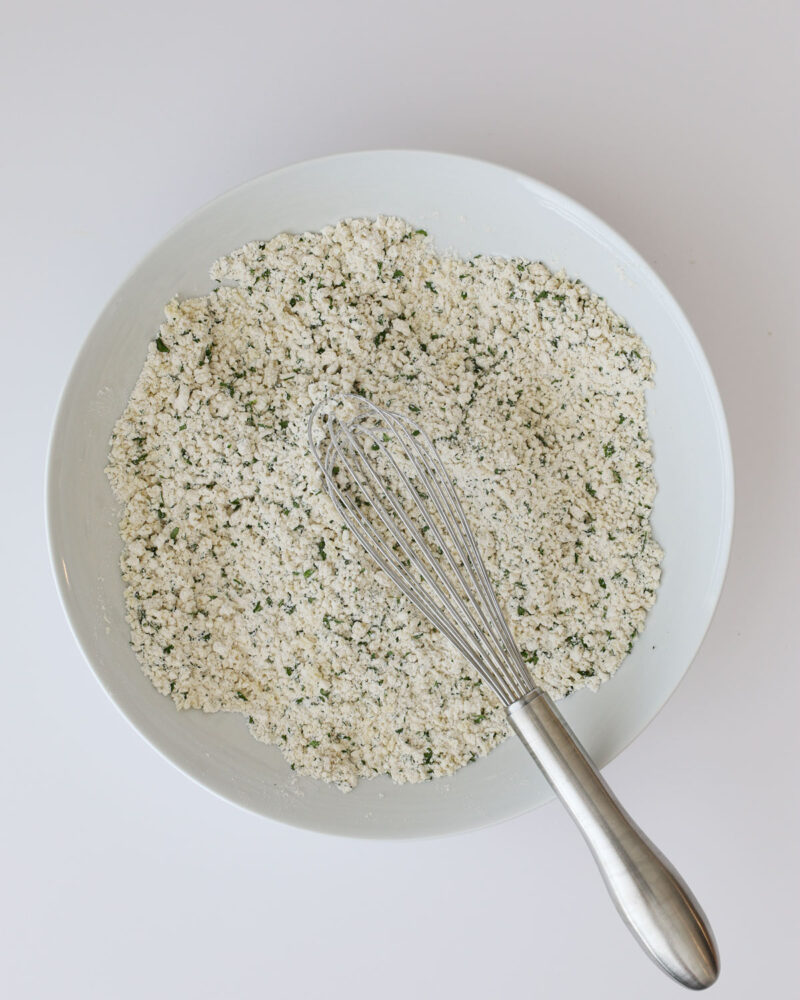
In another shallow dish, combine the bread crumbs, flour, parsley flakes, salt, pepper, and sage.
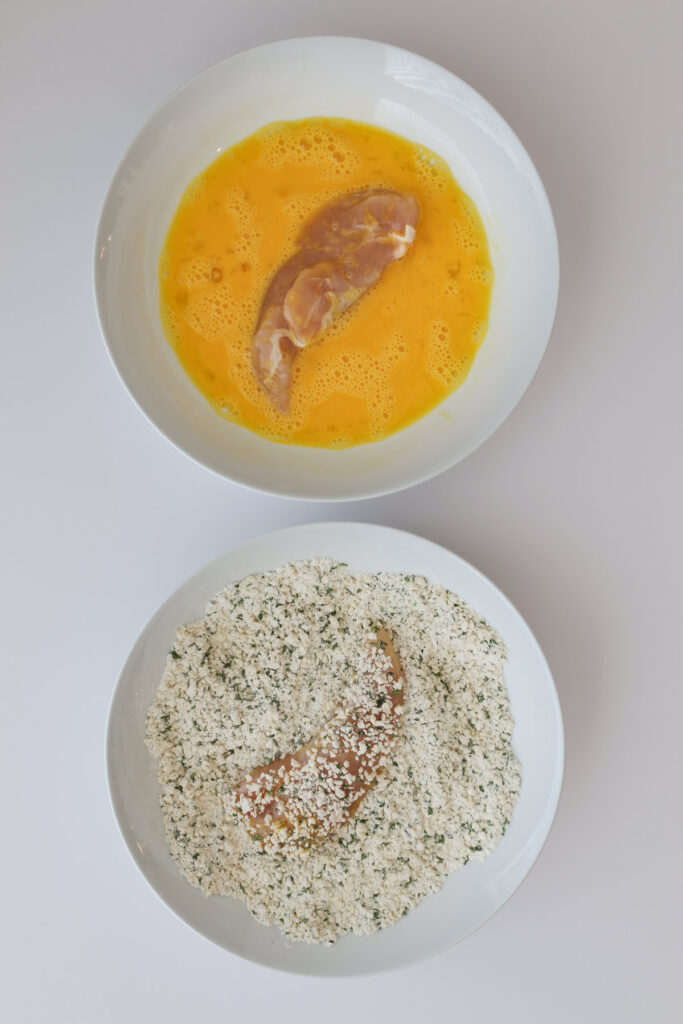
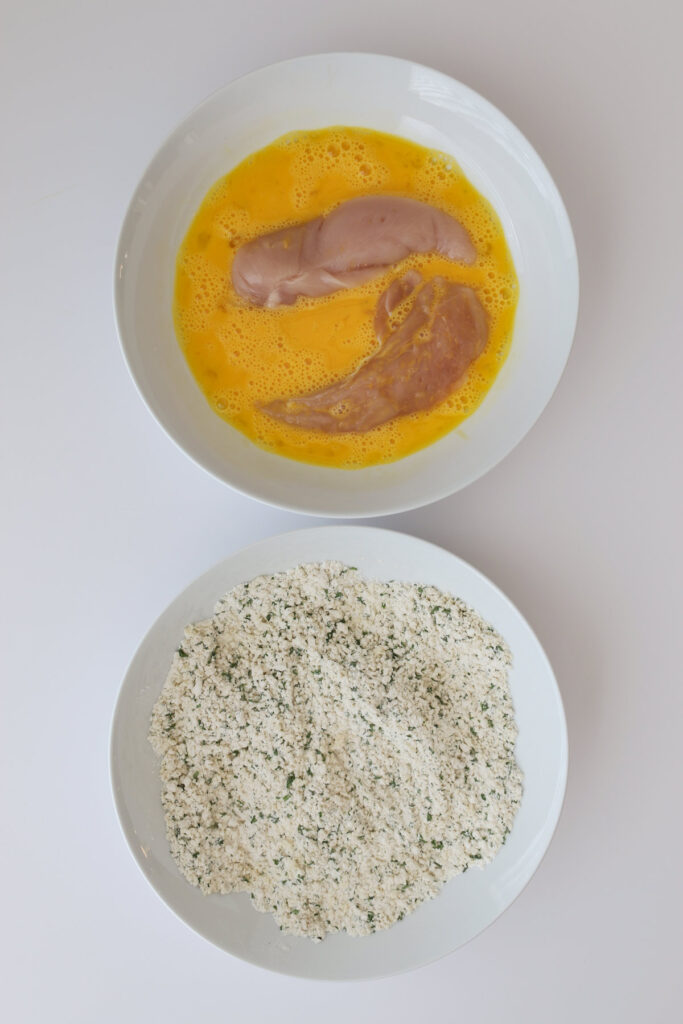
Dip the chicken pieces in the egg and then roll in the flour mixture.
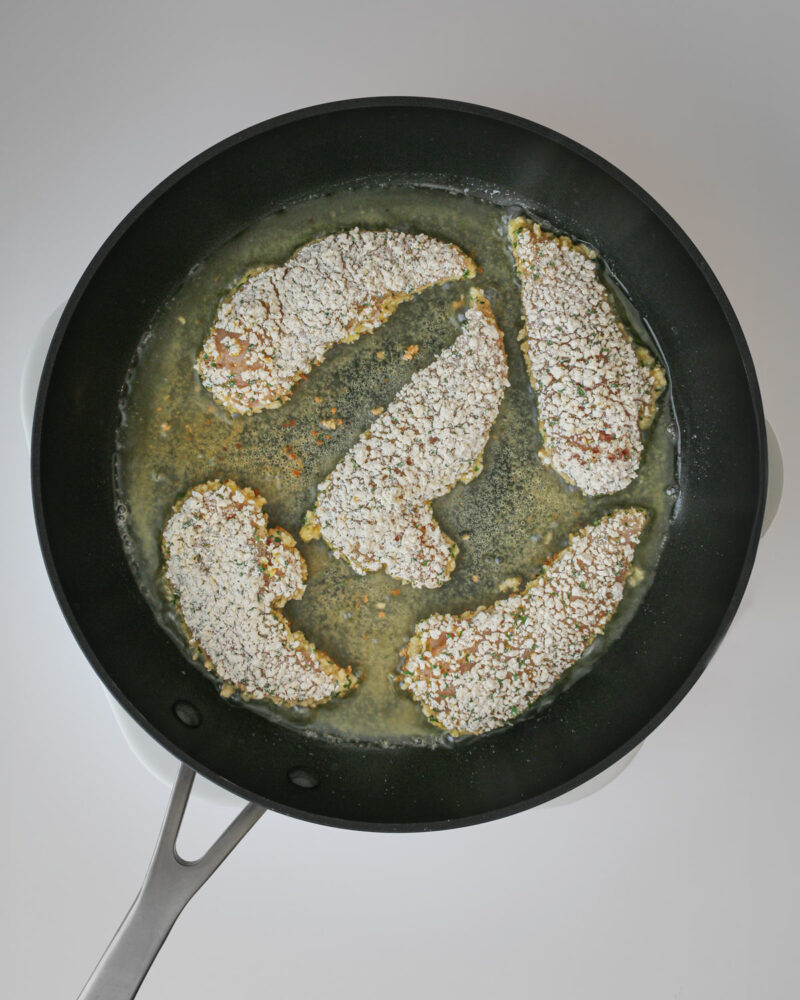
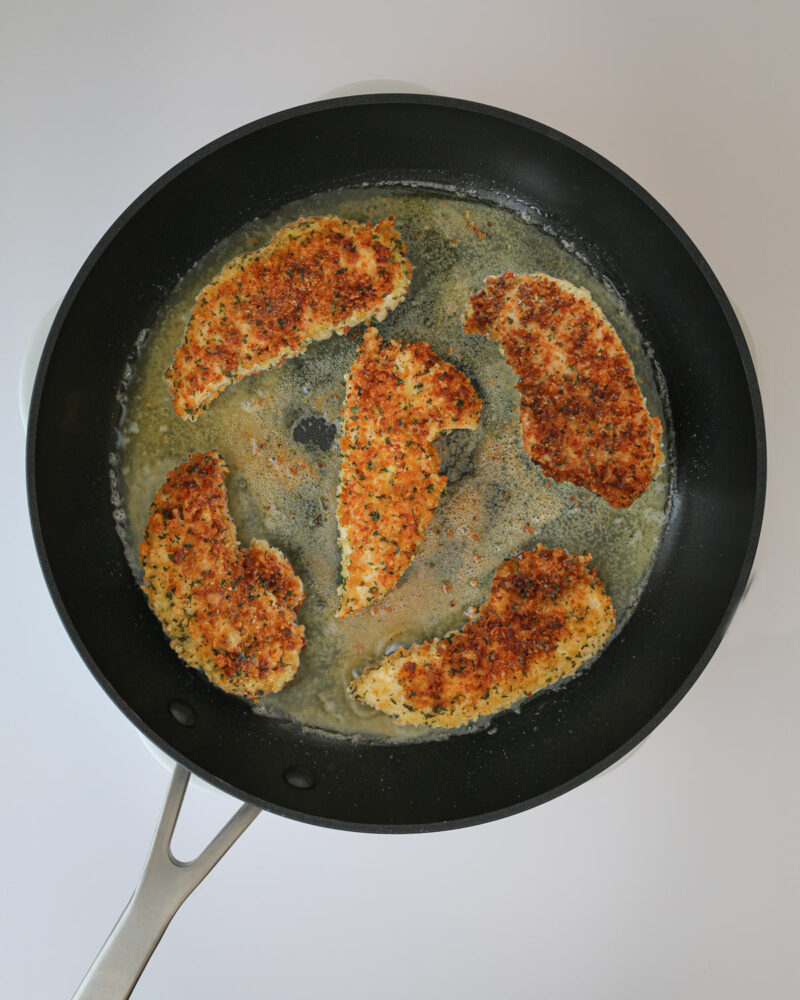
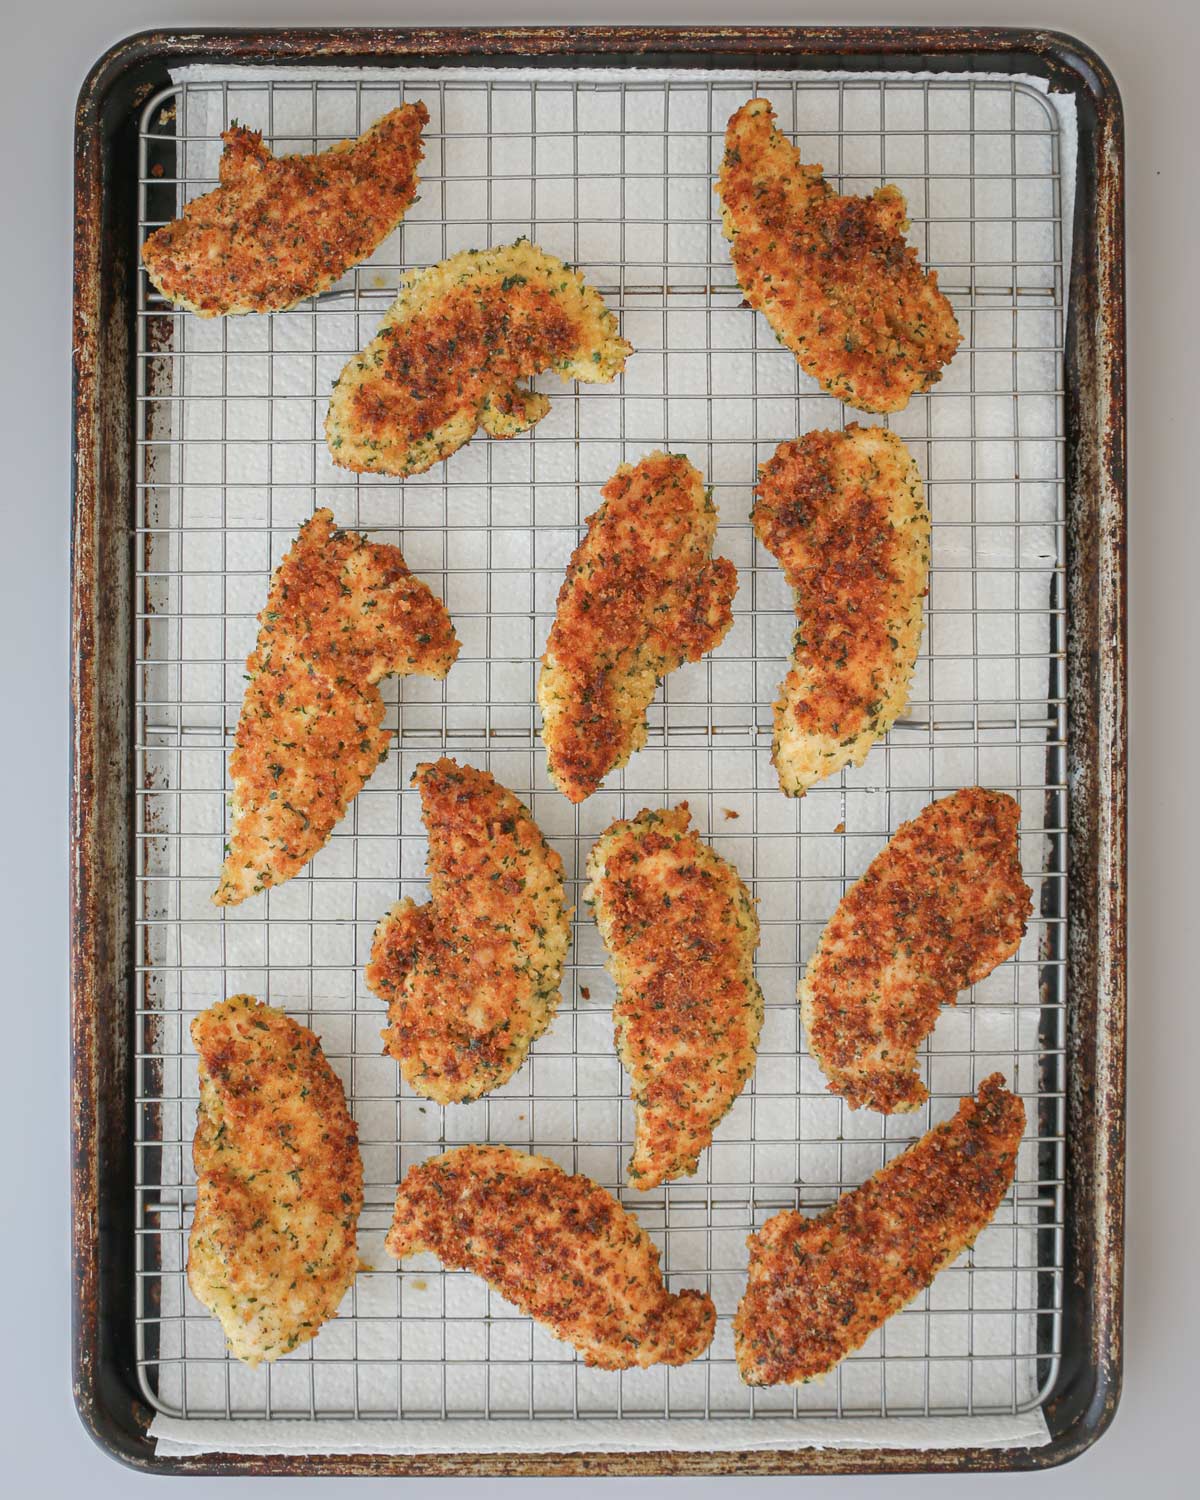
In a large nonstick skillet, heat 4 Tablespoons olive oil until very hot. Fry the chicken strips, working in batches. Don’t move them around too much in the pan. Flip after about 3-4 minutes on each side. Remove to a wire rack set over paper towels to drain.
Serve fried chicken strips hot or cold by themselves, as part of a fried chicken dinner, or atop a salad.
FAQs
The good thing is that you don’t need a fryer. In fact, you don’t have to use a ton of oil, either. I prefer to fry chicken strips in a shallow amount of oil to reduce the fat in the finished product and to avoid wasting oil.
Use an oil that can handle high heats without smoking. That makes avocado and grapeseed oil good choices. Other options include lard, vegetable shortening, or peanut oil. You can use olive oil, but it’s best not to use virgin or extra-virgin oil as they aren’t at their best at high heats.
Bread the chicken by dipping it in beaten egg and then a combination of bread crumbs, flour, and seasonings. Fry the chicken in hot oil in a skillet until the coating is crisp and the meat is no longer pink. If you can take an internal temp, that’s ideal. I let it get to an internal temperature of 160 degrees and then let the residual heat finish the cooking for me.
More Great Chicken Recipes
Tell us what you think!
We love to hear your experiences with Good Cheap Eats. Click the STARS on the recipe card or leave a STARRED comment to let us know what you think of the recipe.
Fried Chicken Strips Recipe
Equipment
- large skillet
Ingredients
- 2 egg
- ¾ cup panko bread crumbs
- ½ cup unbleached, all-purpose flour
- 1 tablespoon dry parsley flakes
- 1 teaspoon salt
- ¼ teaspoon black pepper
- ¼ teaspoon dried rubbed sage
- 1 ½ lb chicken tenders
- 4 to 6 tablespoon neutral oil
Instructions
- In a shallow dish, beat eggs until well combined.2 egg
- In another shallow dish, combine the bread crumbs, flour, parsley flakes, salt, pepper, and sage.¾ cup panko bread crumbs, ½ cup unbleached, all-purpose flour, 1 tbsp dry parsley flakes, 1 tsp salt, ¼ tsp black pepper, ¼ tsp dried rubbed sage
- Dip the chicken pieces in the egg and then roll in the breadcrumb mixture.1 ½ lb chicken tenders
- In a large nonstick skillet, heat 4 Tablespoons olive oil until very hot. Fry the chicken strips, working in batches and adding more oil as needed. Don’t move them around too much in the pan. Flip after about 3-4 minutes on each side. Remove to a cooling rack set over paper towels to drain. Serve hot or cold.4 to 6 tbsp neutral oil
Notes
Nutrition
This post was originally published on September 26, 2018. It has been updated for content and clarity.

Carol
Yum yum!!!!!! So good. Best moist chicken ever. It is also marinated in buttermilk for moisture and flavor. Delicious.30 minutes or more.
Pat
I’ve been using this recipe for a long time but I bake them. I either spray them with cooking spray or drizzle them with melted butter. They aren’t quite as crispy as fried but my family doesn’t seem to mind!
Jessica Fisher
Great tip. Thanks for sharing, Pat!
Alice E
Jessica, do you think this method would work if I cooked them in the oven? Would I need to mist them with Pam or some olive oil in a misto?
Jessica Fisher
Yes, absolutely!
Mandy
Do you use trader joe’s frozen tenders for this recipe? If so, do you let them thaw before breading? Thx! Love your blog and your books. 🙂
Jessica Fisher
I use either TJ’s or Costco’s Kirkland, and yes, I thaw first. Thanks for your kind words! 🙂
Wanda
“Updated February 27, 1017″….oldie, but goodie, indeed LOL.
Jessica Fisher
Haha. Good catch! 😉
Lindsey
So, this post is like 5 years old, but I wanted to let you know that I made these the other night after trying a billion different chicken breading recipes and my husband said “Stop trying new ones, this is it! You’re done!” So, yay! Thank you! 🙂
Jessica Fisher
YAY! I love to hear that. Wonderful!
P Reis
Made these for the first time yesterday and they are sooo good! I made them to put in the freezer, but of course I had to sneak a couple first. Small ones. 🙂
Jessica
@P Reis, glad you liked them!
Shelly
I’m new to freezer cooking and found this link under your freezer category on another page. How do you go about freezing these and reheating/recooking them so they stay crispy? Thx!
Jessica
You can flash freeze them on a parchment lined tray after they have cooled and then store them in a freezer bag. Bake them at 350 for about 10 minutes.
Melissa D
A little trick for lower-fat tenders (or chicken cutlets for bigger folks) is to substitute buttermilk for the eggs. I dip mine in flour for a light coating the buttermilk can hang on to first. So I have 3 bowls: chicken into flour, then buttermilk, then crumbs (I use panko crumbs).