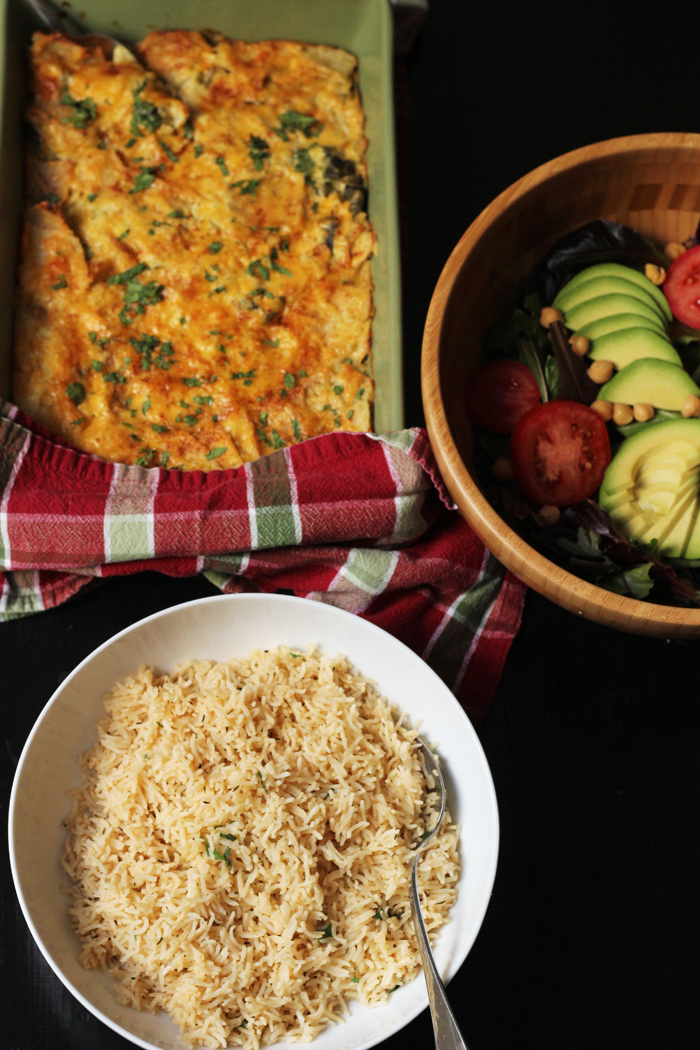
There’s no need for fancy sides when you can make seasoned rice. This Quick Seasoned Rice comes together with just a handful of ingredients, making for a super simple side dish any night of the week.
Want to save this post?
Enter your email below and get it sent straight to your inbox. Plus, I'll send you budget recipes and money-saving tips every week!
When I was growing up, rice was a regular staple at our dinner table. Mom made boiled rice or dug into a boxed mix of Rice-a-Roni. My mom’s nickname in her younger years was Roni, so I always thought it was cool that the rice was named after my mom.
Then I grew up, and my mom ditched her nickname, preferring the more mature Veronica, her given name. I learned to read ingredients labels, and watch my spending. And <gasp> realized that Rice-a-Roni wasn’t all it was cracked up to be.
Spoiler alert: it’s really just a seasoned rice pilaf! One that you can make more cheaply — and without dubious ingredients — at home. I’ve shared several seasoned rice pilaf recipes over the years (here, here, here, and here). Today’s version of quick seasoned rice is the simplest without much work or fanfare.
Quick Seasoned Rice
In my travels, I’ve found that people really worry about their rice-cooking game. “I can’t make rice,” is something I hear often. I’m not really understanding that, because rice is super simple. Boil the water, add the salt and rice. Cover and simmer 20 minutes. Voila.
It got even simpler when I bought an electric pressure cooker. Now, rice is a pretty much hands-free adventure.
I’ll explain both ways to make it below.
Today’s Quick Seasoned Rice recipe is just boiled rice on steroids. Or spice mix and chicken stock, as the case may be. You’ll be pleasantly surprised to see how simple, yet flavorful this dish can be. It’s easy and delicious and there will most likely be nothing leftover.
How I make this cheap:
Here are some of the strategies I use to make this recipe more economical:
- Buy in bulk. I know that Costco is the best place to buy ingredients in bulk, spices, rice, or chicken stock, when there isn’t a great sale elsewhere. I keep track of prices so that I know who has the best deal where. If you don’t think you’ll eat through a ten pound bag of rice too quickly, split the purchase with a friend or store the extra in the freezer to extend its shelf life.
- Make my own stock. Homemade chicken stock is so easy to make and practically free if you’re already roasting a chicken or buying rotisserie chickens. Extract all the flavor from the bones before you toss them.
Tools I use to make this recipe easy:
Having the right kitchen tools can really make your time in the kitchen more enjoyable. Over time, I’ve honed my collection so that they are perfect for my needs. Here are the tools that I like to use in this recipe.
- plastic cutting boards – I have blue boards for veggies and white boards for meat.
- Ergo Chef chef’s knife – I’ve had my set for several years and they work well.
- 5-quart pot with lid – I have this one. It’s perfect for cooking chili or a big pot of rice.
- 6-quart electric pressure cooker

Quick Seasoned Rice
Ingredients
- 4 cup chicken stock
- 2 cup long grain white rice
- 2 teaspoon Spicy Chicken Rub or other favorite seasoning blend
- 1 tablespoon parsley (chopped)
Instructions
Instructions for stovetop
- In a medium stockpot bring the chicken stock to a boil.
- Stir in the rice and seasoning blend. Reduce to simmer and cover.
- Cook, covered, for 20 minutes or until water is absorbed. Fluff with fork, sprinkle with parsley, and serve.
Instructions for instant pot
- NOTE: use only 2 cups stock (yes, equal parts stock and rice)
- Place the chicken stock, rice, and seasoning blend in the electric pressure cooker. Secure the lid and turn on the pressure valve.
- Turn on the machine and set it to manual for 4 minutes.
- When the machine beeps, allow it to rest for 10 minutes before releasing the pressure valve. Do this carefully and slowly to avoid steam burns.
- Fluff with fork, sprinkle with parsley, and serve.
Notes
Nutrition
Originally published September 16, 2009. Updated March 15, 2018.


Leave a Reply