

Prepping grapes for easy serving is a must-have skill. Whether you’re feeding little ones or prepping an elegant fruit tray for friends, dividing a bunch of grapes into smaller clusters makes for a prettier presentation and easier eating.
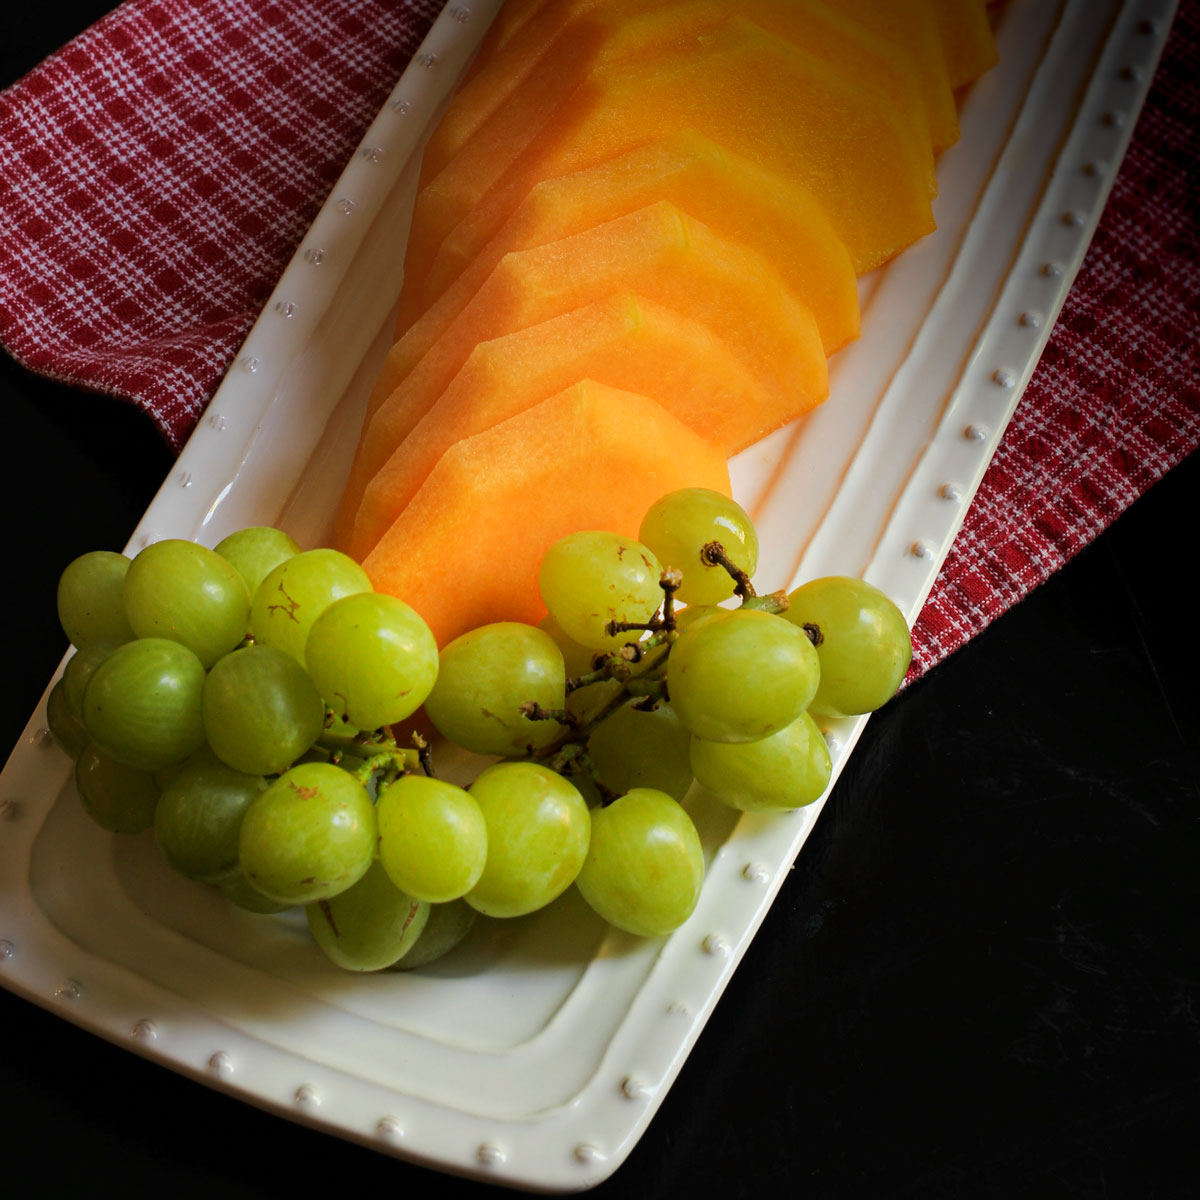
Learn the best way to serve grapes to family and friends. These grape clusters are nice for packing in picnics, tucking into charcuterie trays, or adding to a Ploughman’s Lunch.

Want to save this post?
Enter your email below and get it sent straight to your inbox. Plus, I’ll send you budget recipes and money-saving tips every week!
Jump to:
Have you ever opened the fridge only to see a large grape cluster skeleton, sitting there in a bowl with a few sad grapes attached? That’s so sad and depressing. A little annoying, too.
You definitely don’t want to serve grapes like that. Instead, clusters are the way to go!
Snatch up your favorite grapes on sale and then make sure to prep them as soon as you get home for easy serving.
Why Do This
You’ll eat the produce you buy. There is just something about having fruits and vegetables already cut up and ready to serve that seems to make a huge difference in how much and how often kids will gobble it down. Having grape clusters ready to go makes it ready available for eating and a great way to increase your chances of getting 8 servings a day into each child.
It’s prettier. Have you ever come across a bowl of grapes where someone has picked off most of the grapes and left a twiggy skeleton behind? So not appealing. Cutting grape clusters makes for a prettier fruit platter.
Step-by-Step Instructions
Here’s a quick trick for prepping grapes I learned in college when I worked in catering that makes grapes easy to serve but also helps you avoid a master grape skeleton in the closet, I mean, refrigerator:
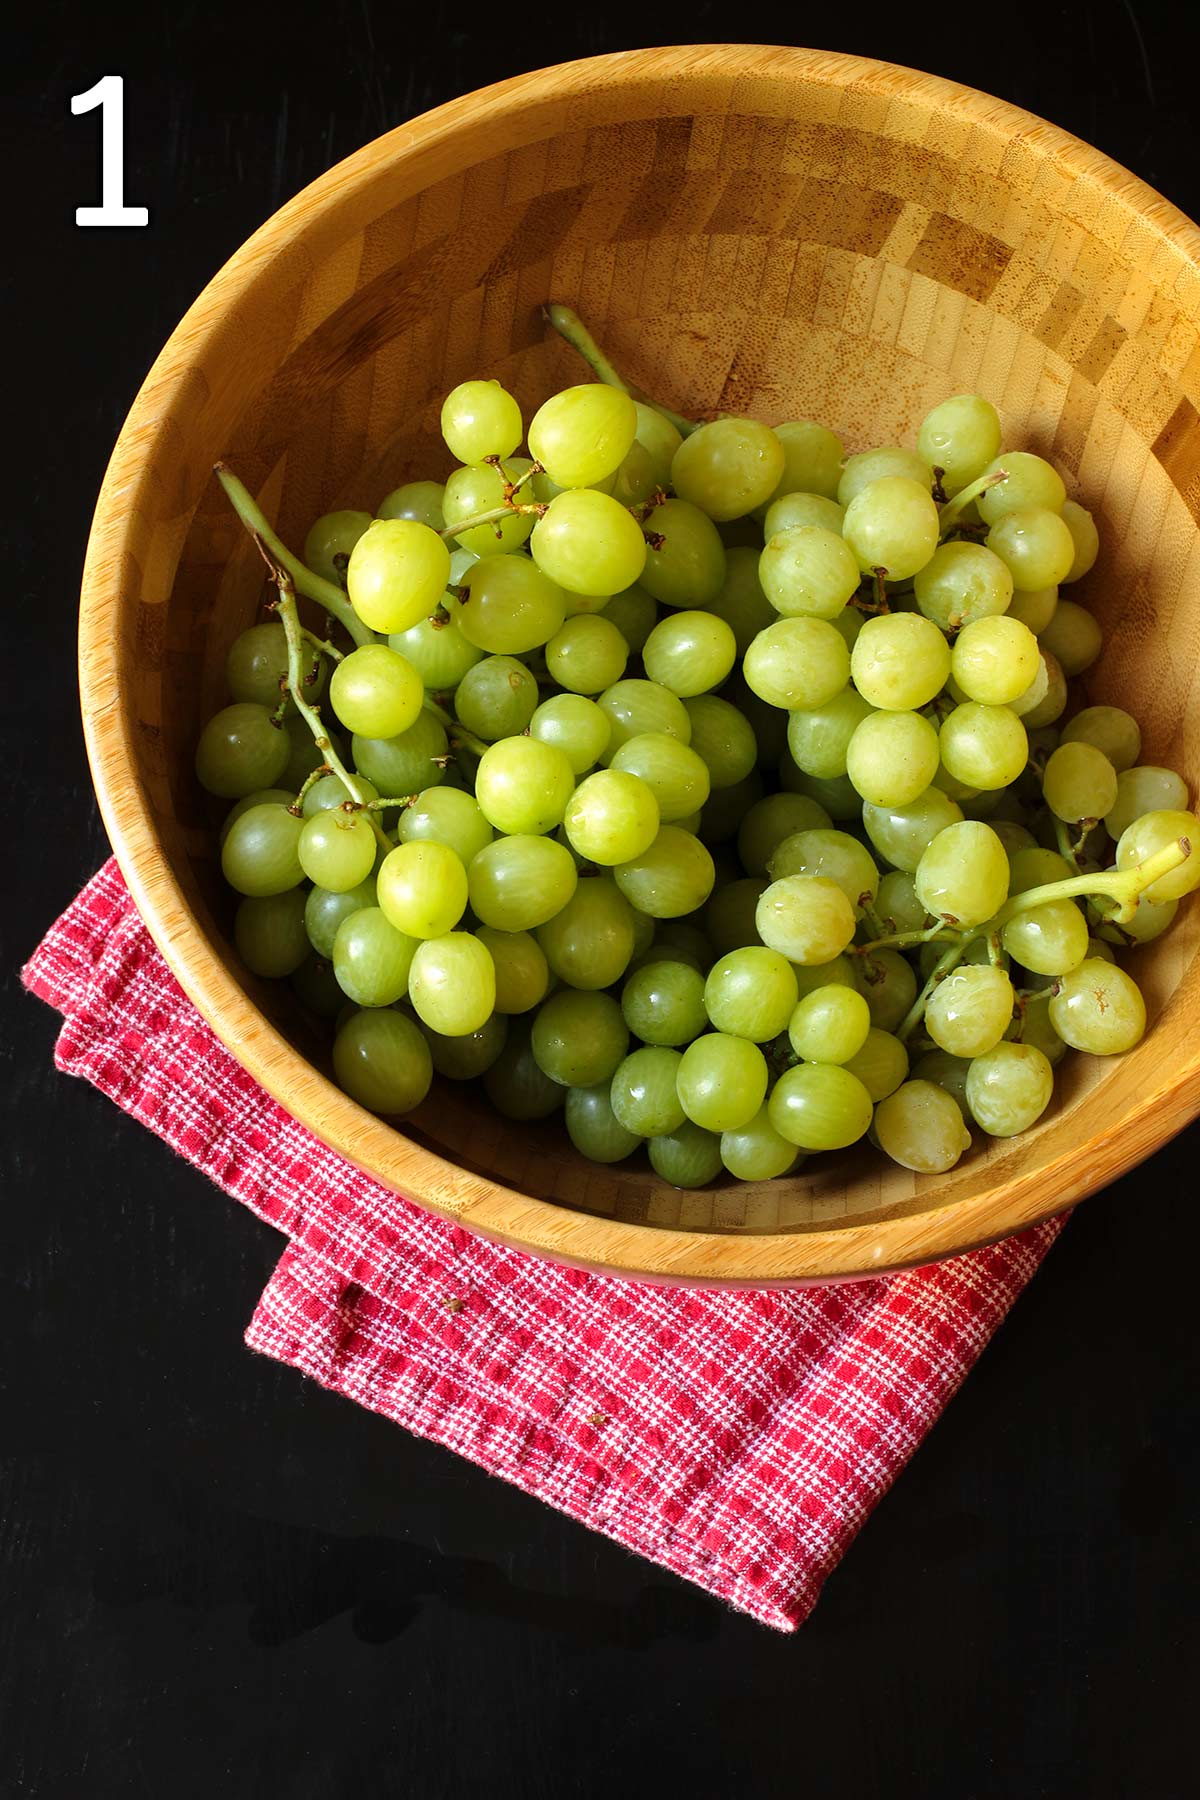
1. Wash the grapes in a vinegar-water bath.
It’s amazing how much dirt can cling to grapes. There are so many nooks and crannies. Place the grapes in a large bowl, spray with vinegar — white vinegar is cheap and great for cleaning as well — and fill the bowl with water.
Swish the grapes about in the water and drain. You’ll see bits of silt and dirt at the bottom of the bowl, evidence that you cleaned some gunk off.
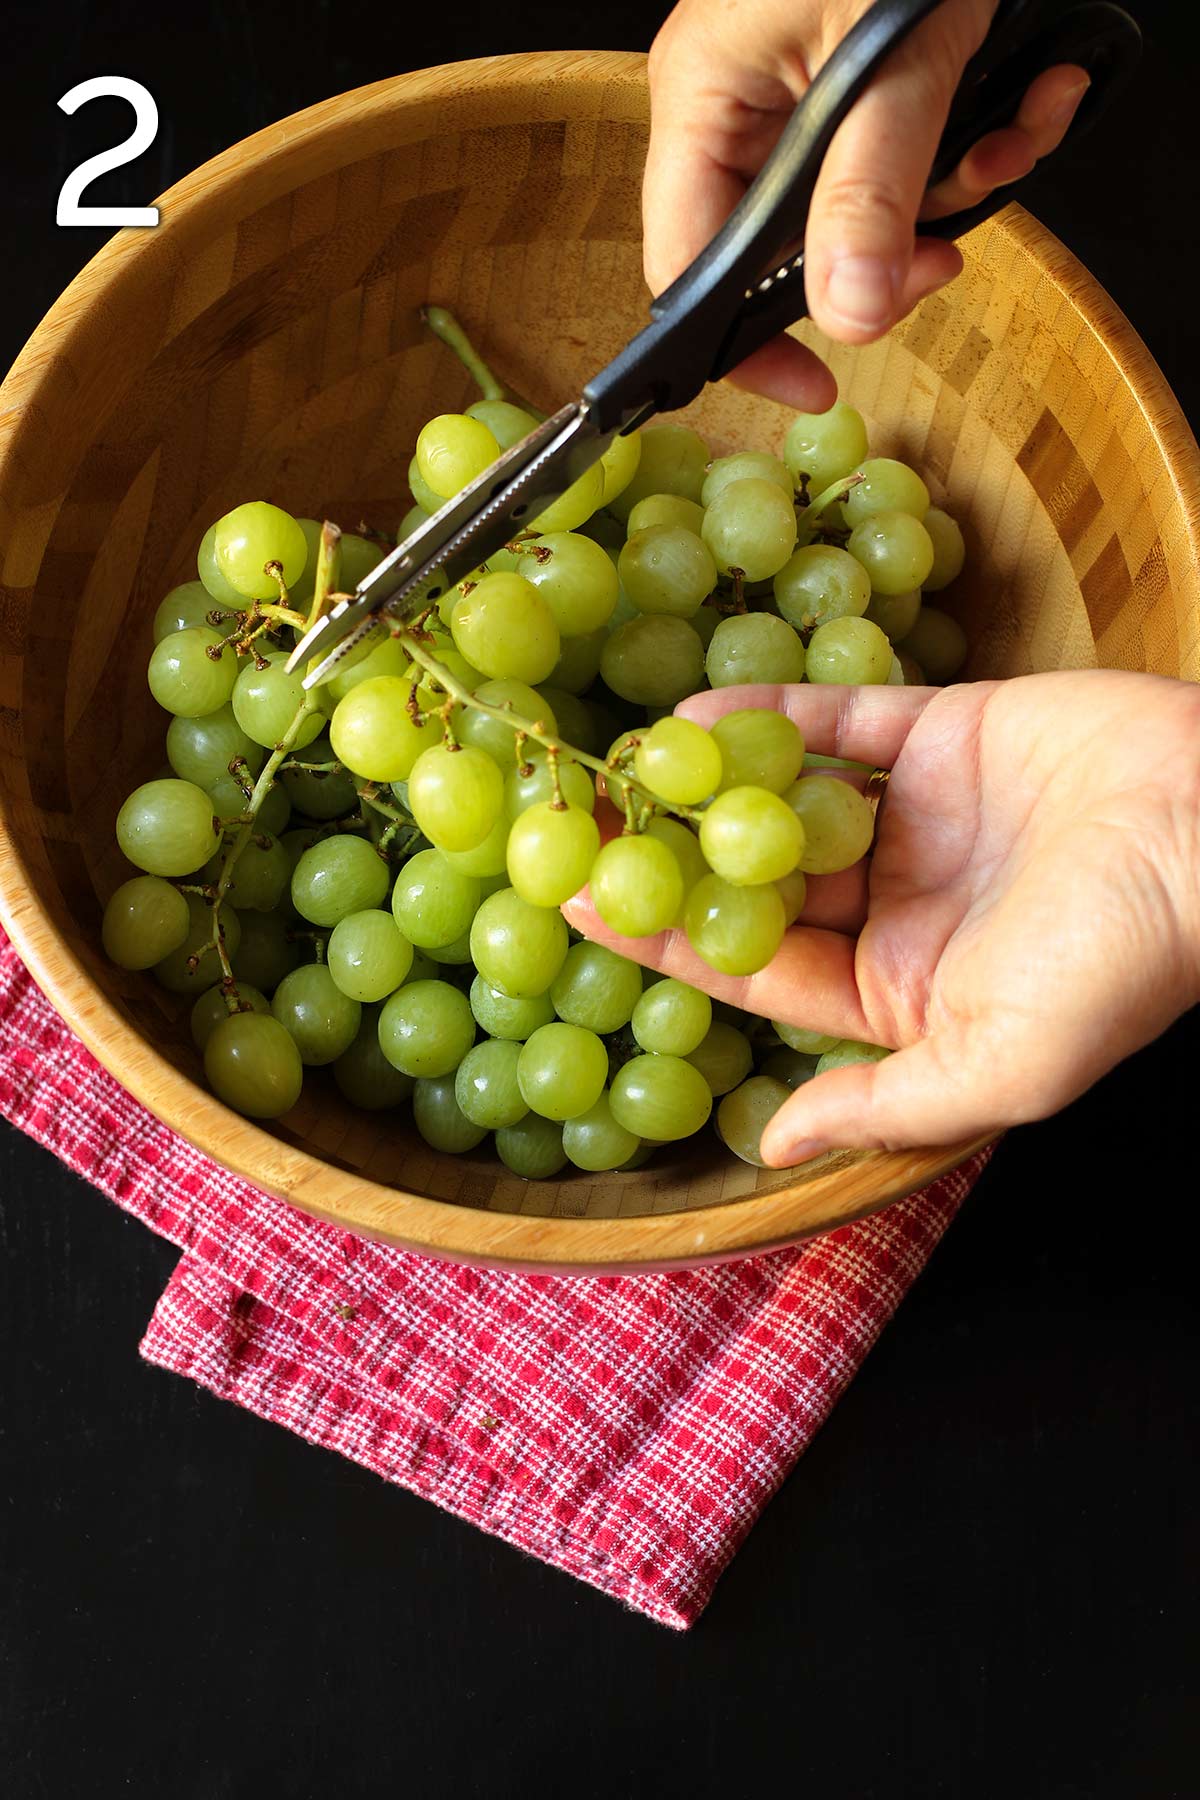
2. Cut the grapes into smaller clusters or bunches.
With kitchen scissors, divide the grapes into smaller clusters. You can customize the size of each to the folks you’re serving (bigger bunches for adults, smaller for kids above the age of five*) or to coordinate with what else you’re serving. If you’re serving other fruits, then smaller clusters will suffice for everyone.
A palm-size cluster is a good starting point.
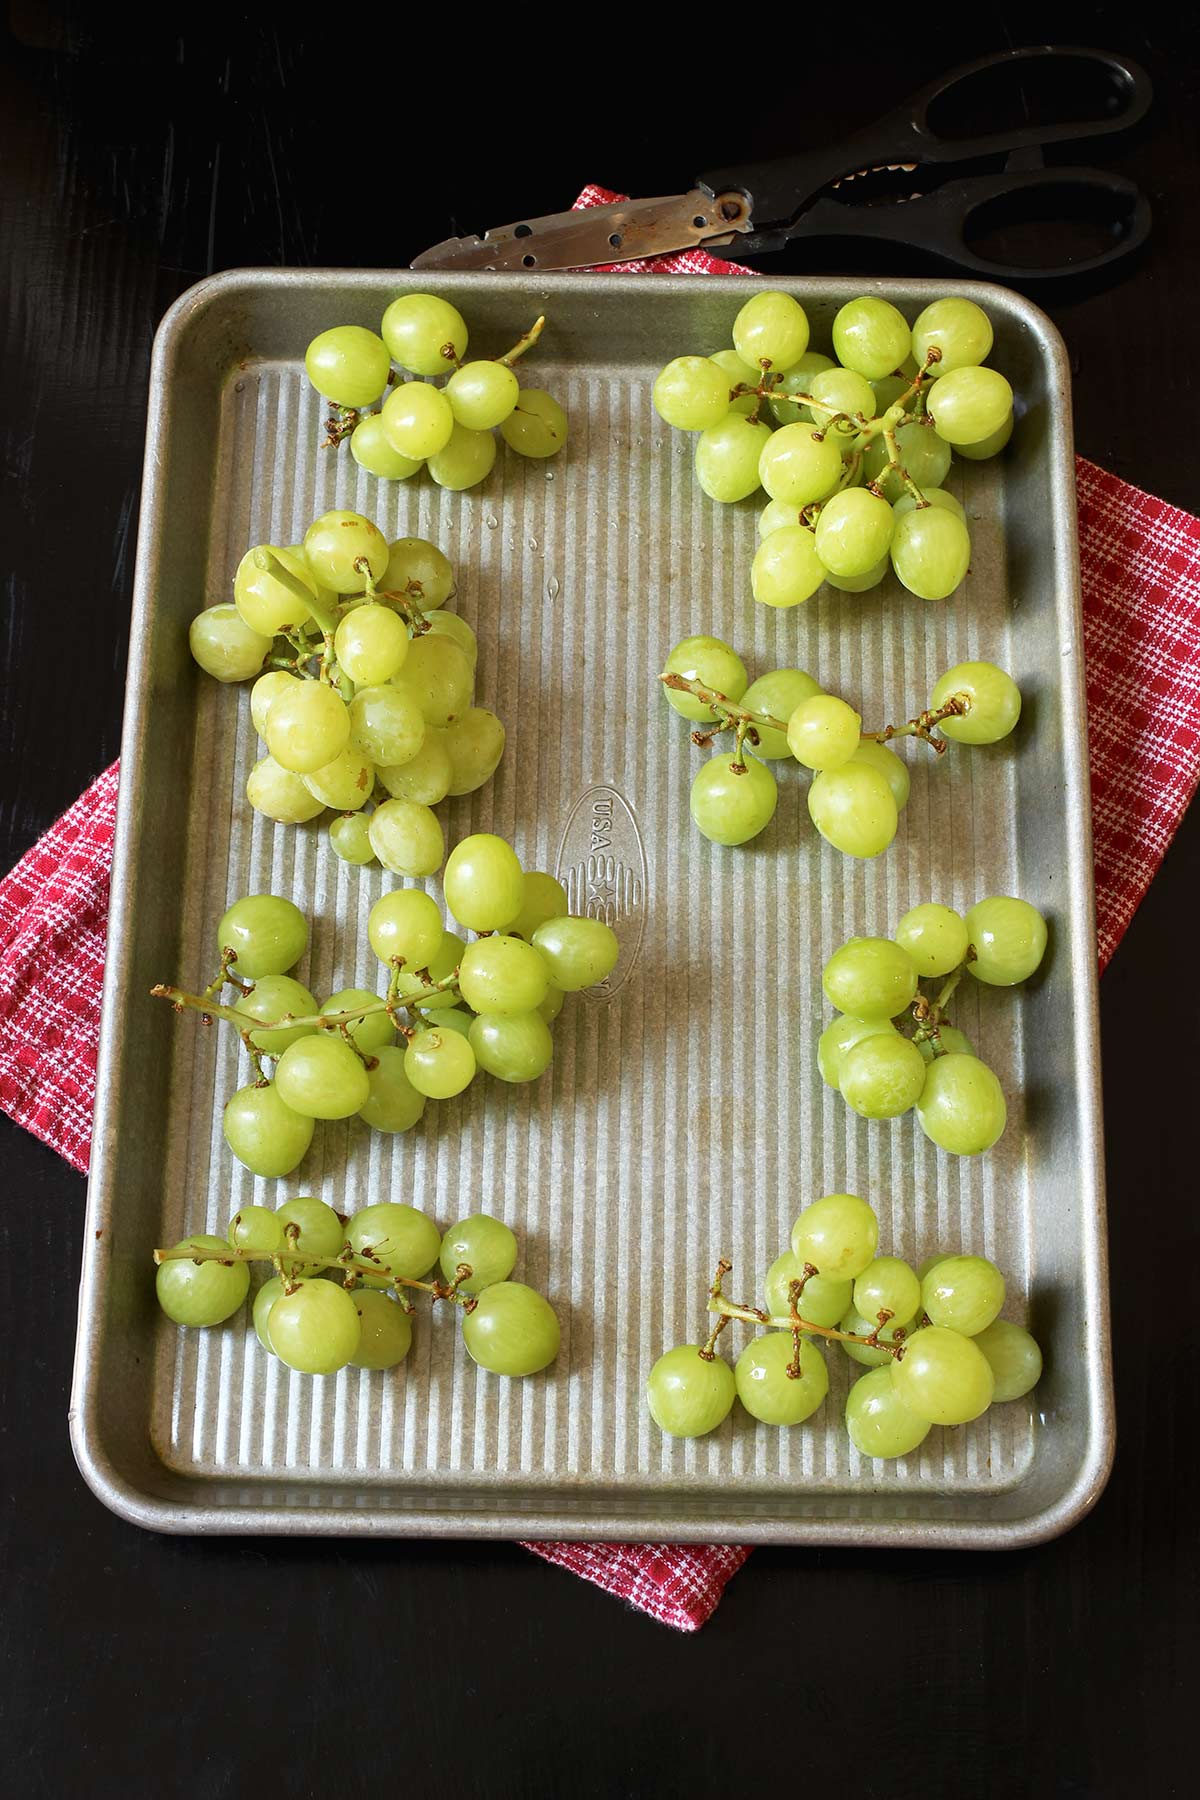
For quick, family serving, lay out the clusters on a serving tray or rimmed baking sheet. If you’re going to serve other fruit, you can lay it all out on a nice tray. Since grapes are available year-round, they make a stunning addition to a winter fruit tray.
Special consideration for children under 5:
*NOTE: It’s recommended that children under the age of 5 should not be served whole grapes, but instead be served grapes that have been cut in half or quarters as whole grapes can be a choking hazard.
Instead of serving a cluster, remove the grapes from the stem and slice them in half with a sharp knife.
FAQs
Since grapes grow worldwide, they are available year-round thanks to imports. But the peak season is going to be late summer to fall.
Select grapes that are plump, well colored, and firm.
Store grapes in a plastic bag in the refrigerator for up to one week. Wash well with a vinegar rinse before serving.
Great Party Recipes


Tell us what you think!
We love to hear your experiences with Good Cheap Eats. Click the STARS on the recipe card or leave a STARRED comment to let us know what you think of the recipe.
The Best Way to Serve Grapes
Equipment
- heavy duty sheet pan
- spray bottle
- kitchen shears
Ingredients
- 1 lb grapes
- white vinegar for rinsing the grapes
Instructions
- Place the grapes in a large bowl and fill the bowl with a little bit of vinegar and water so you can kill off any germs and bacteria before you serve the fruit.
- Cut off the grape bunch into smaller, serving-size clusters. Arrange on a tray to serve.
- Serve the grapes immediately or store it in an airtight container in the fridge for up to 3 days.
Notes
Nutrition
This post was originally published on April 28, 2009. It has been updated for content and clarity.

Lynn
Frozen grapes have always been a favorite snack around here, too. Lately I’ve been throwing some into smoothies 🙂 Yum.
The Bertone's
Awesome trick! I think I might try that.. and check out my target price.. we love grapes too!
Ashley
That is such a great idea! I just found grapes for $0.49/lb and got two big bags full. I need to go make some mini bunches!
My daughter loves cheese. Instead of spending a fortune on string cheese I just buy blocks of cheddar or mozzarella and cut it into sticks. It’s easy for her to grab for a quick healthy snack.
Lori
Oh we love grapes at my house too!! In the spring and summer, I wash them, dry them off, then pop them in the freezer. We eat them frozen and they are DELICIOUS!!! Very refreshing! I especially like to freeze them if we get them off the “clearance” table and they’ll go bad soon.
BLAZER PROPHET
Oops- I'm a husband & father.
BLAZER PROPHET
One thing I learned to keep grapes crispy was to pull them off the stems, place them in a contained of water to where they float, cover and keep refridgerated.