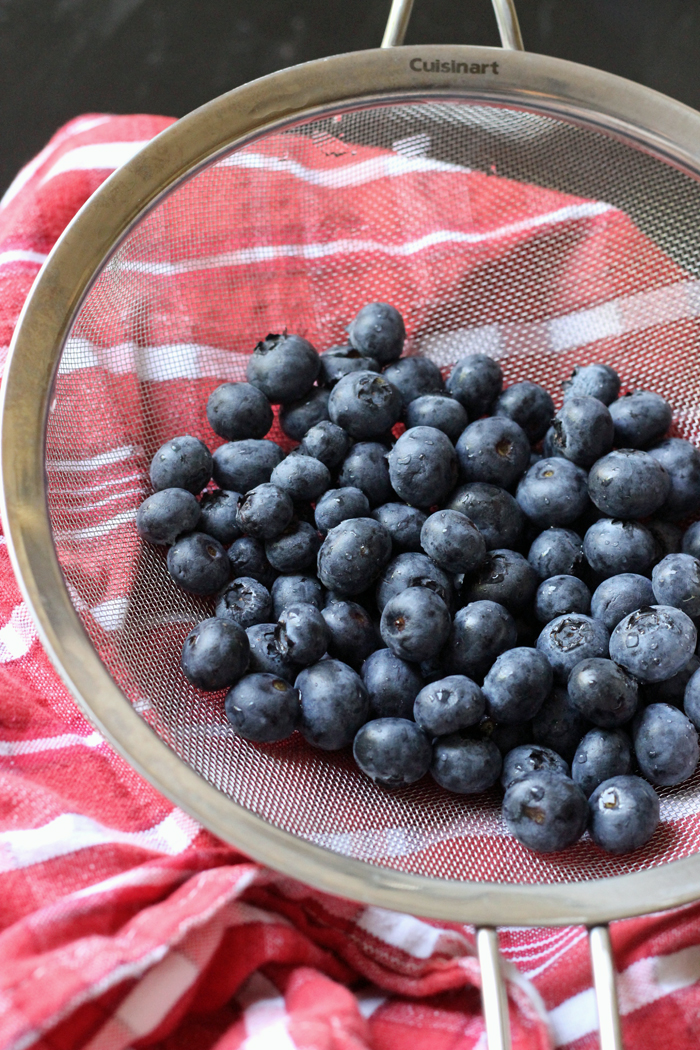
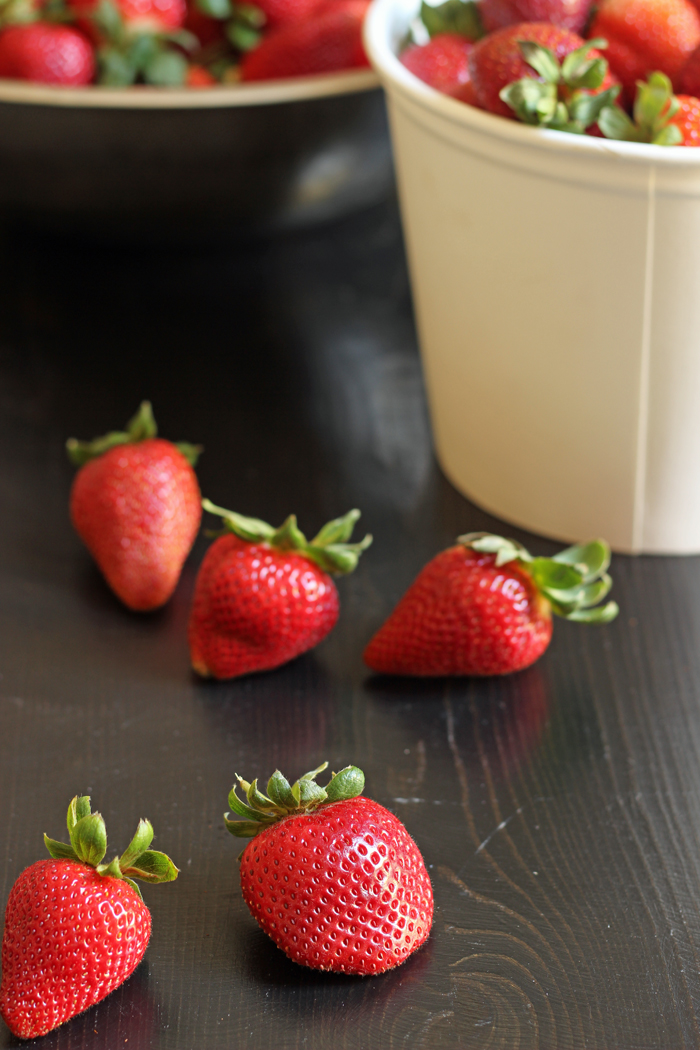
Make the most of your berry investment this season. They’re too delicious to let them go to waste! Store berries so that you can enjoy them for days on end with these easy tips.
Want to save this post?
Enter your email below and get it sent straight to your inbox. Plus, I'll send you budget recipes and money-saving tips every week!
Ever buy a package of beautiful berries? Or spend the afternoon picking them straight from the field. Fresh berries are an absolute delight in spring and summer, so juicy and sweet!
However, if you’ve ever forgotten about those berries for a few days only to find them in the fridge covered in fuzz, well, you know what a downer that is. Wasting such deliciousness is practically a crime.
As we enter into the season of strawberries, blueberries, raspberries, and blackberries, let’s refresh about proper berry storage protocol.
It’s one thing to get a great deal on fresh produce and eat to your heart’s content. It’s another thing to get a great deal on fresh produce only to have to throw it away due to improper storage. Maximize your savings on the original purchase by making it last as long as possible!
What Is The Way Best Way To Store Berries?
Here are some tips for protecting your berry harvest:
1. Do not wash berries until right before use.
Moisture is the enemy of berries, encouraging mold, so don’t get them wet until you’re ready to use them.
2. Store berries immediately in the refrigerator.
It’s really important to get berries into cold storage as soon as possible, but, don’t just shove them and their original packaging onto a fridge shelf. Take the time to package them properly.
Line a lidded container with paper towels and place the berries in single layers between towels. Cover tightly with the lid and refrigerate. Depending on the freshness and degree of ripeness, your berries can last for many days stored this way.
3. For longer storage, prepare them for freezing.
Wash the berries by submerging them in a bowl of water and a few splashes of white vinegar. The water bath helps remove dirt and grit while the vinegar will help kill surface bacteria. Rinse well and place on clean towels to dry. Blot them dry with toweling.
To freeze: line a tray with plastic wrap or parchment paper. This will prevent the berries from freezing to your tray. Place the berries on the prepared tray, making sure that there is air space between them. Place the tray in the freezer for about an hour.
This “flash freezing” will allow you to package them in such a way that they won’t freeze in one big clump. Remove the tray from the freezer and immediately place the berries in a ziptop freezer bag. Place in the freezer for later use. Now they’ll be individually frozen so you can remove just as many as you need.
Watch my video for the play-by-play:
4. Enjoy your berries!
Check out some of these berry recipes to make the most of the season this year:
- Chocolate Strawberry Scones to Rock Your Spring – delicious scones dotted with fresh strawberries and chocolate
- Coconut Berry Salad Recipe – a gluten-free, dairy-free dessert perfect for berry season
- Double Berry Muffins with Ricotta Cheese – light and fluffy muffins packed with berries
- Strawberry Chocolate Chip Ice Cream – a tasty way to cool off this summer
- Personal Blueberry Crumble – everyone gets his fair share!
- Try Strawberry Salsa for a Fun Summer Twist – a fun twist on traditional pico de gallo
Make the Most of Seasonal Produce
Years ago when we bought our first home, we cultivated a small garden on the property. I had such a blast exploring the seasons and figuring when were the best times to enjoy certain foods. Believe it or not, tomatoes do not grow in winter!
If you’ve only subsisted on grocery store produce, you’ve been missing out! There’s something to be said for delicious, in-season produce. And enjoying some fruits and vegetables fresh during certain times of the year is such a joy! I look forward to spring and its asparagus and apricots in a different way than I anticipate the apples and squash of fall.
Seasonal, fresh produce has definitely changed how I look at the calendar!
This post was originally published April 15, 2018. It has been updated for content and clarity.


Leave a Reply