

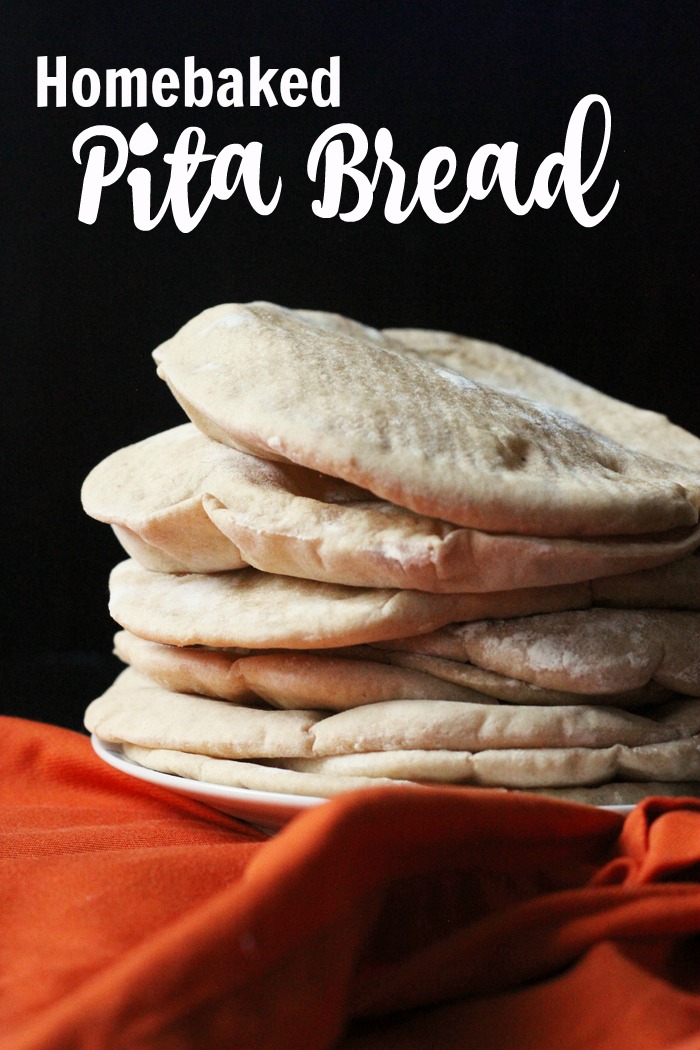
Pita Bread will take on a whole new identity when you bake it yourself. Print off this recipe for Homebaked Pita Bread and bake someone happy.

Want to save this post?
Enter your email below and get it sent straight to your inbox. Plus, I’ll send you budget recipes and money-saving tips every week!
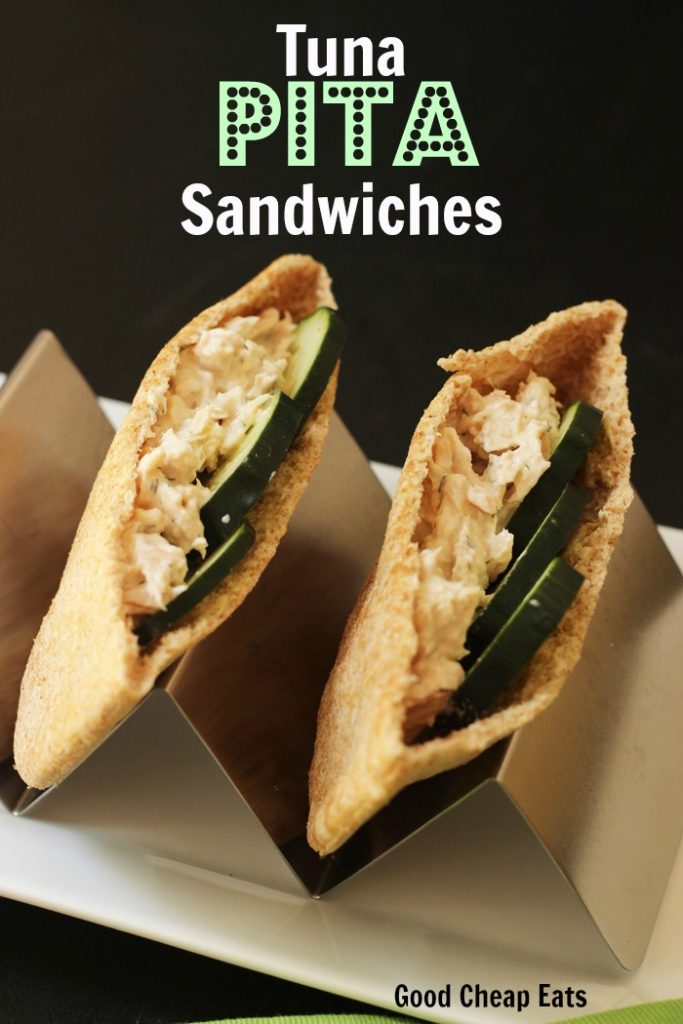
When I was in high school, my girl friends and I packed pita bread sandwiches all. the. time. We filled the pocket breads with chopped meats and cheeses, lettuce, cucumbers, and tomatoes and then packed salad dressing to add at the last minute. It wasn’t really “cool” to pack a lunch, but we were all on a budget, even then, and found a way to have a “cool” lunch regardless.
Forget the fact that we hunkered down by the lockers to eat our lunches, lest any cooler kids spy us.
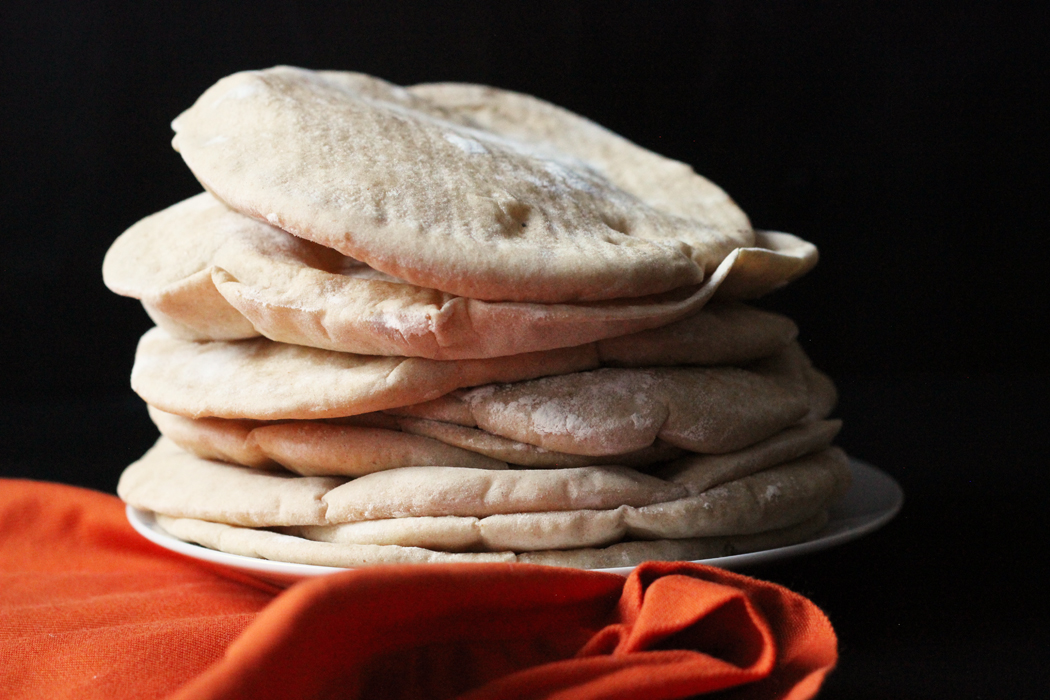
I don’t buy pita bread any more — not since I first baked it at home. It’s a little time intensive, but so good! And it’s so fun to watch the rounds of dough puff in the oven, creating a pocket. It really works!
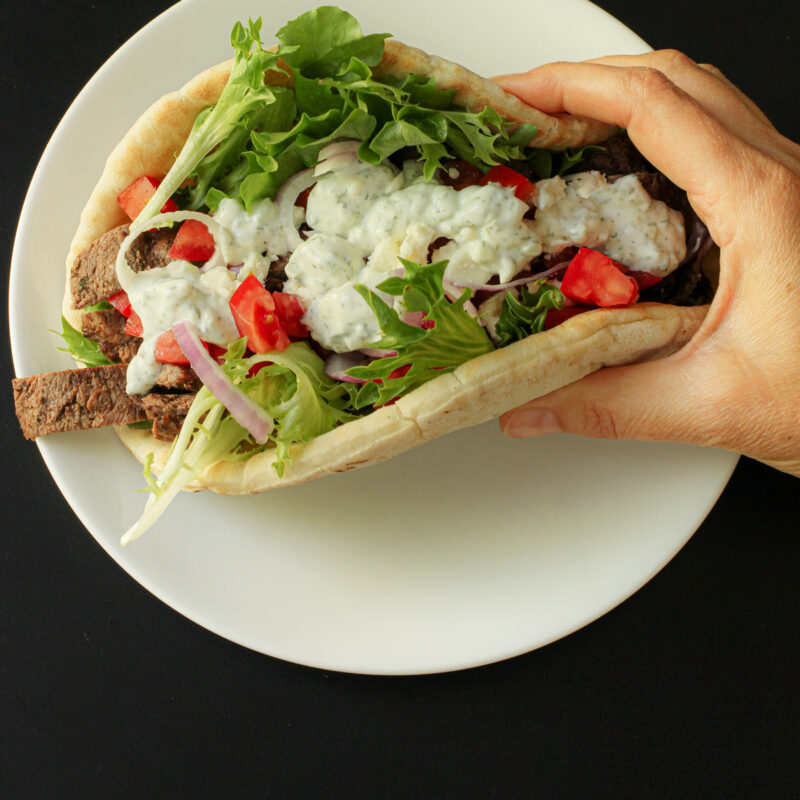
Making homemade pita breads is a little bit of a long process, but the result is fun and the puffing is cool. Enjoy your pita breads for gyros, sandwiches, or as a side dish. So good!
How to make this good and cheap:
Here are some of the strategies you can use to make this recipe more economical:
- Stock up on ingredients when they are on sale. When I find regular kitchen staples on sale, I buy a lot. I’m currently using a price book to track prices and that’s saving me money. For this recipe, keeping an eye on the price of flour can help keep the price down.
- Buying in bulk – I’ve started buying cases of flour from Bob’s Red Mill in order to get the best price on high quality flours.
How I make this recipe easy:
This recipe really couldn’t be easier than it is, but having the right kitchen tools can really make your time in the kitchen more enjoyable. Over time, I’ve honed my collection so that they are perfect for my needs.
Here are the tools that I use for this recipe:
- stand mixer – super helpful for mixing dough.
- bench knife – I love this tool for easily cutting dough into pieces.
- sheet pans – I LOVE my set of steel sheet pans. They make such a difference in baking.
What to Serve with Pita Bread
Tell us what you think!
We love to hear your experiences with Good Cheap Eats. Click the STARS on the recipe card or leave a STARRED comment to let us know what you think of the recipe.
Homebaked Pita Bread
Ingredients
- 1 ¼ cup water warmed
- 1 teaspoon honey
- 2 ¼ teaspoon active dry yeast
- 3 cup unbleached, all-purpose flour
- 1 cup whole wheat flour
- ½ teaspoon salt
Instructions
To make the dough in a stand mixer:
- In the mixing bowl of a stand mixer, place the water, honey, and yeast. Allow the yeast to proof for five minutes. Add the flours and salt. Mix with the dough hook until a smooth dough ball forms. Transfer the dough to a greased bowl and cover with a tea towel. Let rise until doubled in bulk.
To make the dough in a bread machine:
- Alternatively, you can use a bread machine. In the bread machine pan, place ingredients in the order recommended by the manufacturer. In my case, that means liquids first, then dry ingredients with yeast last. Set on dough cycle.
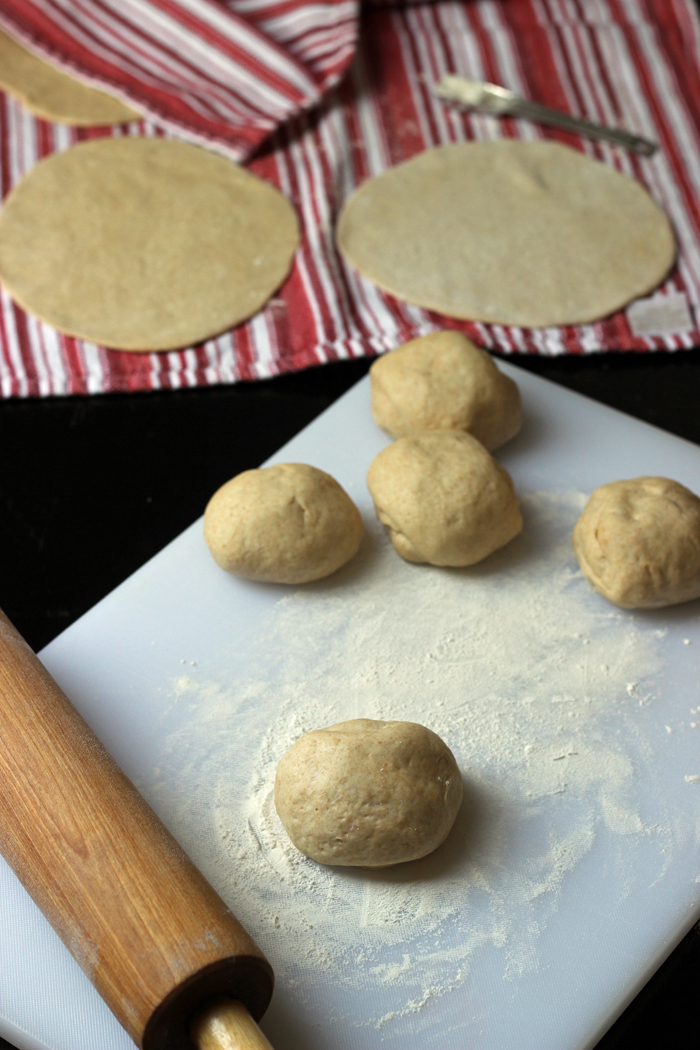
- When the dough is ready, remove dough to lightly floured surface. Preheat the oven to 450 °.
- Divide the dough into 12 equal-sized pieces. Roll into balls. Roll each ball into a 5-inch circle and rest on floured kitchen towel. Continue process. until all 12 pieces are rolled.
- Place two rounds on a baking sheet and bake for 2 minutes. Flip and bake another 1 ½ to 2 minutes. Do not brown. Dough will puff during baking. Cool on a rack.
- Continue the process, allowing oven to reheat for another couple minutes in between batches. Serve immediately. These taste best the day they are made.
Notes
Nutrition
jasi
im a minimalist. and i probably shouldn’t be eating bread but it’s so darned easy to make once you’ve done it a few times. the first is a little tricky and i was SO nervous, but it’s cake now (easier even). i made pita tonight with one bowl, a cookie sheet and a piece of parchment as my tools. about 20 min of actual work broken down over 3 hours. super simple. try it a few times without your bread maker and you’ll see you don’t even need that clunky old thing!
Christine
Mine did not puff! Do you think that means my yeast is dead?
So disappointing…
Jessica
@Christine, sad! It’s either that or your oven wasn’t hot enough? Were they good without the puffing?
Christine
@Jessica, They are still good! Can’t wait for your book to arrive, by the way… I preordered!
Jessica
@Christine, glad to hear that not all was lost! And thanks for your support!
jasi
@Christine, probably not hot enough. let the tray heat in the oven before you add the pita. if your yeast gets foamy in the beginning, you should be all good. =D
Stacy
I have an old bread machine given to me recently by my MIL. It has a cycle called “dough” (which I think just mixes it up) or “dough+first rise”. I’m new to the bread machine world, so when you say “dough cycle,” do you mean just mixing it up, or including the first rise?
Jessica
@Stacy, every manufacturer is different, but you should be able to find the manual online. My dough cycle = dough + first rise.
Stacy
@Jessica, Thanks, I didn’t see your reply before starting it (usually it sends me an email but not this time, so I’m just seeing this), so I assumed it was what you said above and tried it. I used a somewhat different recipe from my bread machine book, but I used your pictures as guidelines. They turned out very well. I’m so happy that they even seemed like pita bread at all much less being good. 🙂 I would definitely do this again–thanks for the idea.
Jessica
@Stacy, glad it worked out for you!
Amanda Y.
Would like to see/hear about recipe without dough/bread machine
JessieLeigh
@Amanda Y., Jessica gives a good outline of difrections for w/o a bread machine in her reply to comment #1. 🙂 Hope that helps! (I make pitas without a bread machine frequently and I’ve never had difficulties.)
Pam
Do you not use any type of oil in your recipe? I by no means am an expert but I am curious why there’s no fat or oil. Without it, it seems more like crackers.
Jessica
I am not an expert, either. But, I’ve seen recipes that do and some that don’t have oil. The oil would make it softer. But these never last past a day anyway. Everyone eats them up right away.
Micha
Now I am going to have to try your pita recipe. It’s my current favorite bread to bake.
chris kaser
just made the pita bread. had to adjust my time for 1/2 min longer for them to puff. i baked them on a pampered chef pizza stone 3 at a time. did not put flour on the stone
Amy
Made these today and they turned out great. I had a hard time getting the first batch to “puff”. For the second batch, I cooked them closer to the top of the oven and that did the trick. The poofed right away! We are filling ours with mediterranean salad tonight for dinner!
HOlly
is it safe to use the honey in the recipe when baking for a 19mnth old to consume. Have always been told not to use honey with a 2 year old or younger. Any thoughts?
Jessica
My doctors always said that if it was baked it was fine. But, you can use the same amount of sugar if you want to be on the safe side.
Carol B.
My pediatrician told me at our 12 month visit that honey was okay now, and that the real danger for babies was in fact the raw honey (which is better otherwise!). So the 19 month old would probably be fine either way, I’d imagine.
(Funny thing, when I was a baby, they told my mom to dip my pacifier in honey. Guess it’s a good thing I was okay. >.<)
LOVE this site, Jessica!!!
Jessica Fisher
Thanks for your kind words!
Fleur
Great recipe – lots of fun watching them puff up! Unfortuantely only about 1/2 of mine puffed – not sure why? Even though some didn’t work quite right they still tasted great! I served mine with a great vegie curry – delicious! I will definately try these again.
Susan
I can’t wait to make these! My kids are gonna flip – I love it! Thanks for the great recipe.
Kadee
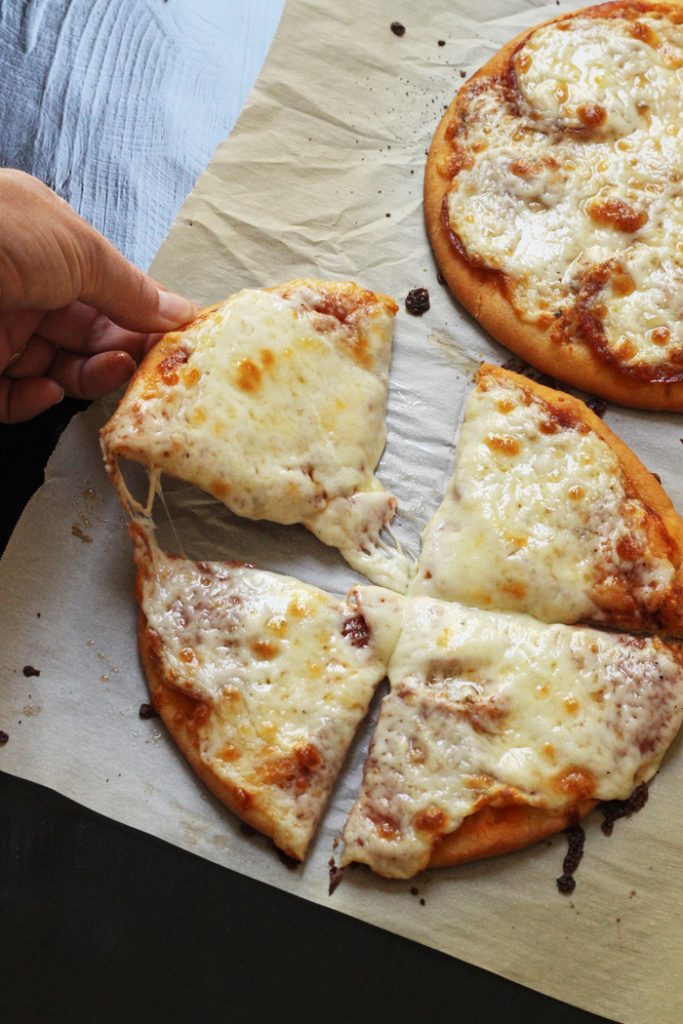
I love homemade pitas! I like using mine (if they last long enough with my 3 kiddos) to make pita pizzas. I open them up, top each side with sauce, cheese, and veggies, then pop in the toaster oven for about 10 minutes. Yum!
coleen
I’ve made them before and they are yummy. I’m not good at rolling out dough into rounds so I had some funky shapes. I use the “ugly” ones for chips….spritz with a little olive oil and sprinkle a little flake salt or some herbs and toast in the oven. They are a hit!
Cori
If you are interested in making more of a flat bread you don’t need to poke it with a fork. You just roll it out a little thicker. They are great dipped in a mix of honey and butter!
amy
I love homemade pitas! A recipe similar to this and the froze really well. When I would take them from the freezer and let them rest on the counter you couldn’t tell a difference between ones made that day or a month ago!
My recipe you baked on a cooling rack and don’t flip. I want to try this way for sure!! What do you use to flip them without them deflating?
Dana
I have had pita on my list of things to make for awhile. We like to make pita chips with olive oil, italian seasoning, s&p, garlic powder and parmesan cheese. They taste and smell amazing!
Amy
These look great! I would like a pita recipe for gyros, but I would prefer a pocketless pita. Do you think it would work if I poked them with a fork before baking?
Jessica
I don’t know why not. This is what we use for gyros, just as is.
Megan P.
@Amy,
Amy, try finding a flat bread recipe if the forking doesn’t work. I love fresh pita but I don’t care for the store pita too much so I buy flat bread for our gyros. Hope it helps!
Deborah
Do these freeze well? I am wondering if I could make a double batch and have them when needed? We love pitas with chicken or tuna salad and lots of veggies inside.
Jessica
I haven’t tried. We eat 12 up in a matter of minutes. But, let me know if you try it!
AllieZirkle
@Jessica, we have had success freezing these & defrosting in the fridge. You do lose a bit of the softness but the store bought are rarely soft. Make sure to add in a paper towel to the defrosting pitas because the ice crystals will cause a soggy pita. The frozen/ defrosted soggy pitas are great candidates for pita chips so not to worry, you won’t lose a good thing either way.
🙂 Allie
Gina
@AllieZirkle, you have recommendations on how to MAKE pita chips out of these? 🙂
Jenifer Samaha
We devour pita bread in our house (hubby is Arabic). I’ve never thought of making my own! I will definitely have to try it.
We eat pita bread with falafels, a yummy sheep’s cheese called Halloum (you can find it at Arabic & Mediterranean grocers. In fact, my kids are eating some right now for breakfast!), we dip pita in a Mediterranean oregano mixture called Zatar.
Dana
@Jenifer Samaha, We love Zatar too. I like to grill the bread with olive oil and Zatar. So good with hummus.
Ashley
Those look so good! I love pita bread but have never made it. What would you suggest for the gal that doesn’t have a bread machine? I am really interested in baking my own breads but don’t have a machine yet.
Jessica
@Ashley, If you normally bake bread, you’ll probably be able to make this easily without a bread machine. Proof the yeast in the water (warmed) and honey. Stir in the flours and salt. Knead until a smooth dough is formed, adding flour if necessary. Place in a greased bowl and let rise about an hour or until doubled in bulk. Then follow the baking directions in the recipe.
Ashley
@Jessica, Thank you!! My husband is a total bread lover. I think he will really love this recipe!